
Welcome to the LetterBus!
!The bus is DONE!
This is Fiati BoesBoes!
In the winter of 2025 I bought my first car, Fiat Doblo (2011). I had been looking for a small trustworthy van with a bunch of windows, and during my research I found that the Fiat Doblo would be a perfect fit for me. I had to travel down to the otherside of the country to pick her up, but the deal made it worth the trouble! Since then I have been working on converting this humble doblo into a proper live-in van. On this page I will tell you how I have been tackeling this project and how it is going. Because as of 26-03-2026, when I am writing this article, I am nowhere near finished!
.jpg)
First things first, figure out a plan for what I want to have in my eventual build. I won't bother you with the complete list (just yet), only the main features. To make a van livable, you will need a rough plan for the following: The bed situation, cooking situation, food, water and electrical-supply, storage space and don't forget the blinds.
I really wanted my bed to have different set-ups. Couch mode, one-person mode and a very.. cosy.. two-person mode (only 100cm across). For my cooking situation I am planning on making a small kitchenette with a small gascooker that can be stashed away under the bed. I will have an electrical coolbox for any perishables and to power that I will install a battery that will get charged by my car and a solarpanel on the roof.
The start of the building process!
To start at all, I'll need to gut the interior. The back seat, belts and side paneling needed to go. Be carefull of any wiring.. I had to make the trip back to the garage where I brought Fiati from because I was blessed with a christmas tree on my dashboard, and it may or may not have been an error I created myself.


Next, I need materials for my floor and furnishings. I'm starting out with 4 180cmx220cm panels of pine plywood.

I started with a floorboard cut to the size of 180cmx120cm, so I could build all my other things around it. After the floor was fitted I could start cutting the first slightly more complicated pieces.
I figured I could extend the overhead compartment above the drivers seat to expand my storage space. To visualize how I wanted it done, I sketched out the concept.
You will see multiple sketches from here on out, most of these were done together with my dad. I could not have finished this project without help, so I am very glad for his wide knowledgebase in carpentry.

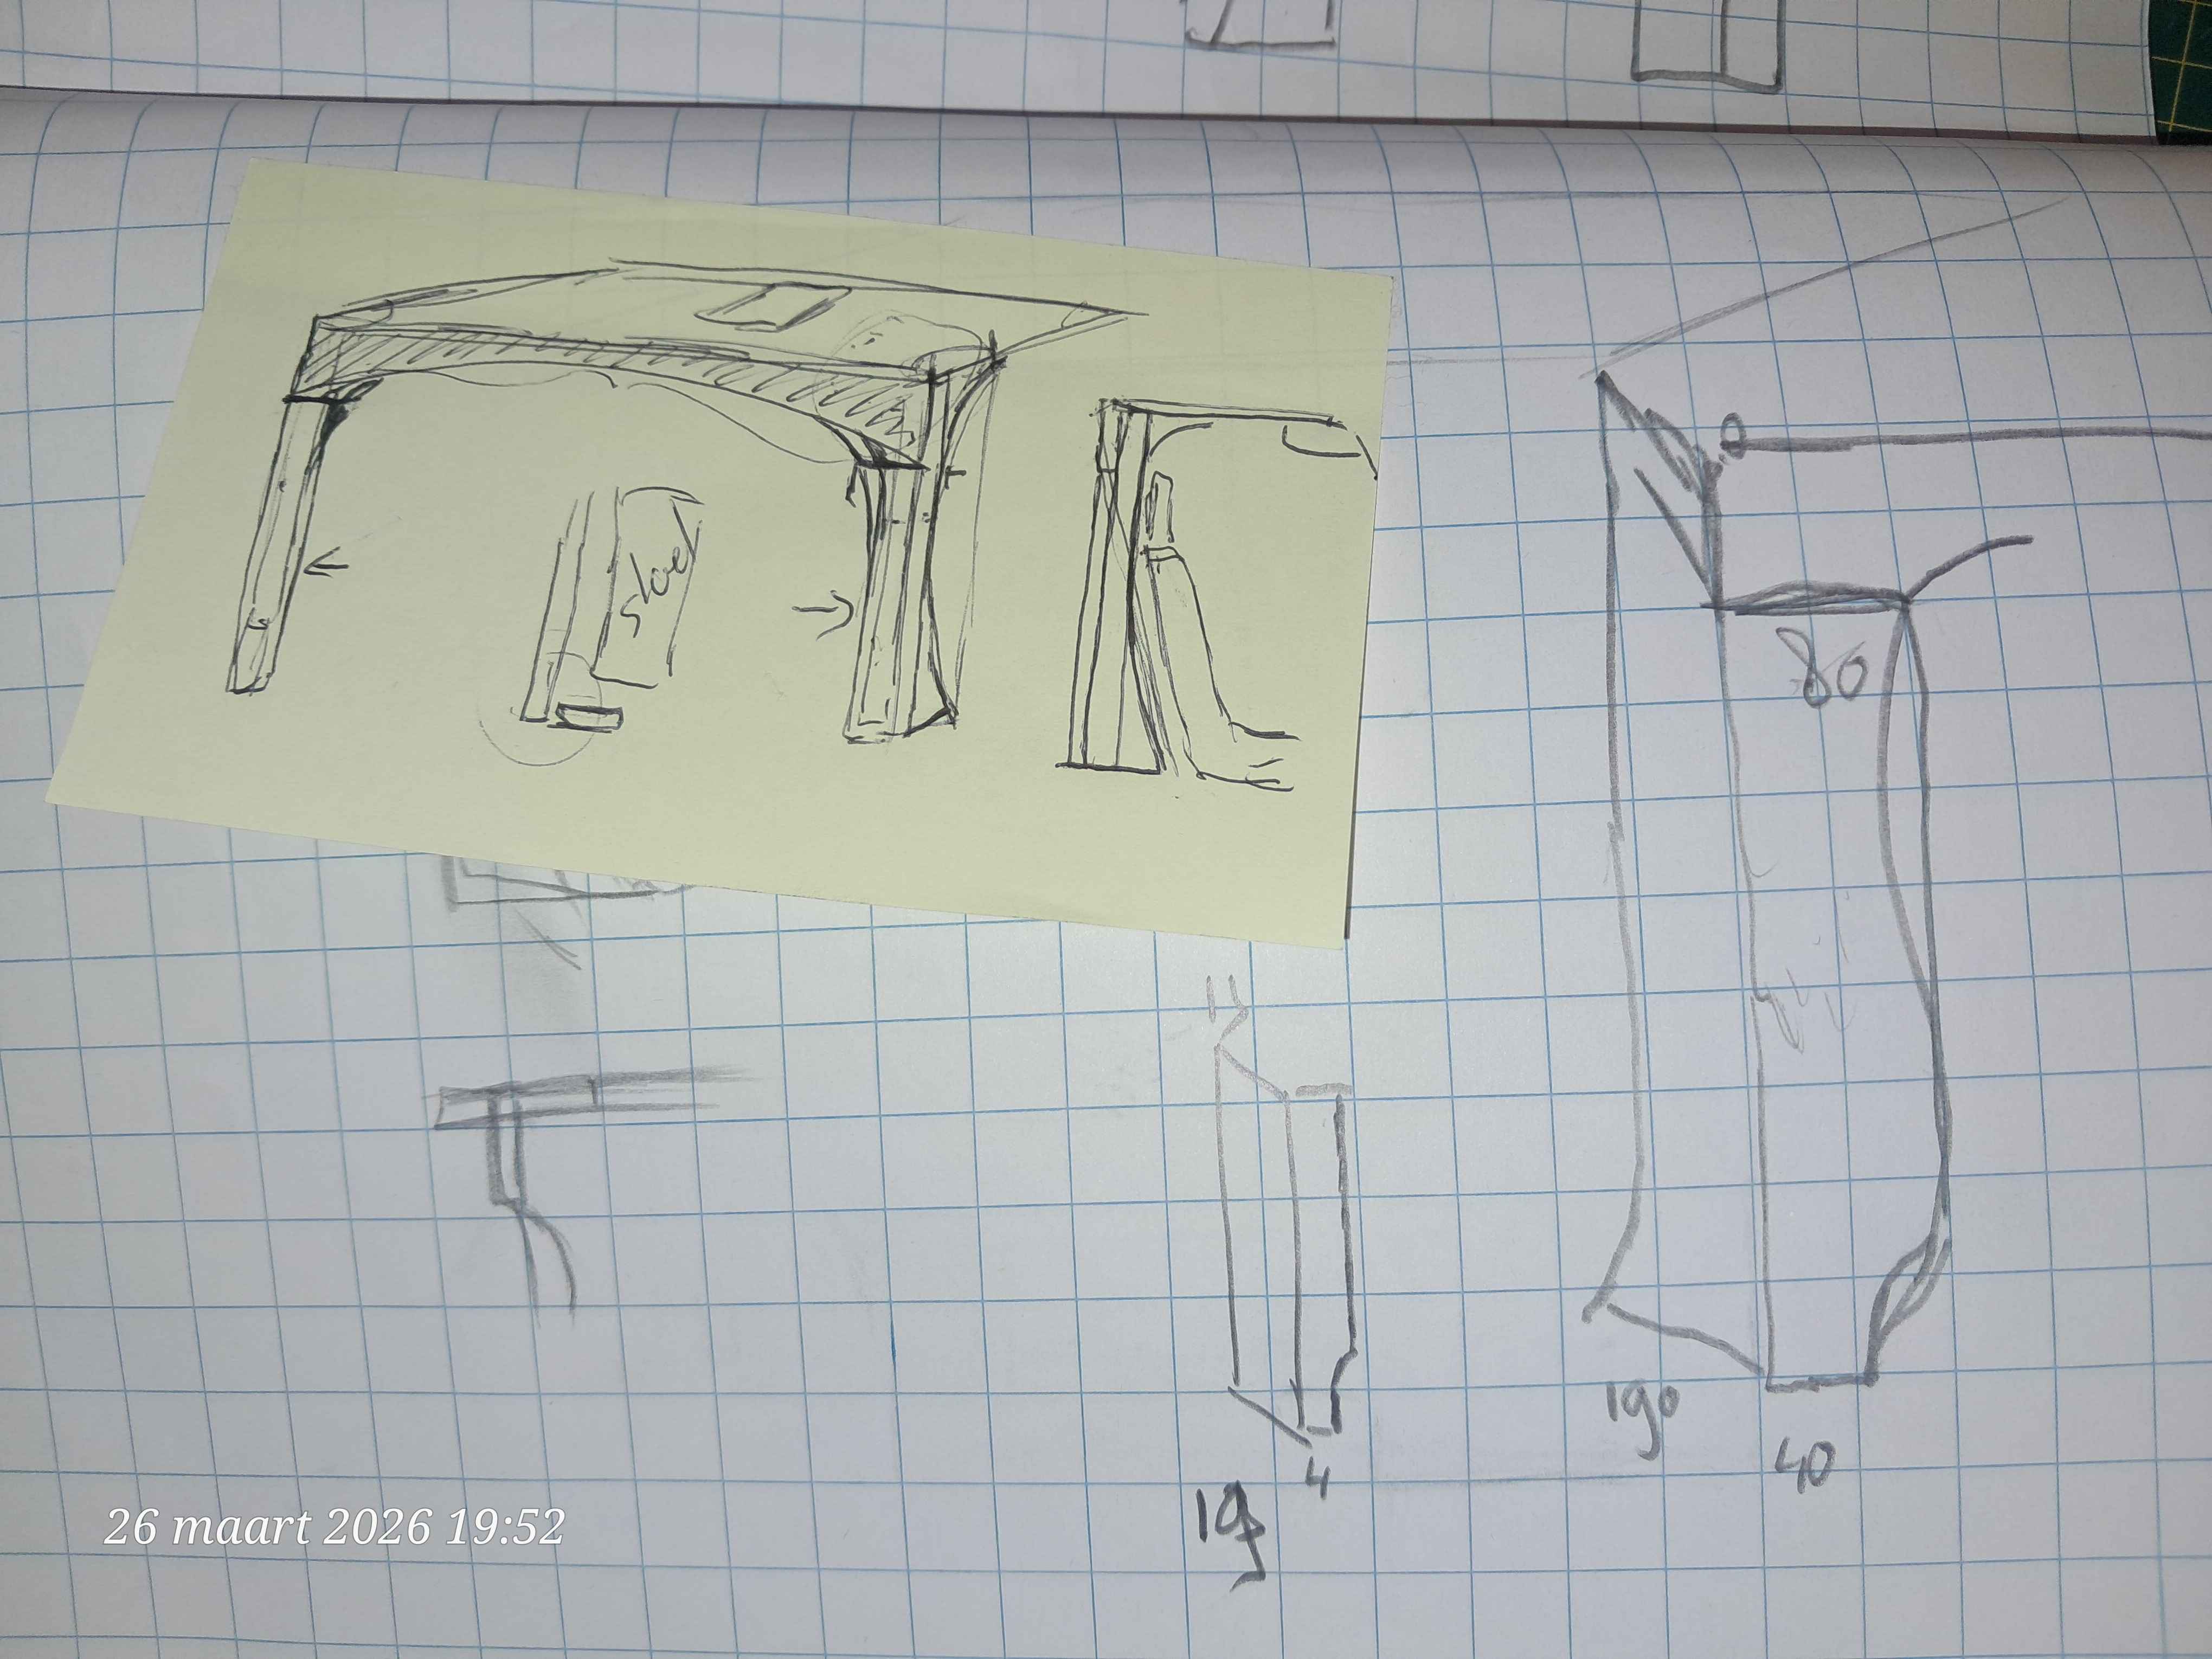
For now I have decided not to include any exact measurements. If you are here because you are interested in converting a doblo for yourself, contact me! I can give you any measurements you need. :)
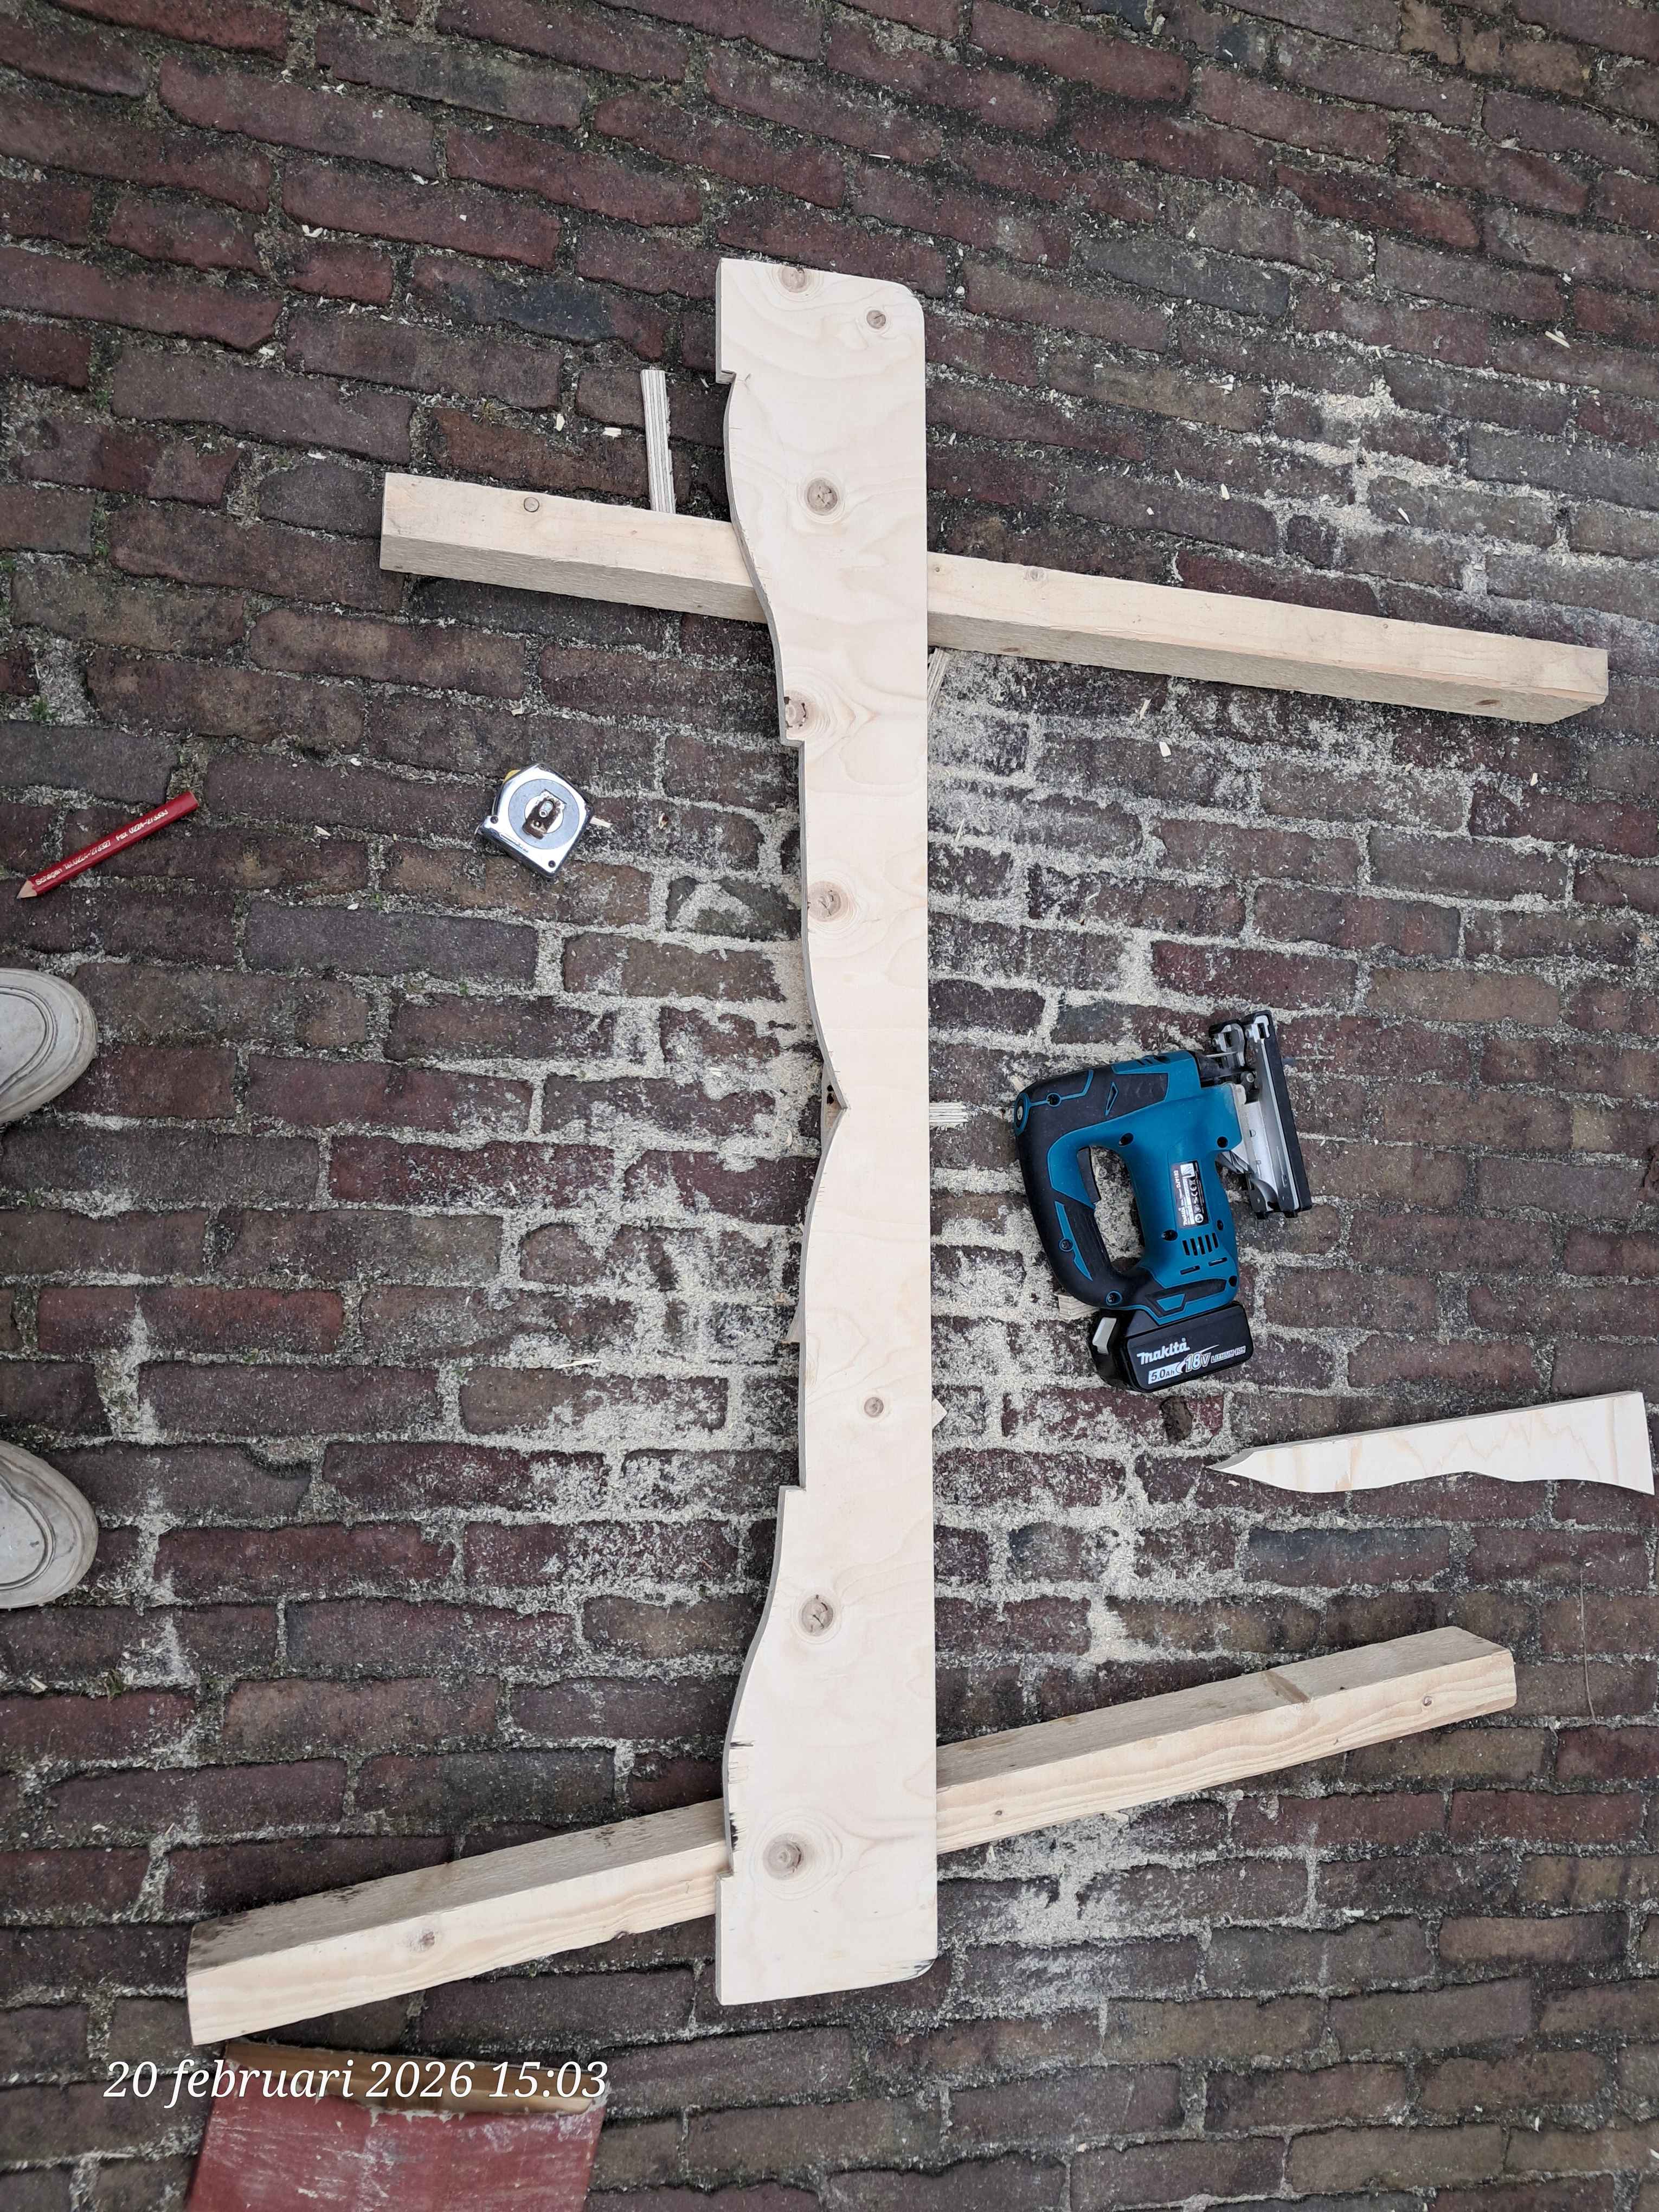
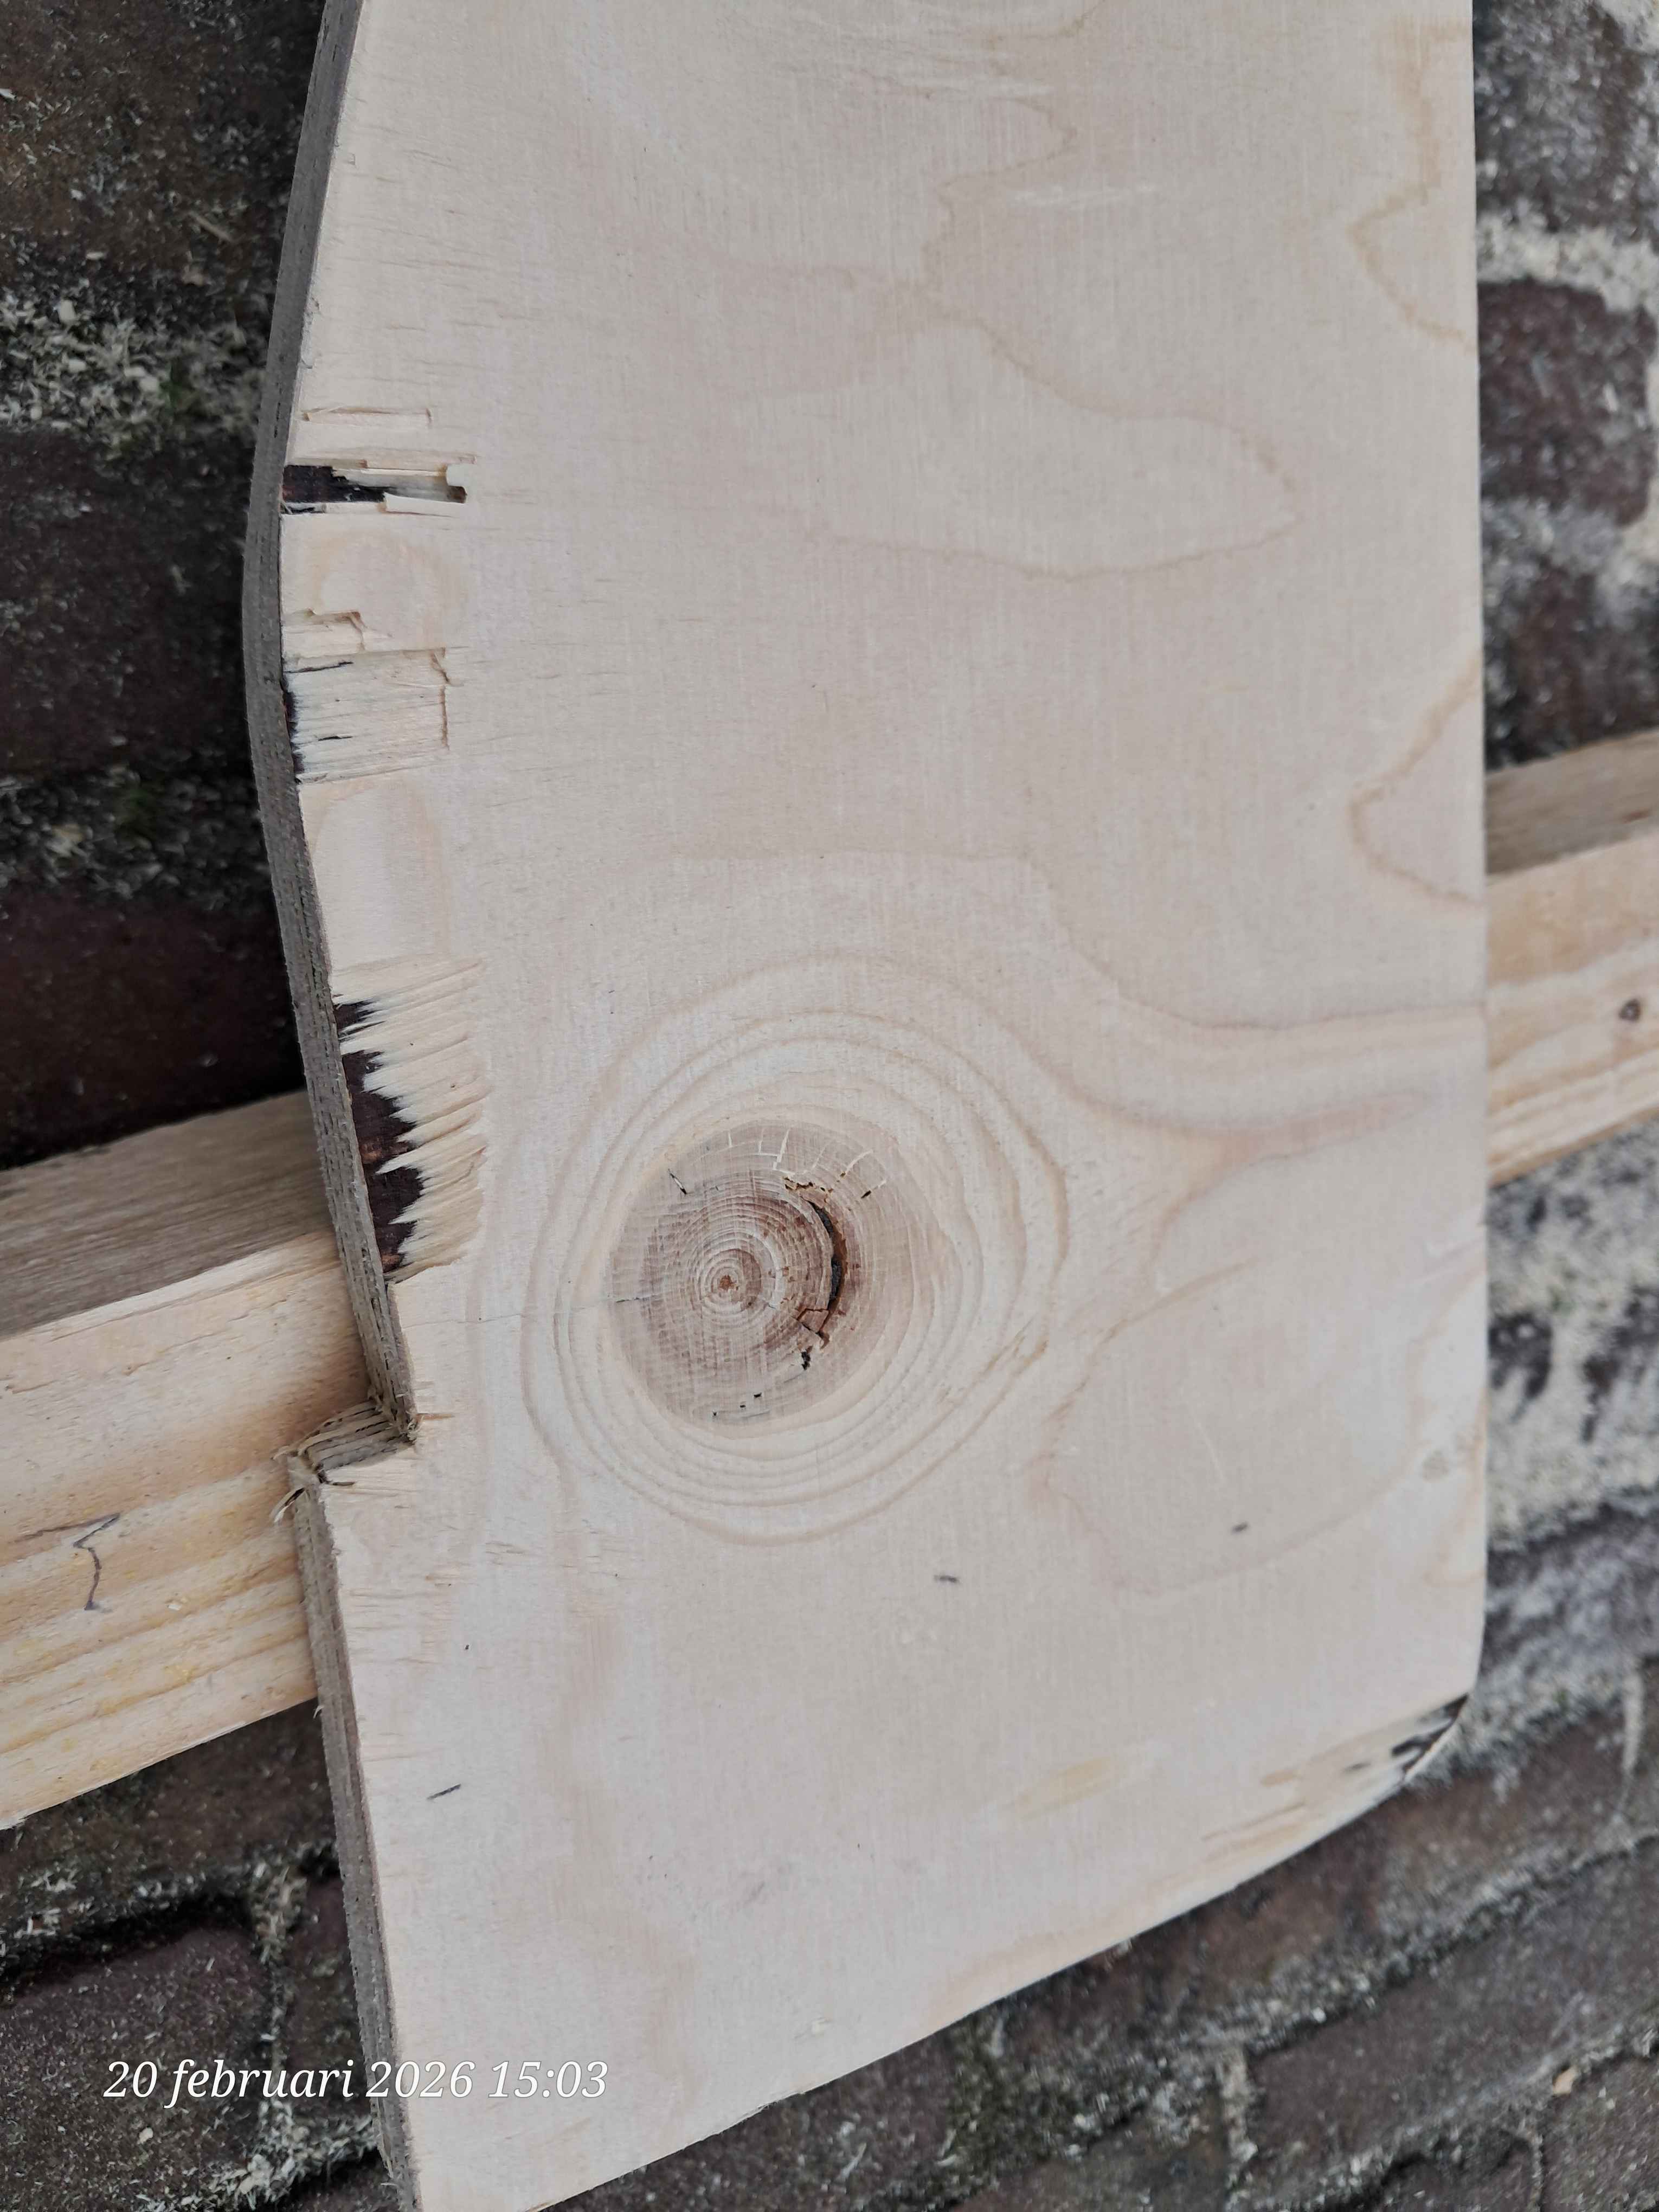
I love myself some attention to detail, so I decided to focus on making the overhead arch a little bit interesting. Using a jigzaw, I cut a decorative curve. This piece is raised a little bit above the overhead plank, in the hope that it would prevent any blankets or pillows from falling out while driving. During the cutting I learned that jigsaws can rip apart layers from plywood, if one is not careful.
No sweat, it's a diy project after all!
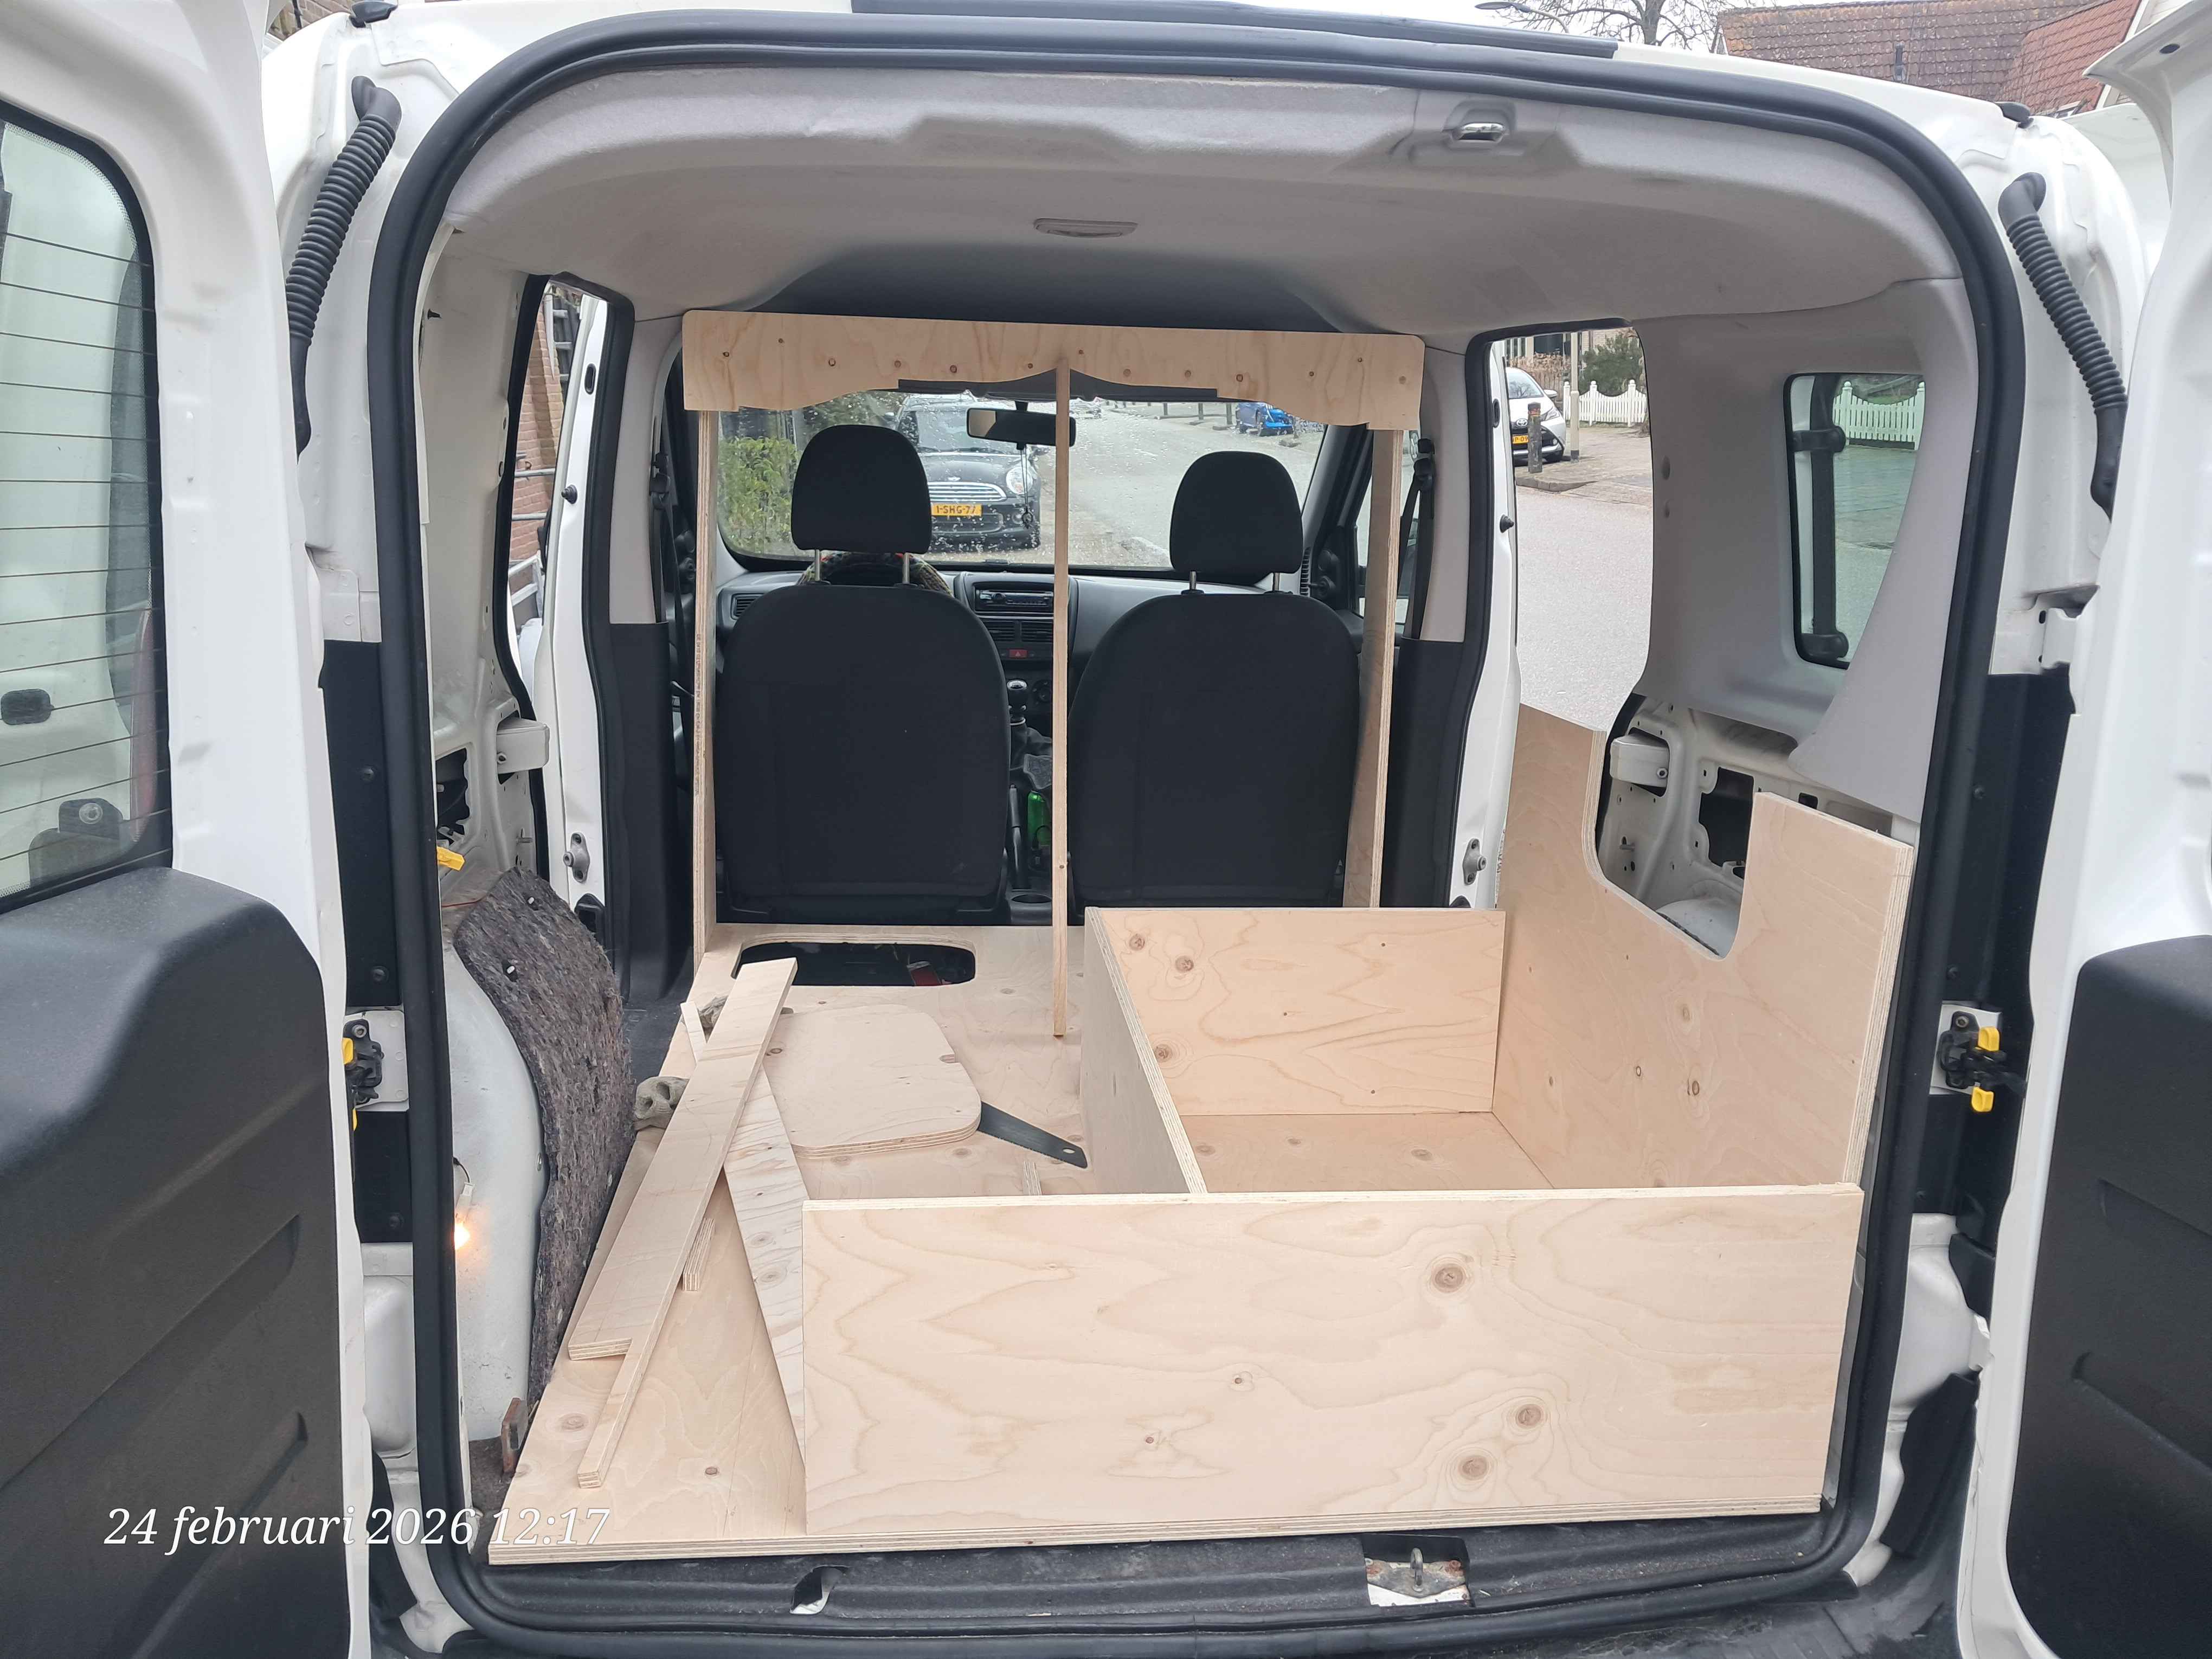
Just because I have my pieces cut out, doesn't mean I can just start screwing things in place. Very frustrating if you ask me, but I needed to be sure that all the pieces that will be connected can actually fit together. Everything eventually needed to be installed onto my floorboard, including my bed.
Because my Doblo originally came with a backseat, I was blessed with footwells. To actually get some function out of them I needed to make holes in my floorboard and fill the sides with small, perfectly cut planks. To cut the hatches and to screw in the first pieces of my bed, I needed to remove the entire floorboard.
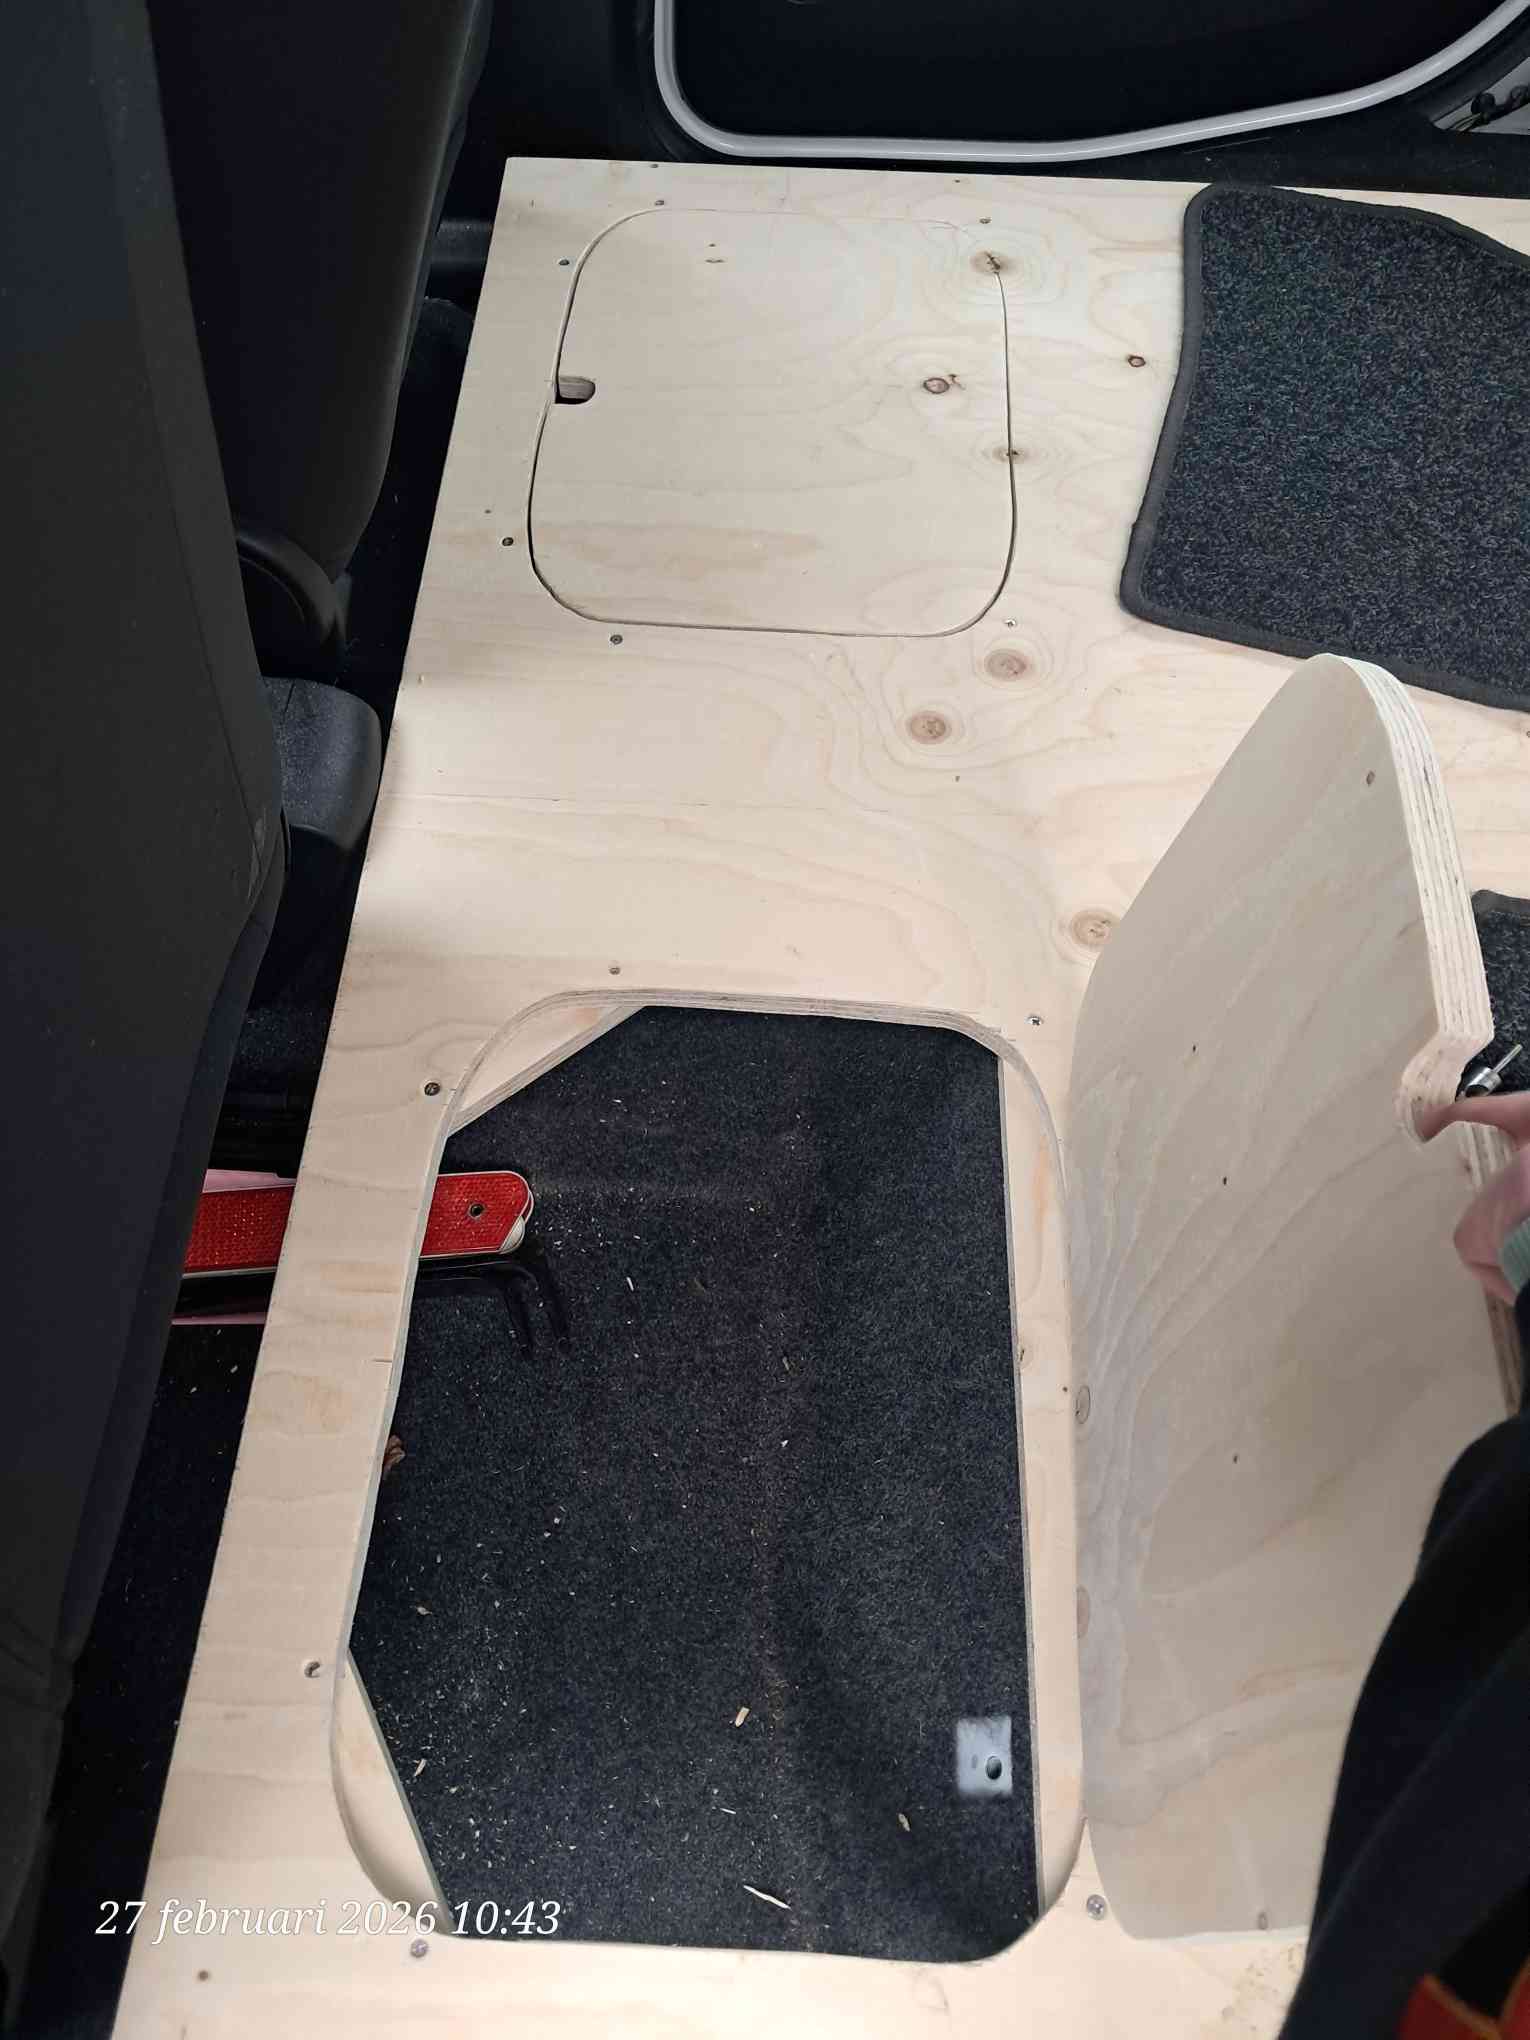

Once that was done, and the side pieces under my floorboard were installed I could screw in all the other cut pieces and finally see some actual progress happening.
You might notice that taller board on the right side of my car has a cut out. I plan to make a little cupboard there, to make use of some otherwise empty space. Of course that cut out also needed something decorative to fit the rest of the build.

Blinds
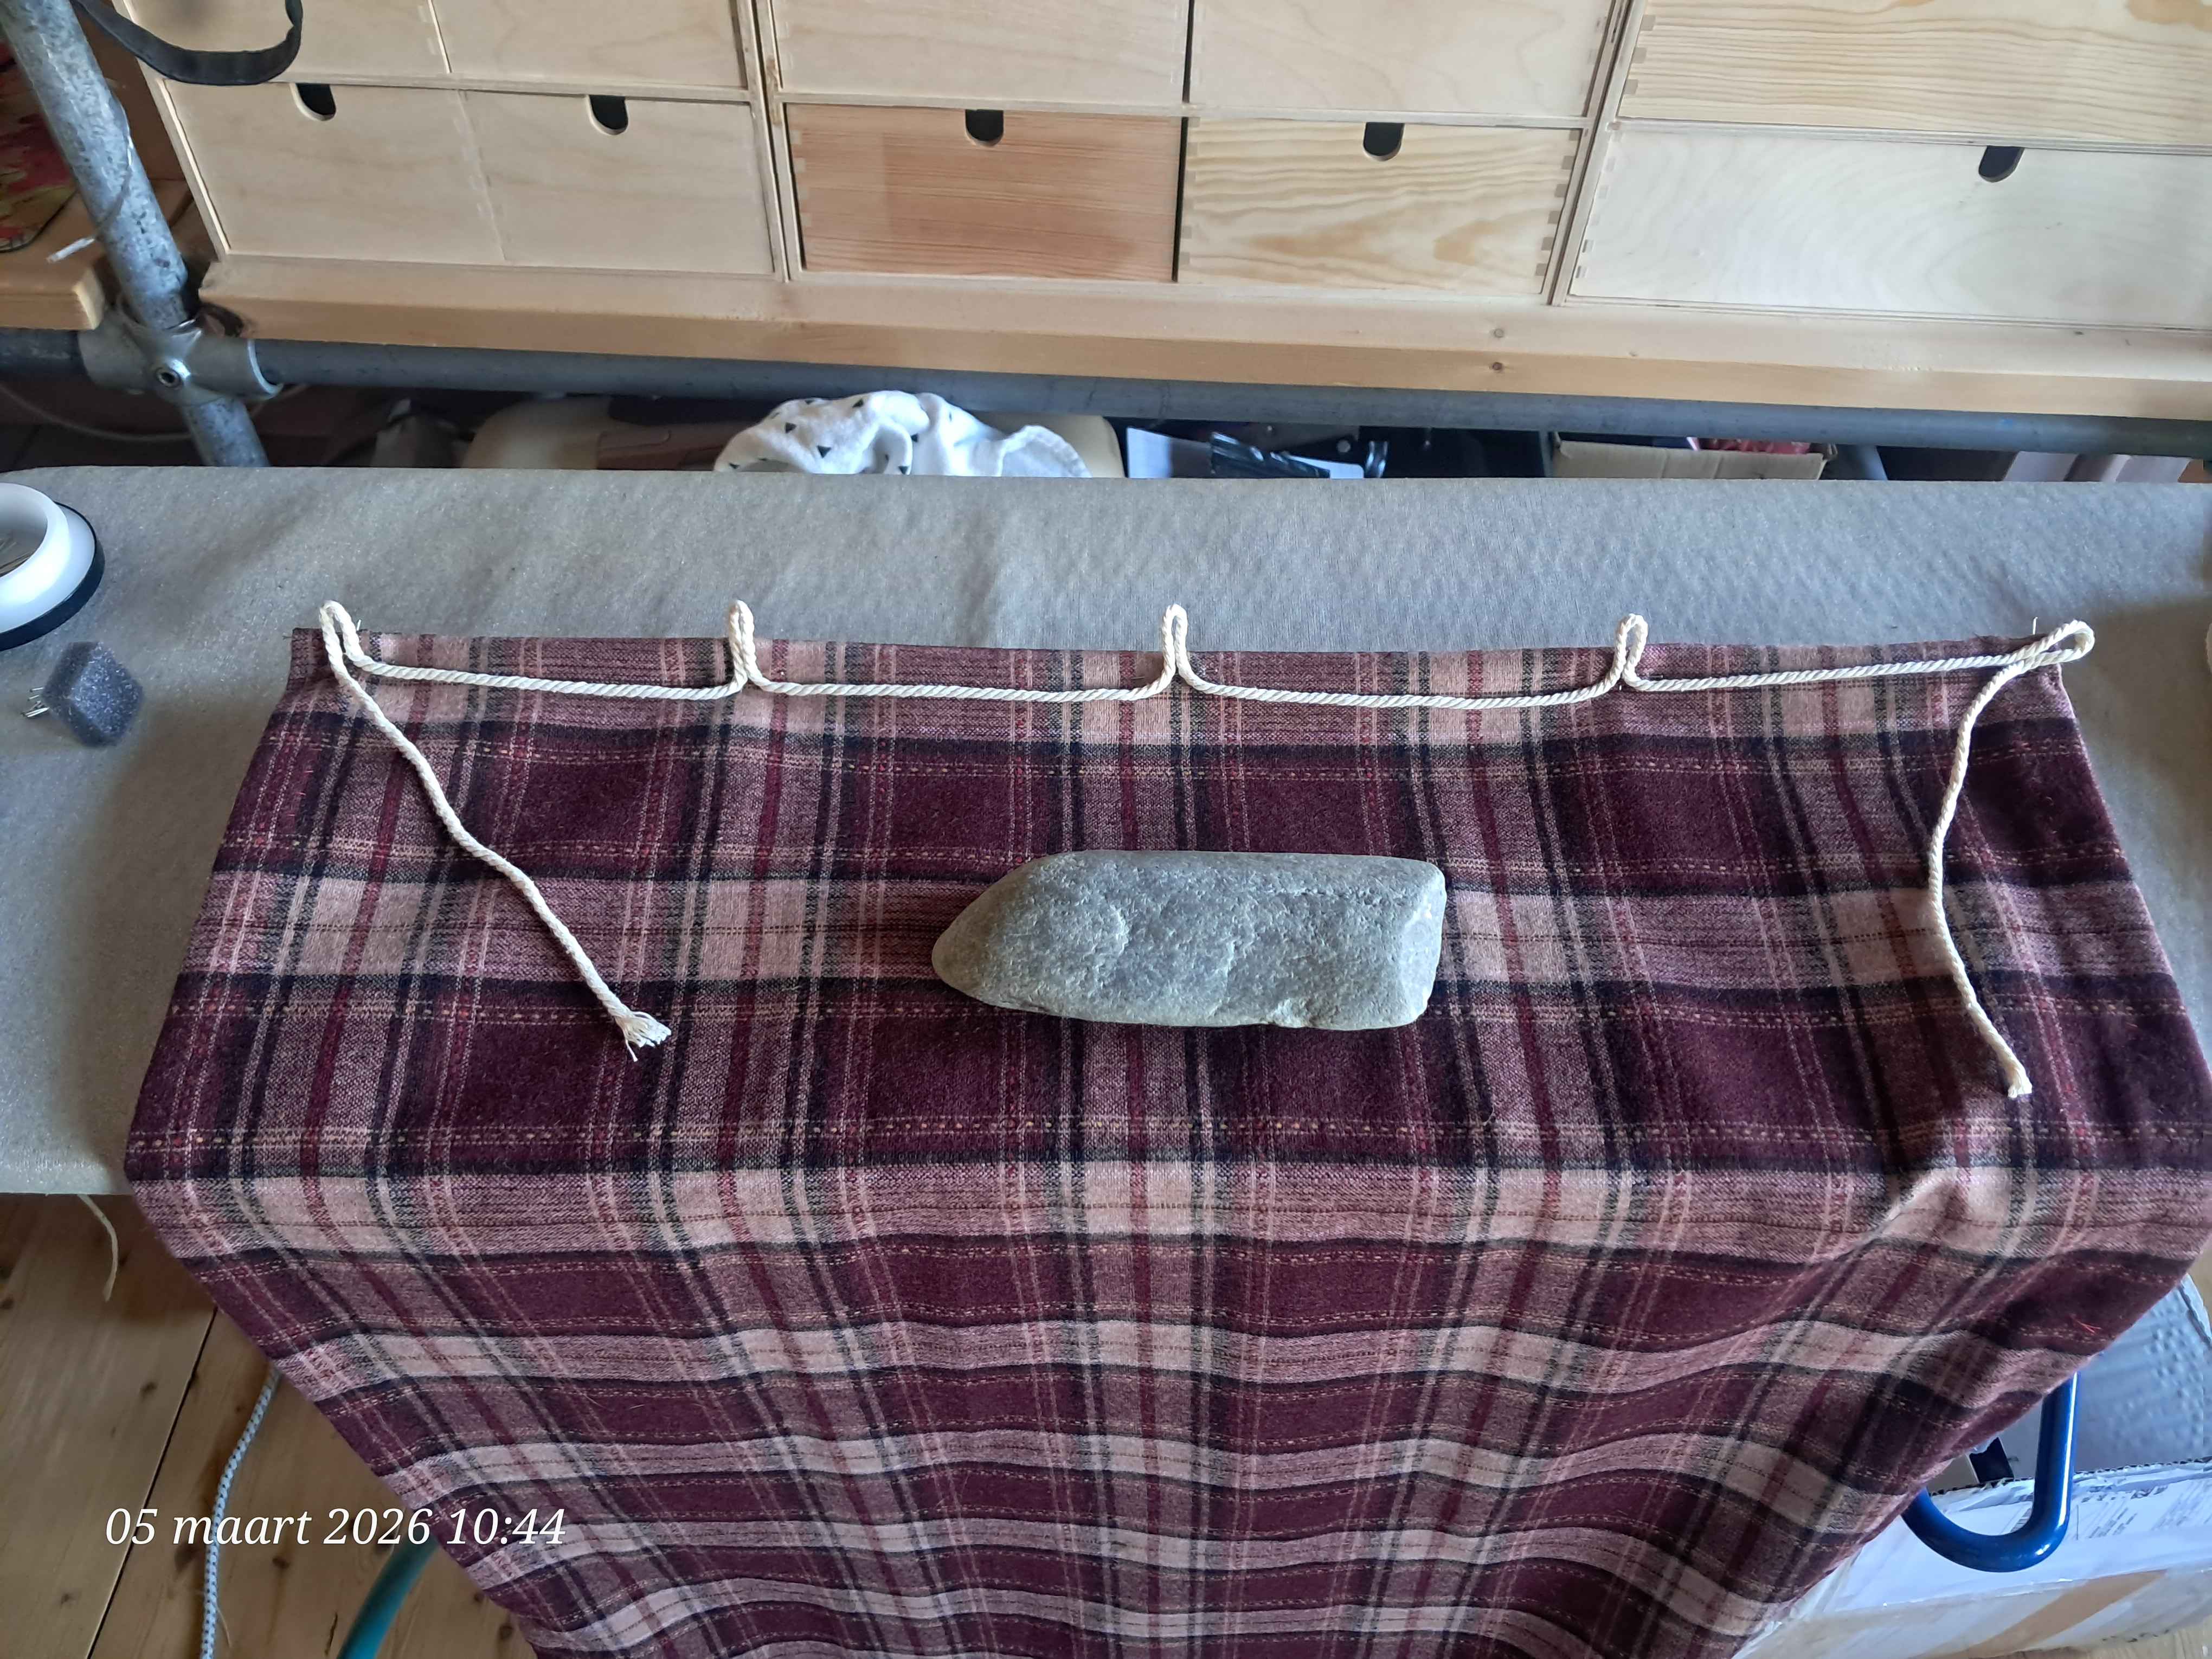
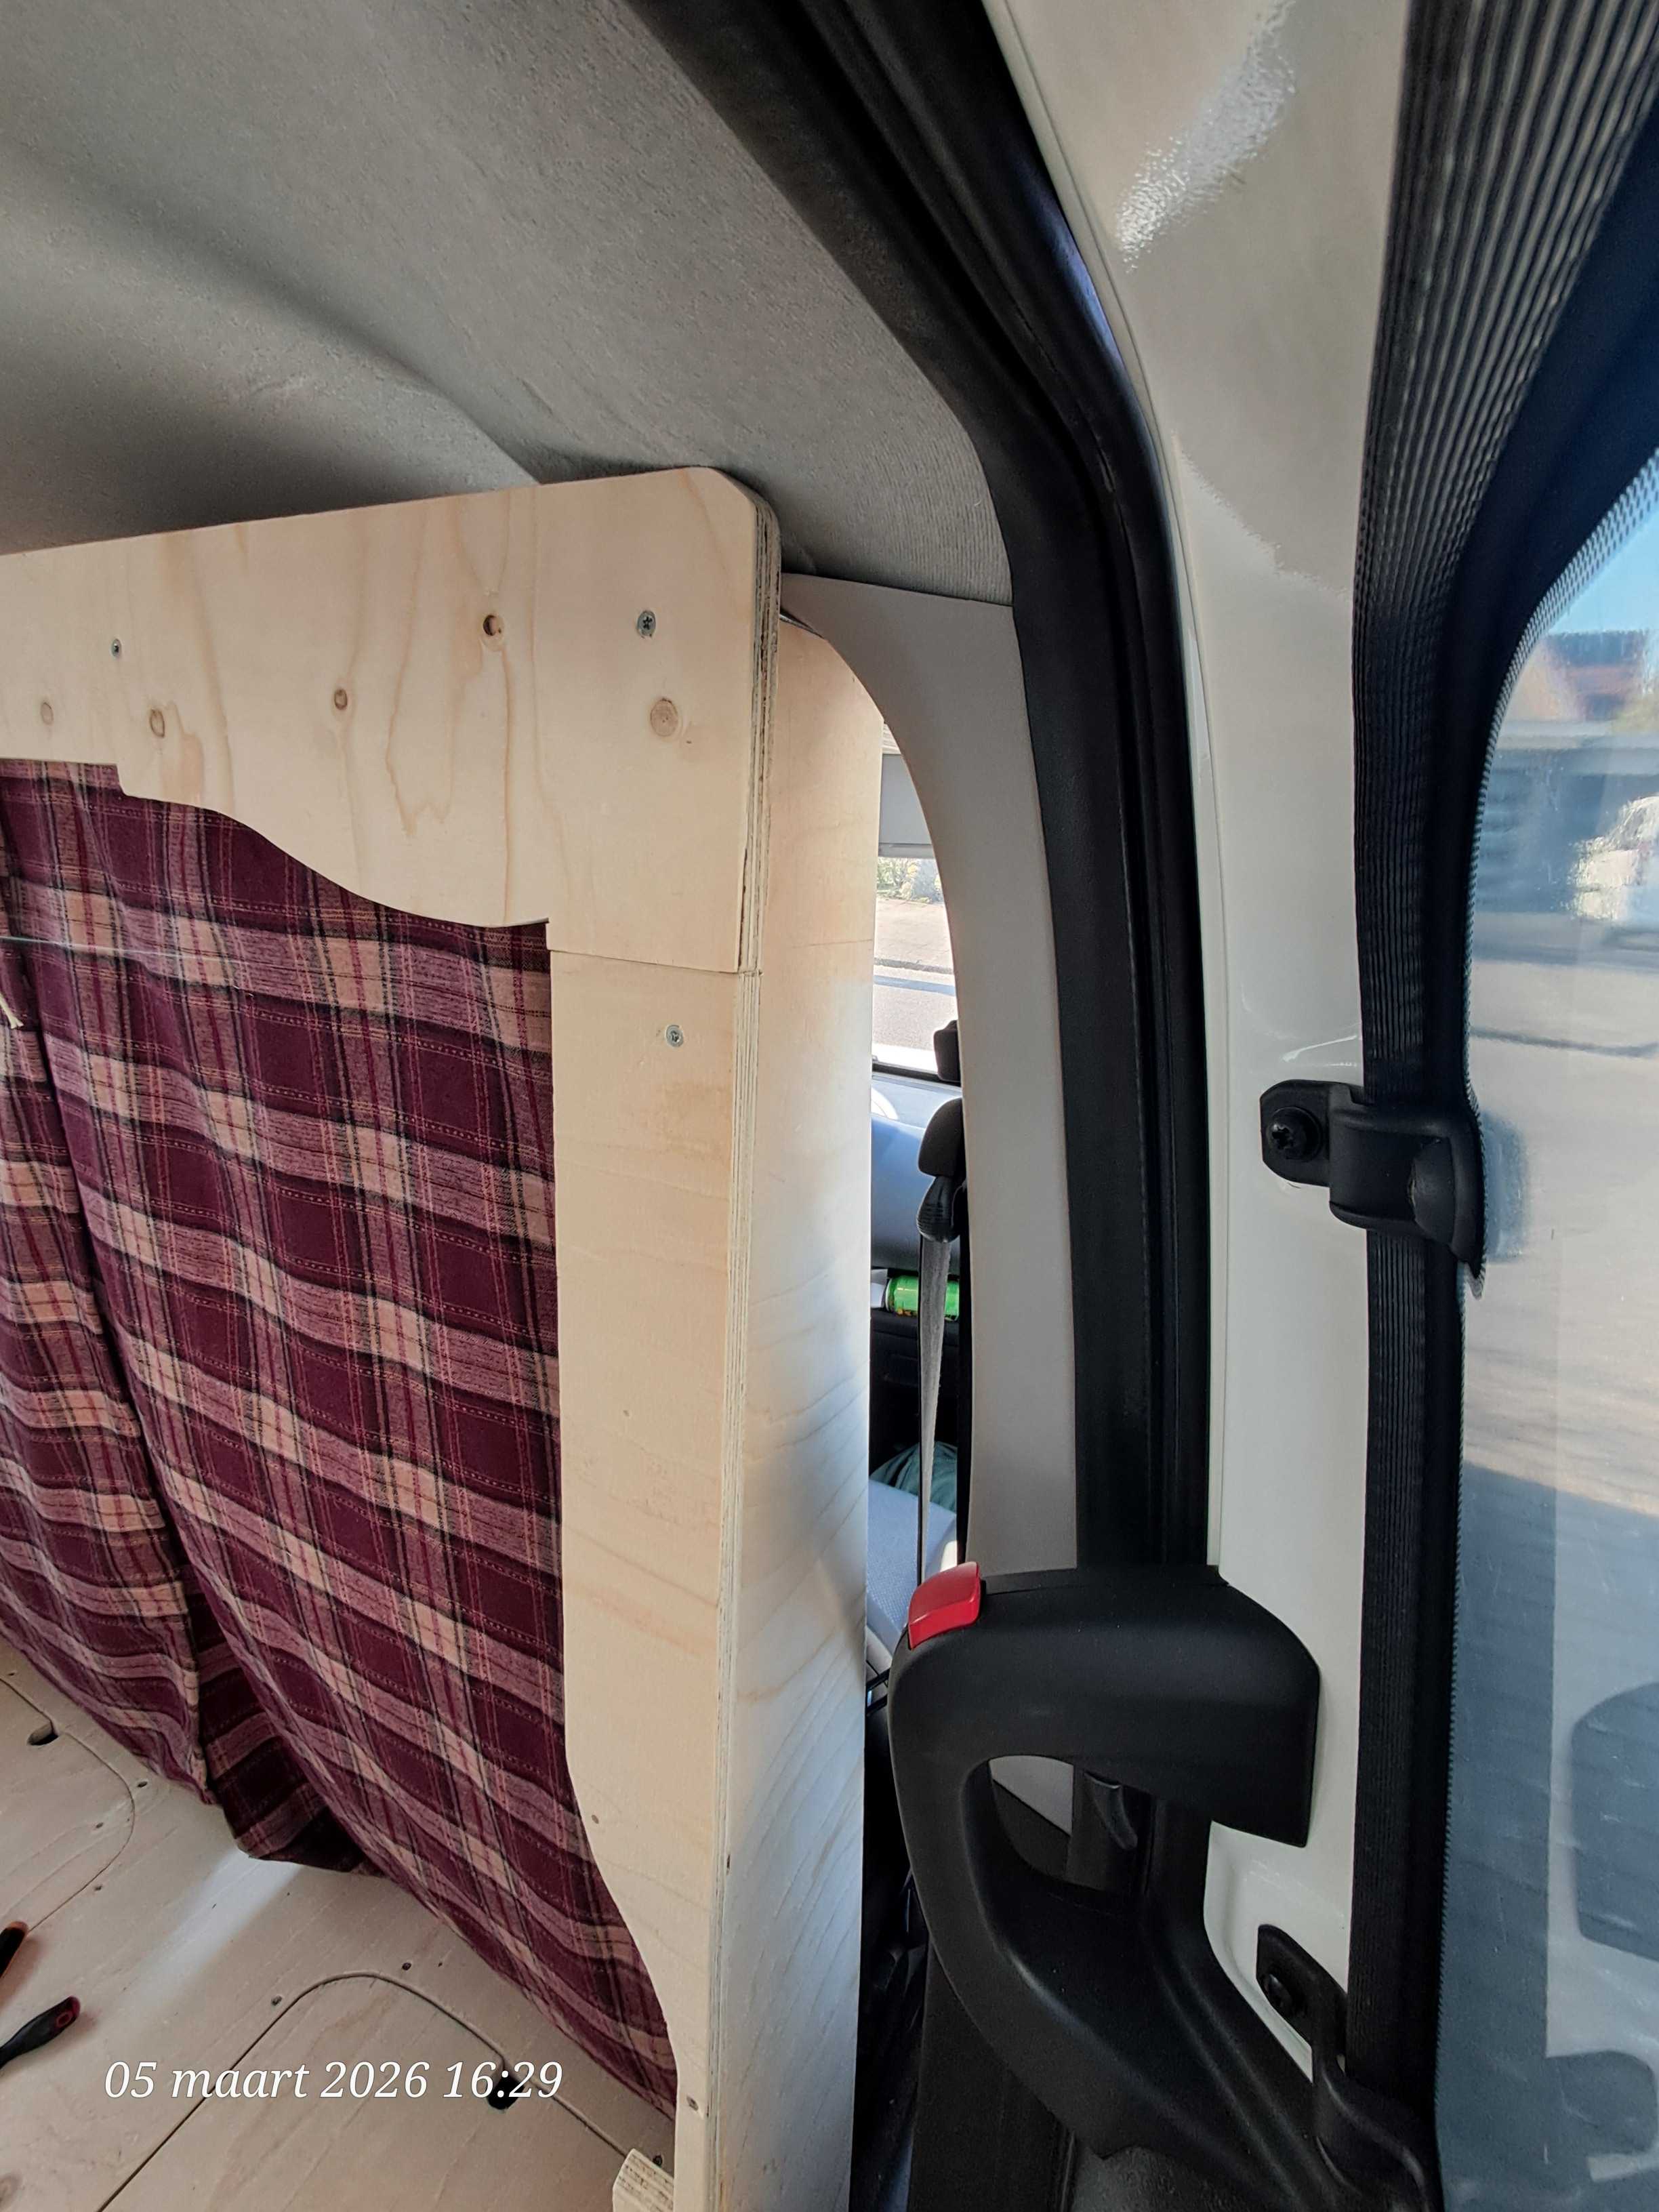
After the first wooden pieces were in place, I decided to focus on something else. I needed blinds for my various windows. To my frustration every window would need a different combination of mechanisms to keep the blinds in place and to relieve some of that frustration I thought to leave out the entire "cockpit" of my car. I have done this by attatching hanging curtains from the overhead arch. To do this, I used 2 fabrics for my blinds. A heavier wool/cotton blend for a decorative side and a cheap lightweight black lining to still sort off keep the illusion of an empty van. Pictures below show you the progress.
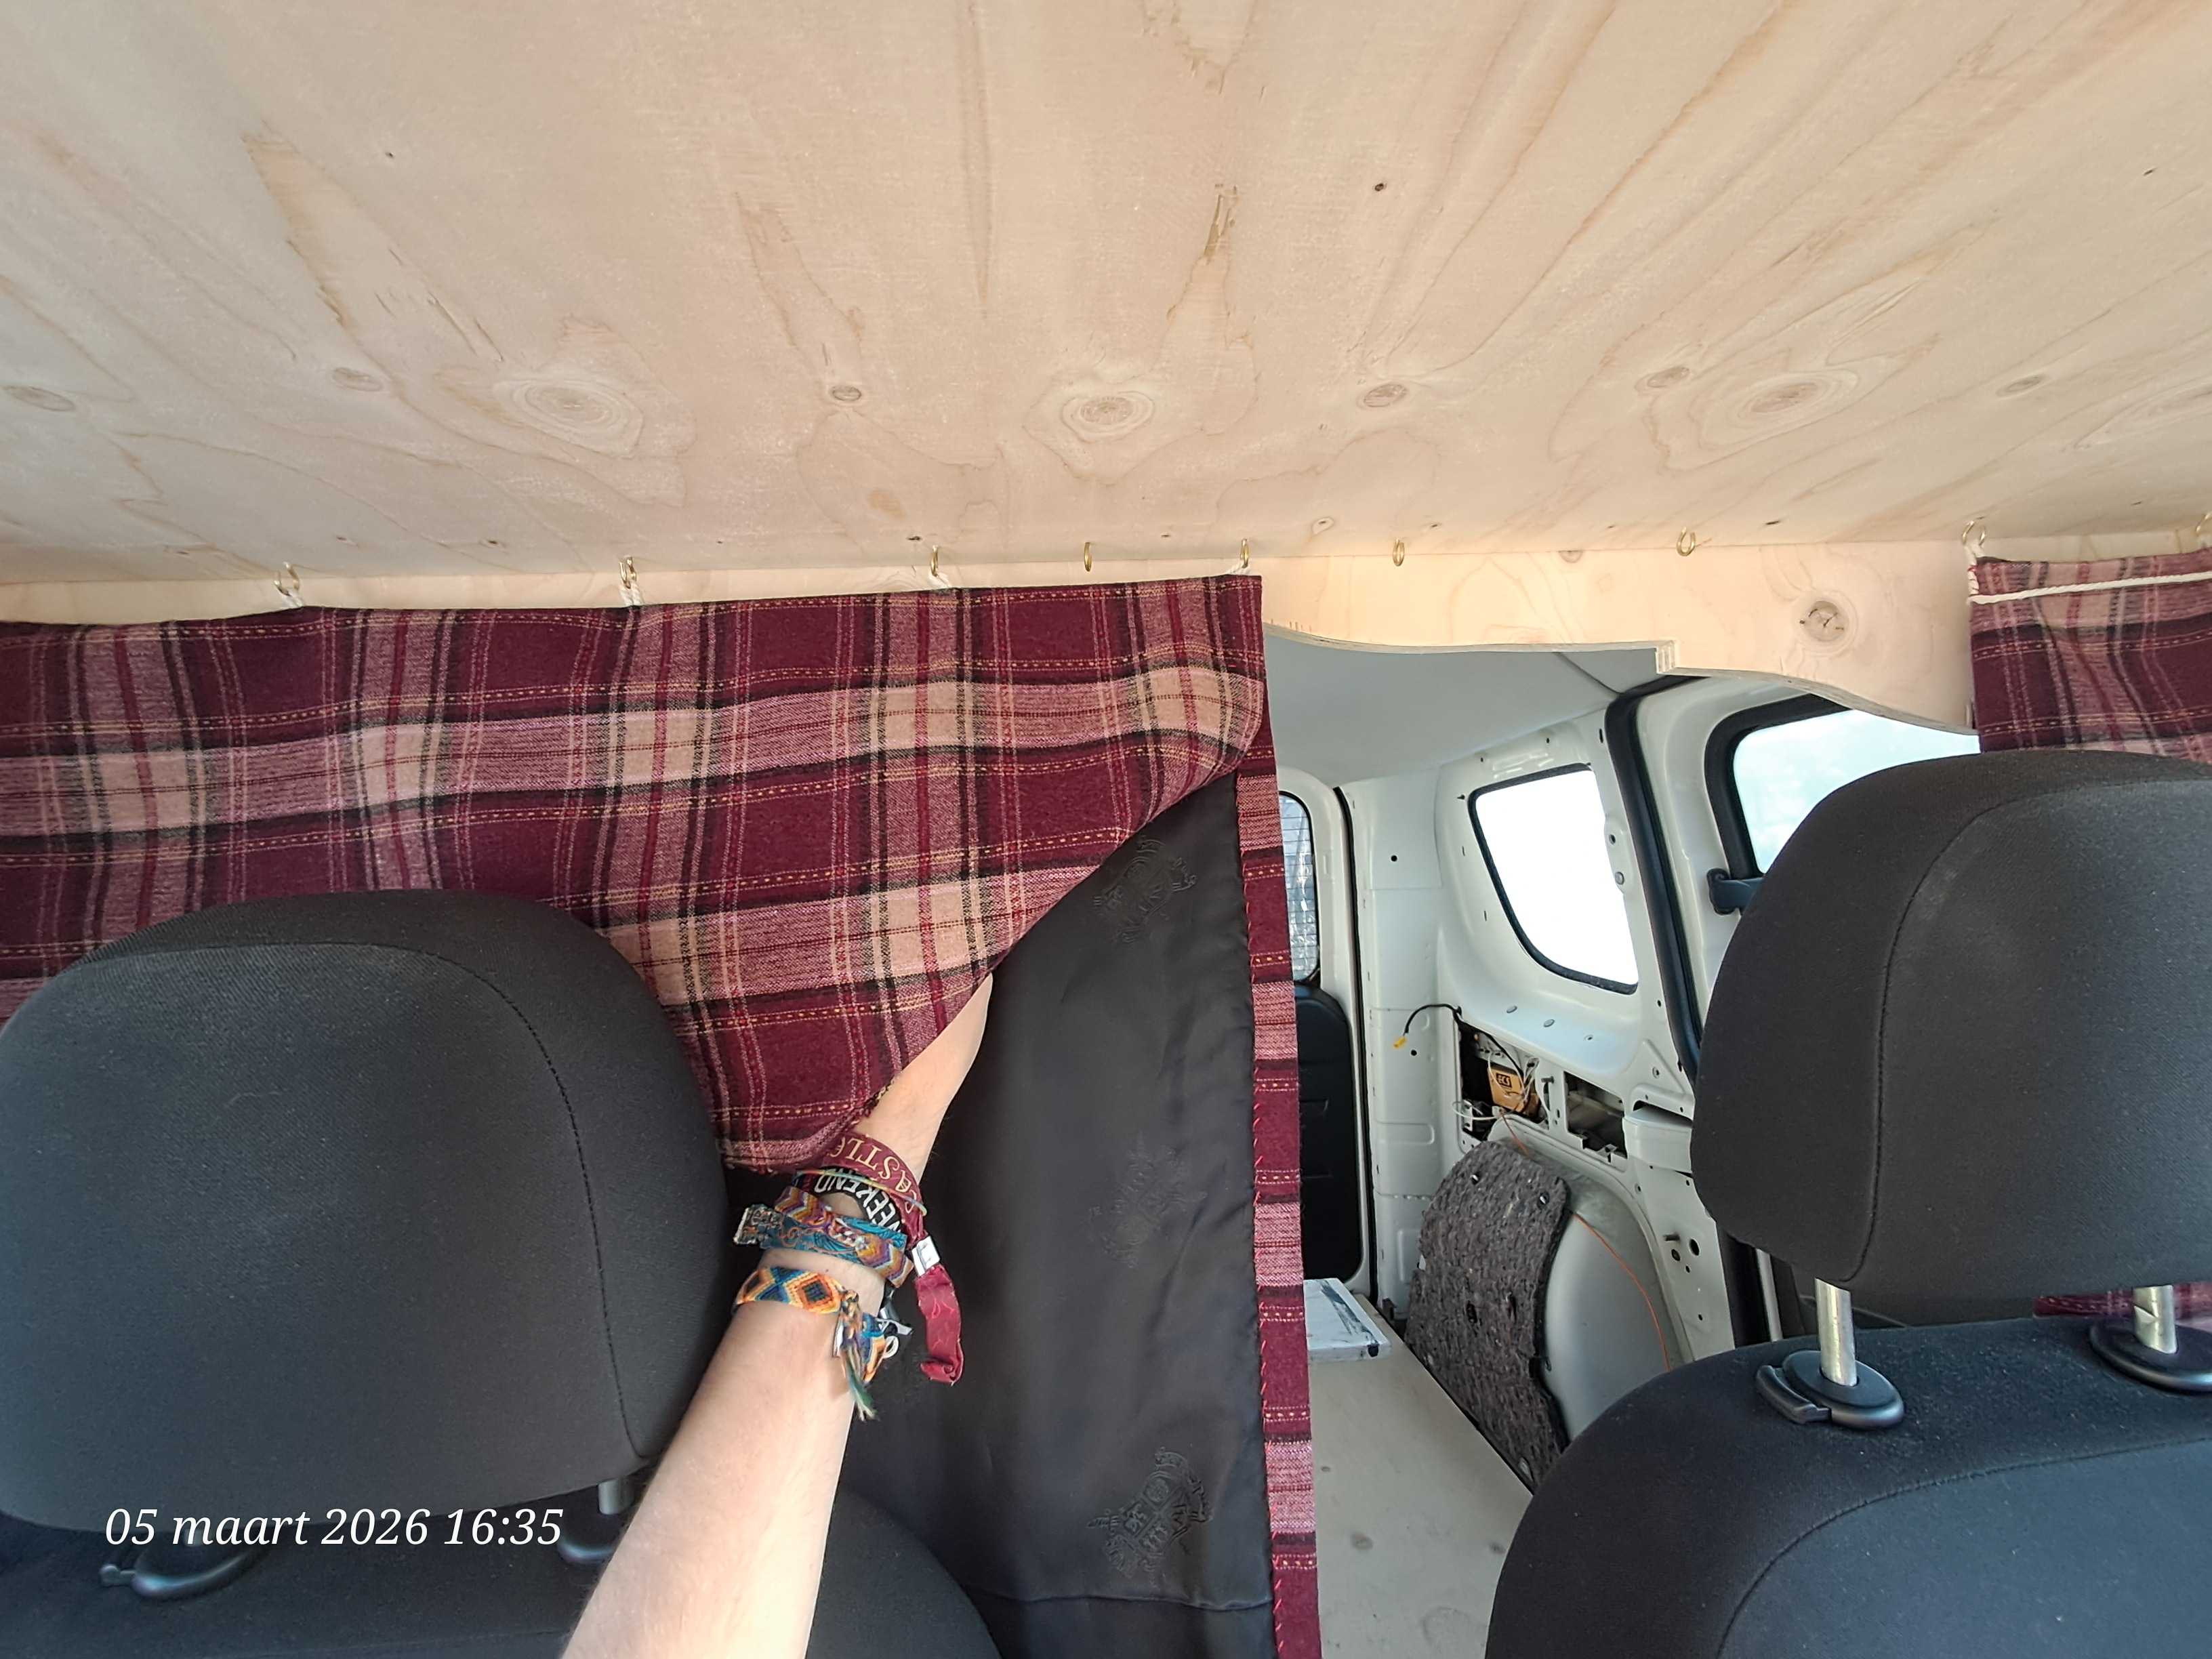
I still have to do some work on these. Mainly the finishing touches and I have to figure out something for the sides..

For the other blinds I used a mix of wedges and small magnets. I wish I had gone for the bigger magnets, but those get expensive so fast-.
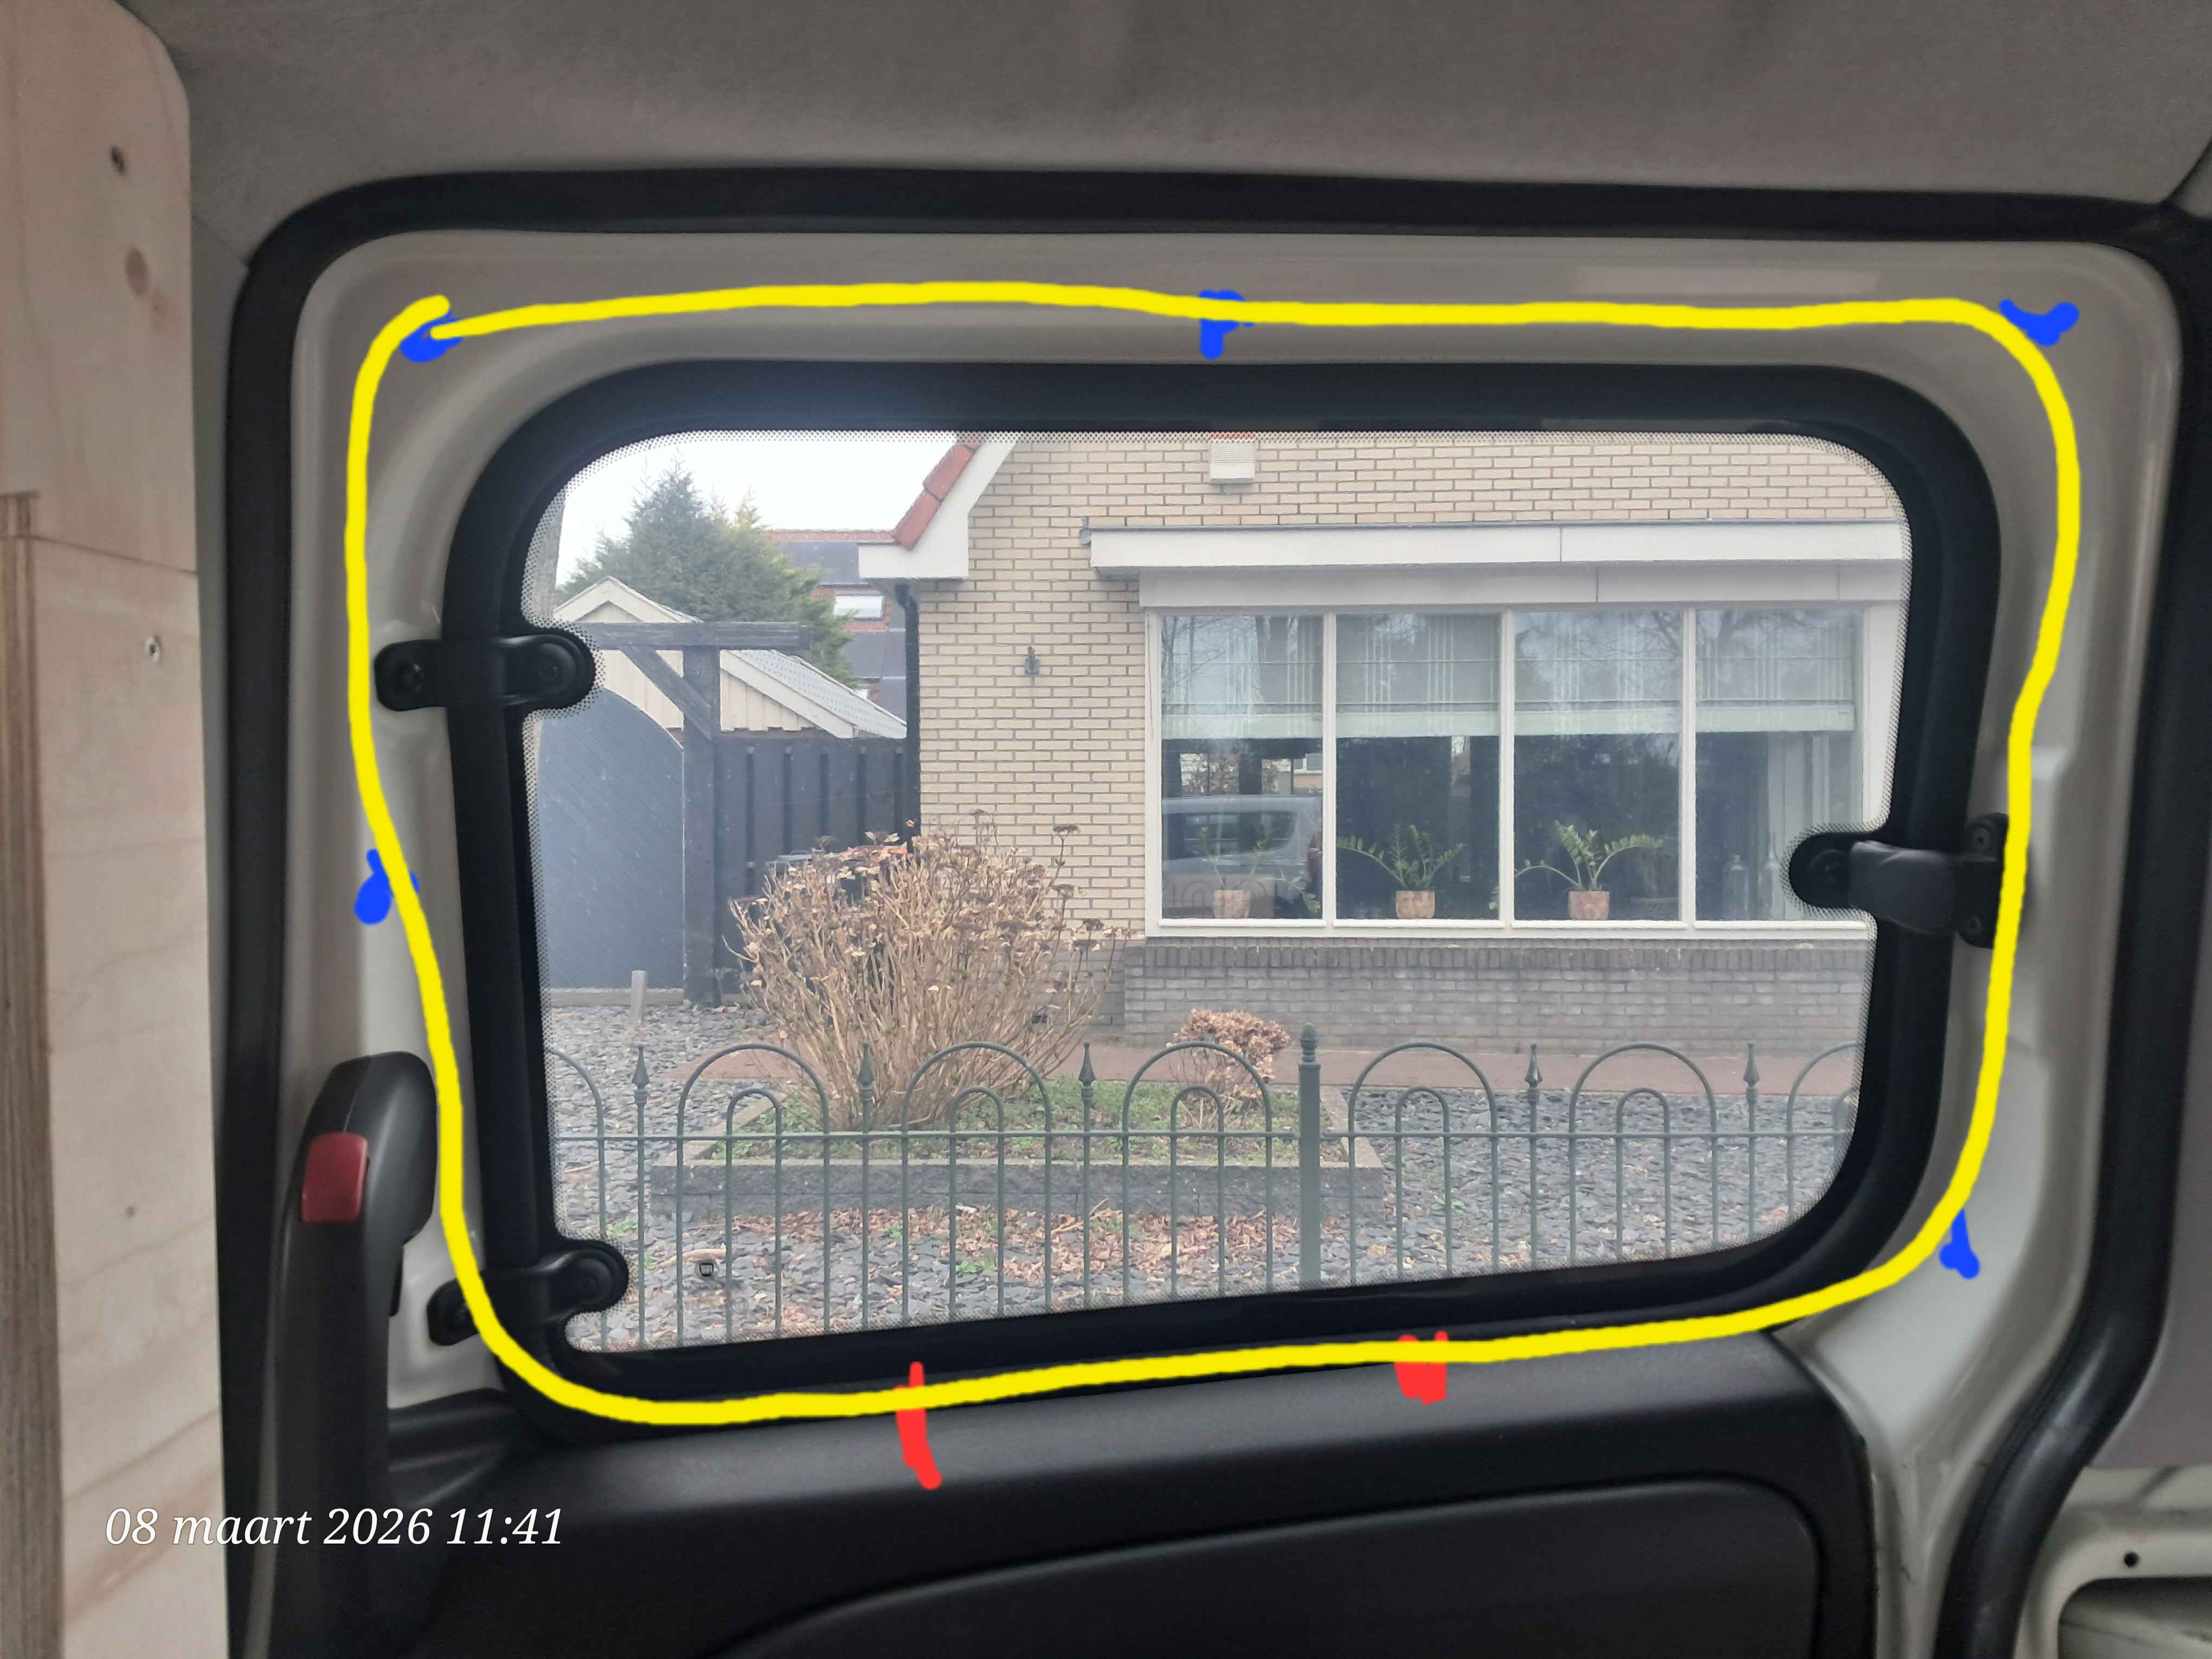
Step one was to work out the shapes.
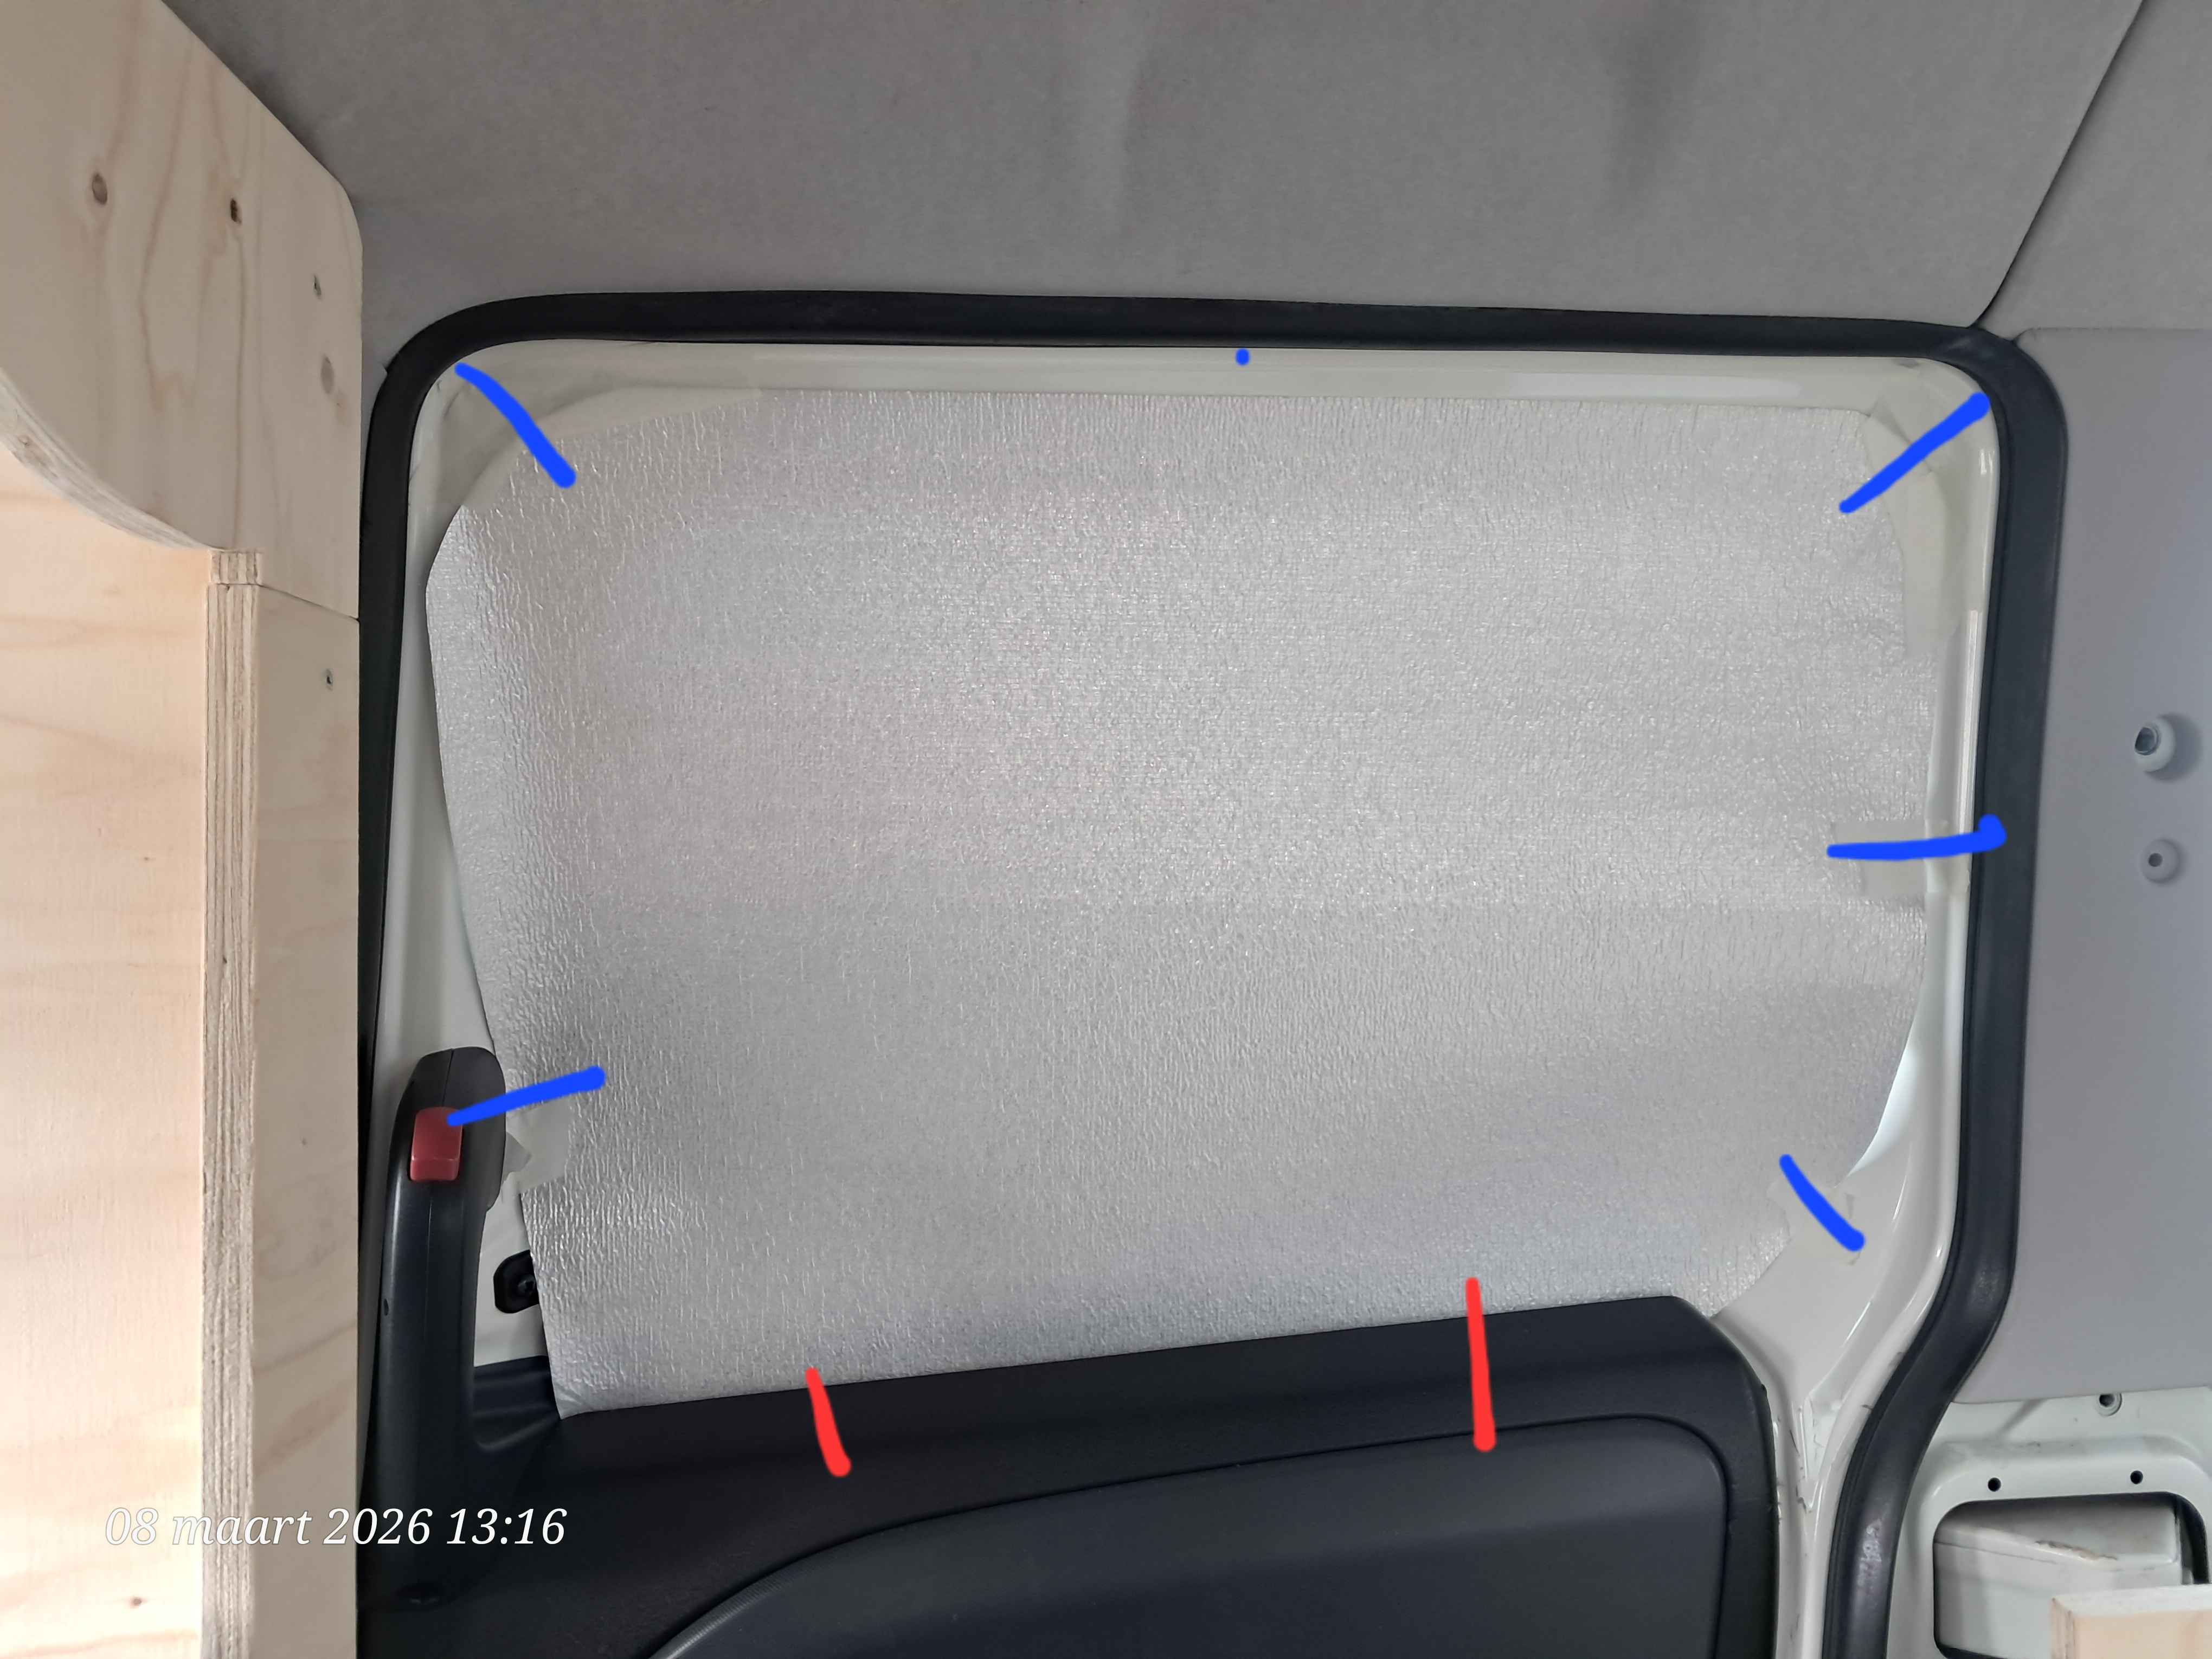
Then I cut that shape out of a reflectorfoil. The idea being that it could help regulate the inside themperature of the van. You might have noticed I skipped over the isolation process. This is a oversight if you plan to permanently live in this van, even during cold winter months. Due to how many windows I have it would already make a properly isolated van hard to accomplish. So knowing I will likely be home in the winter months, I decided to skip this step. Still adding this foil to my blinds in the hope it would atleast do something.
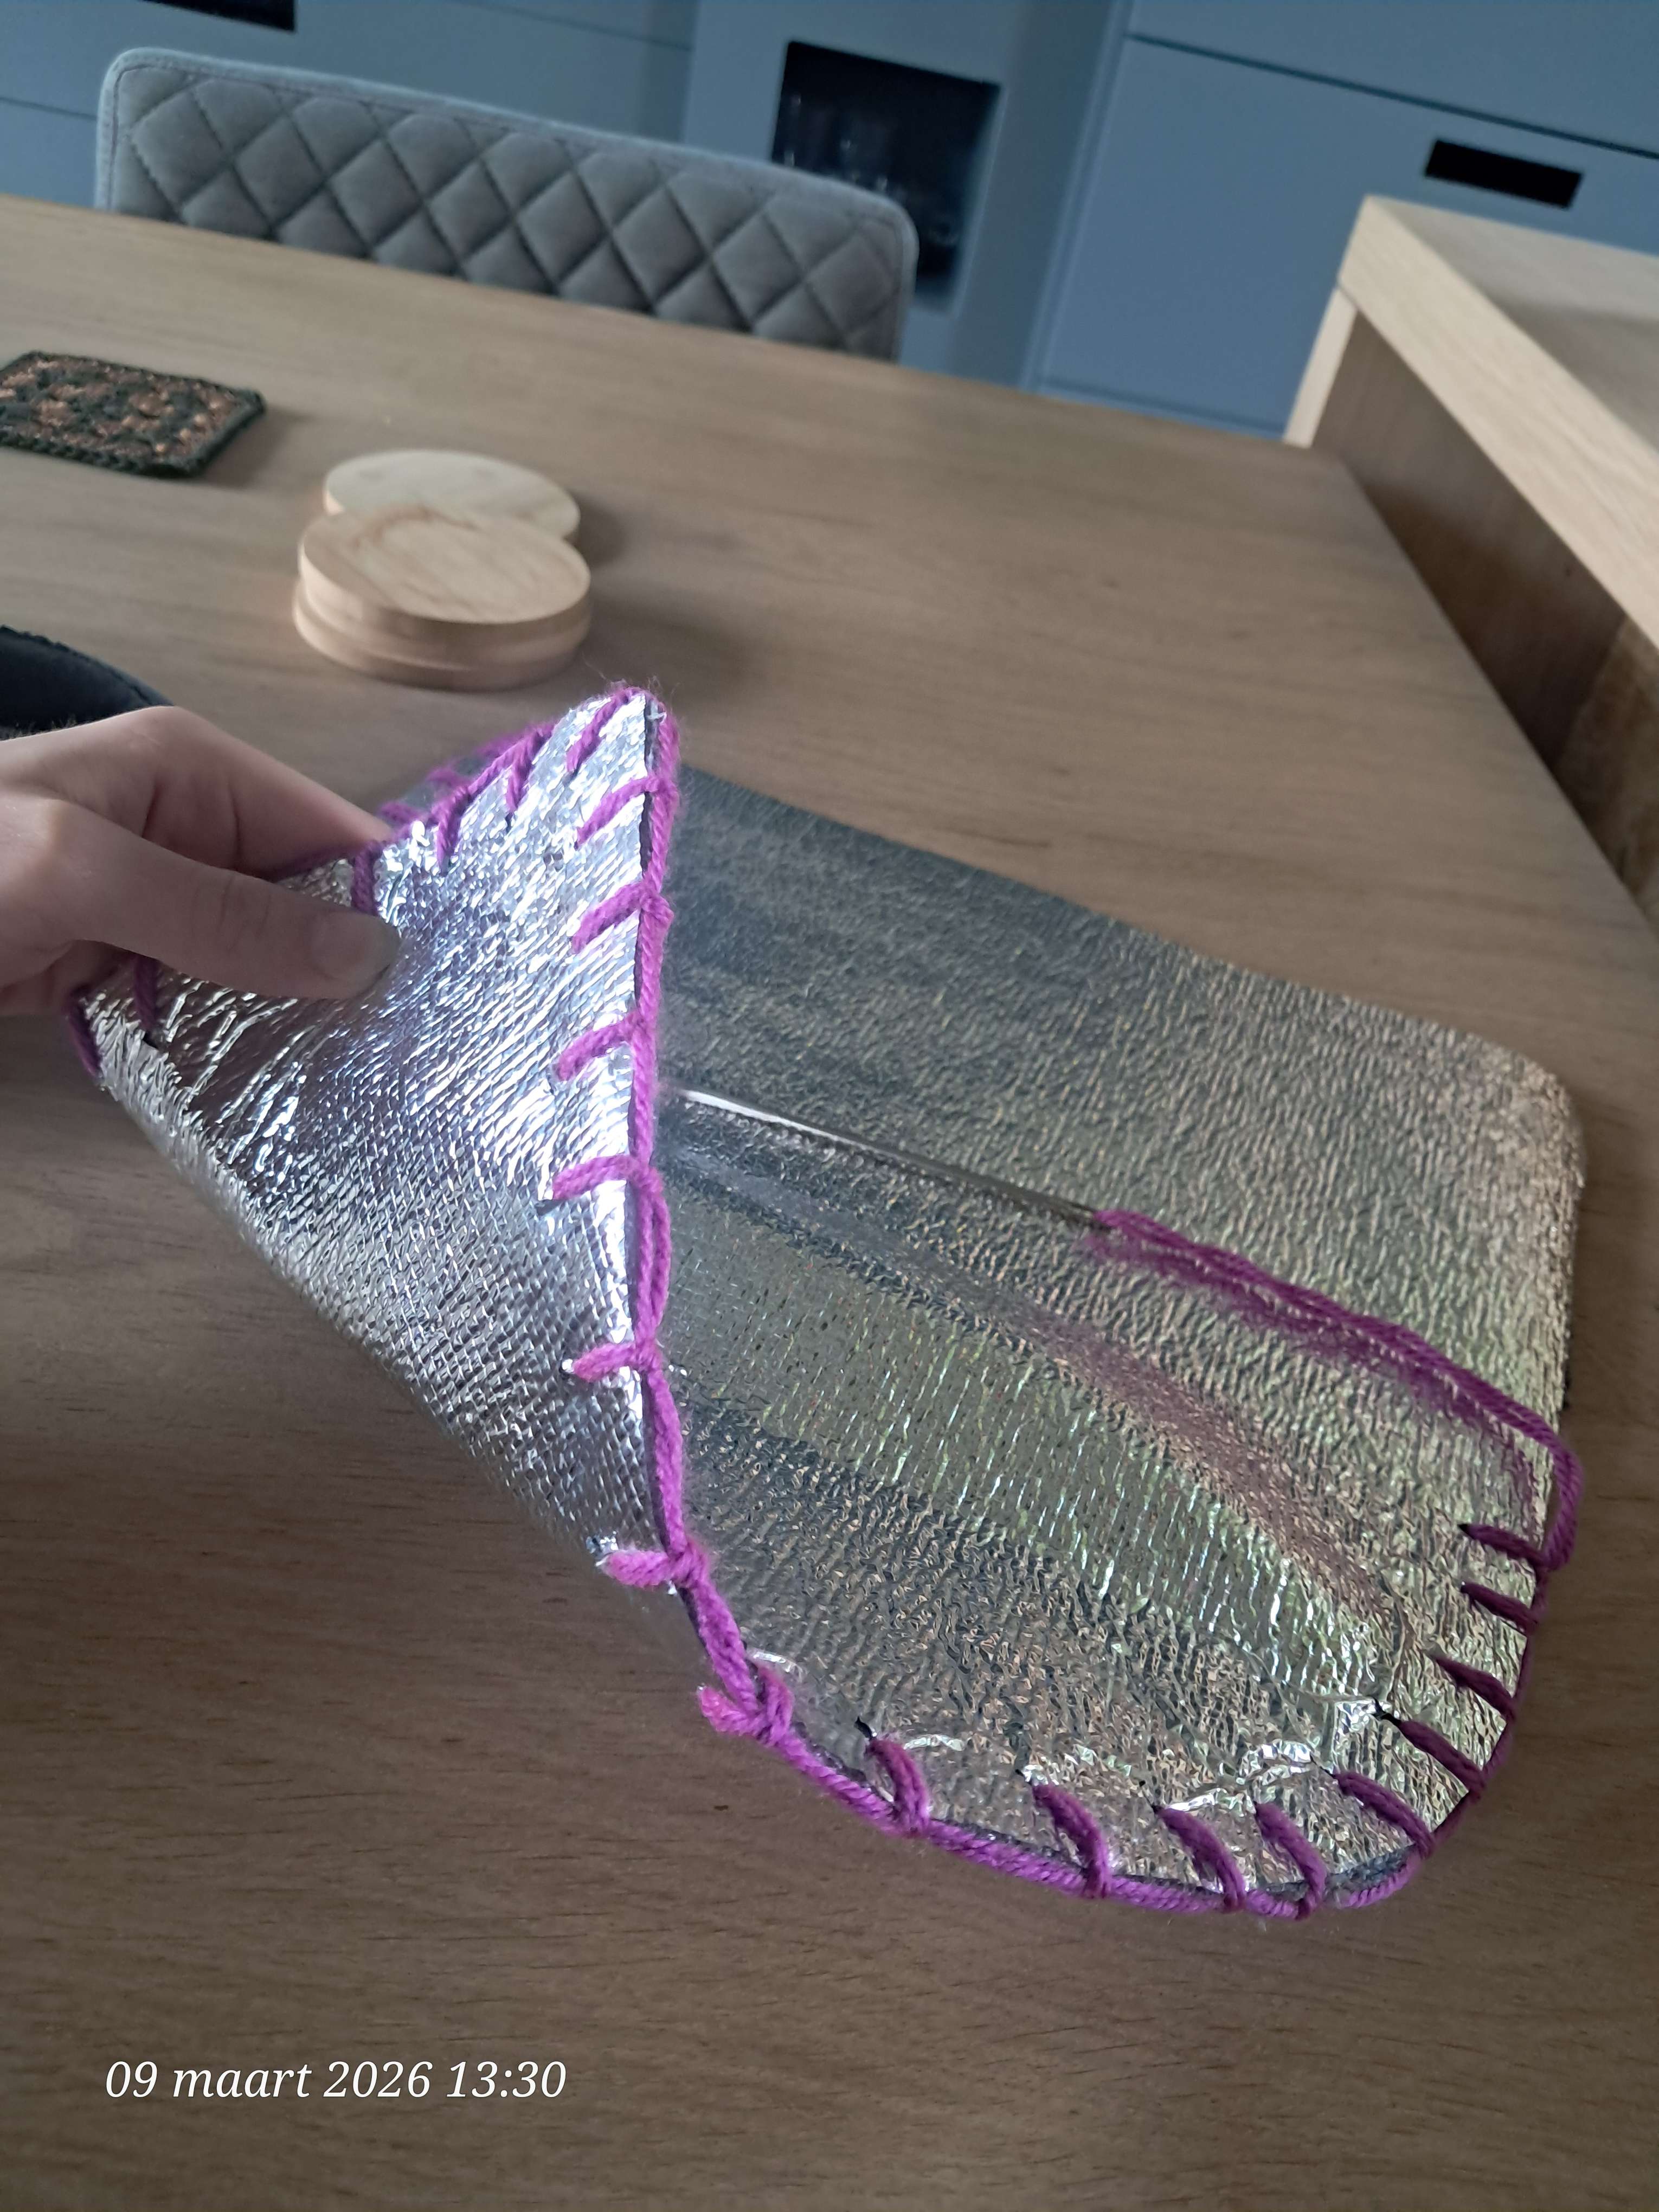
The foil I bought was too thin to actually do much, so I doubled it up. I know how to sew better than I know how to deal with glues appearantly, so when the pieces started peeling apart after the use of spray glue, I came up with this:
After that I finished it off with the same fabrics I used for my hanging curtains. One black side and one decorative.

Add some magnets and wedges and, tadaa!

Back to building
This is kind of where I left off as of 26-03-2026. The weather has been less than ideal and unpredictable, and with my curtains (sort of) finished, I have been focussing on making this blog!
I do have some future plans I can share, and hope to make a bunch more progress on that tomorrow.
The skethes down here show some ideas for how I can make my bed idea work. The different stages make the construction extra difficult, because we have to figure out how to store the different sized panels and how to make them easy to install.
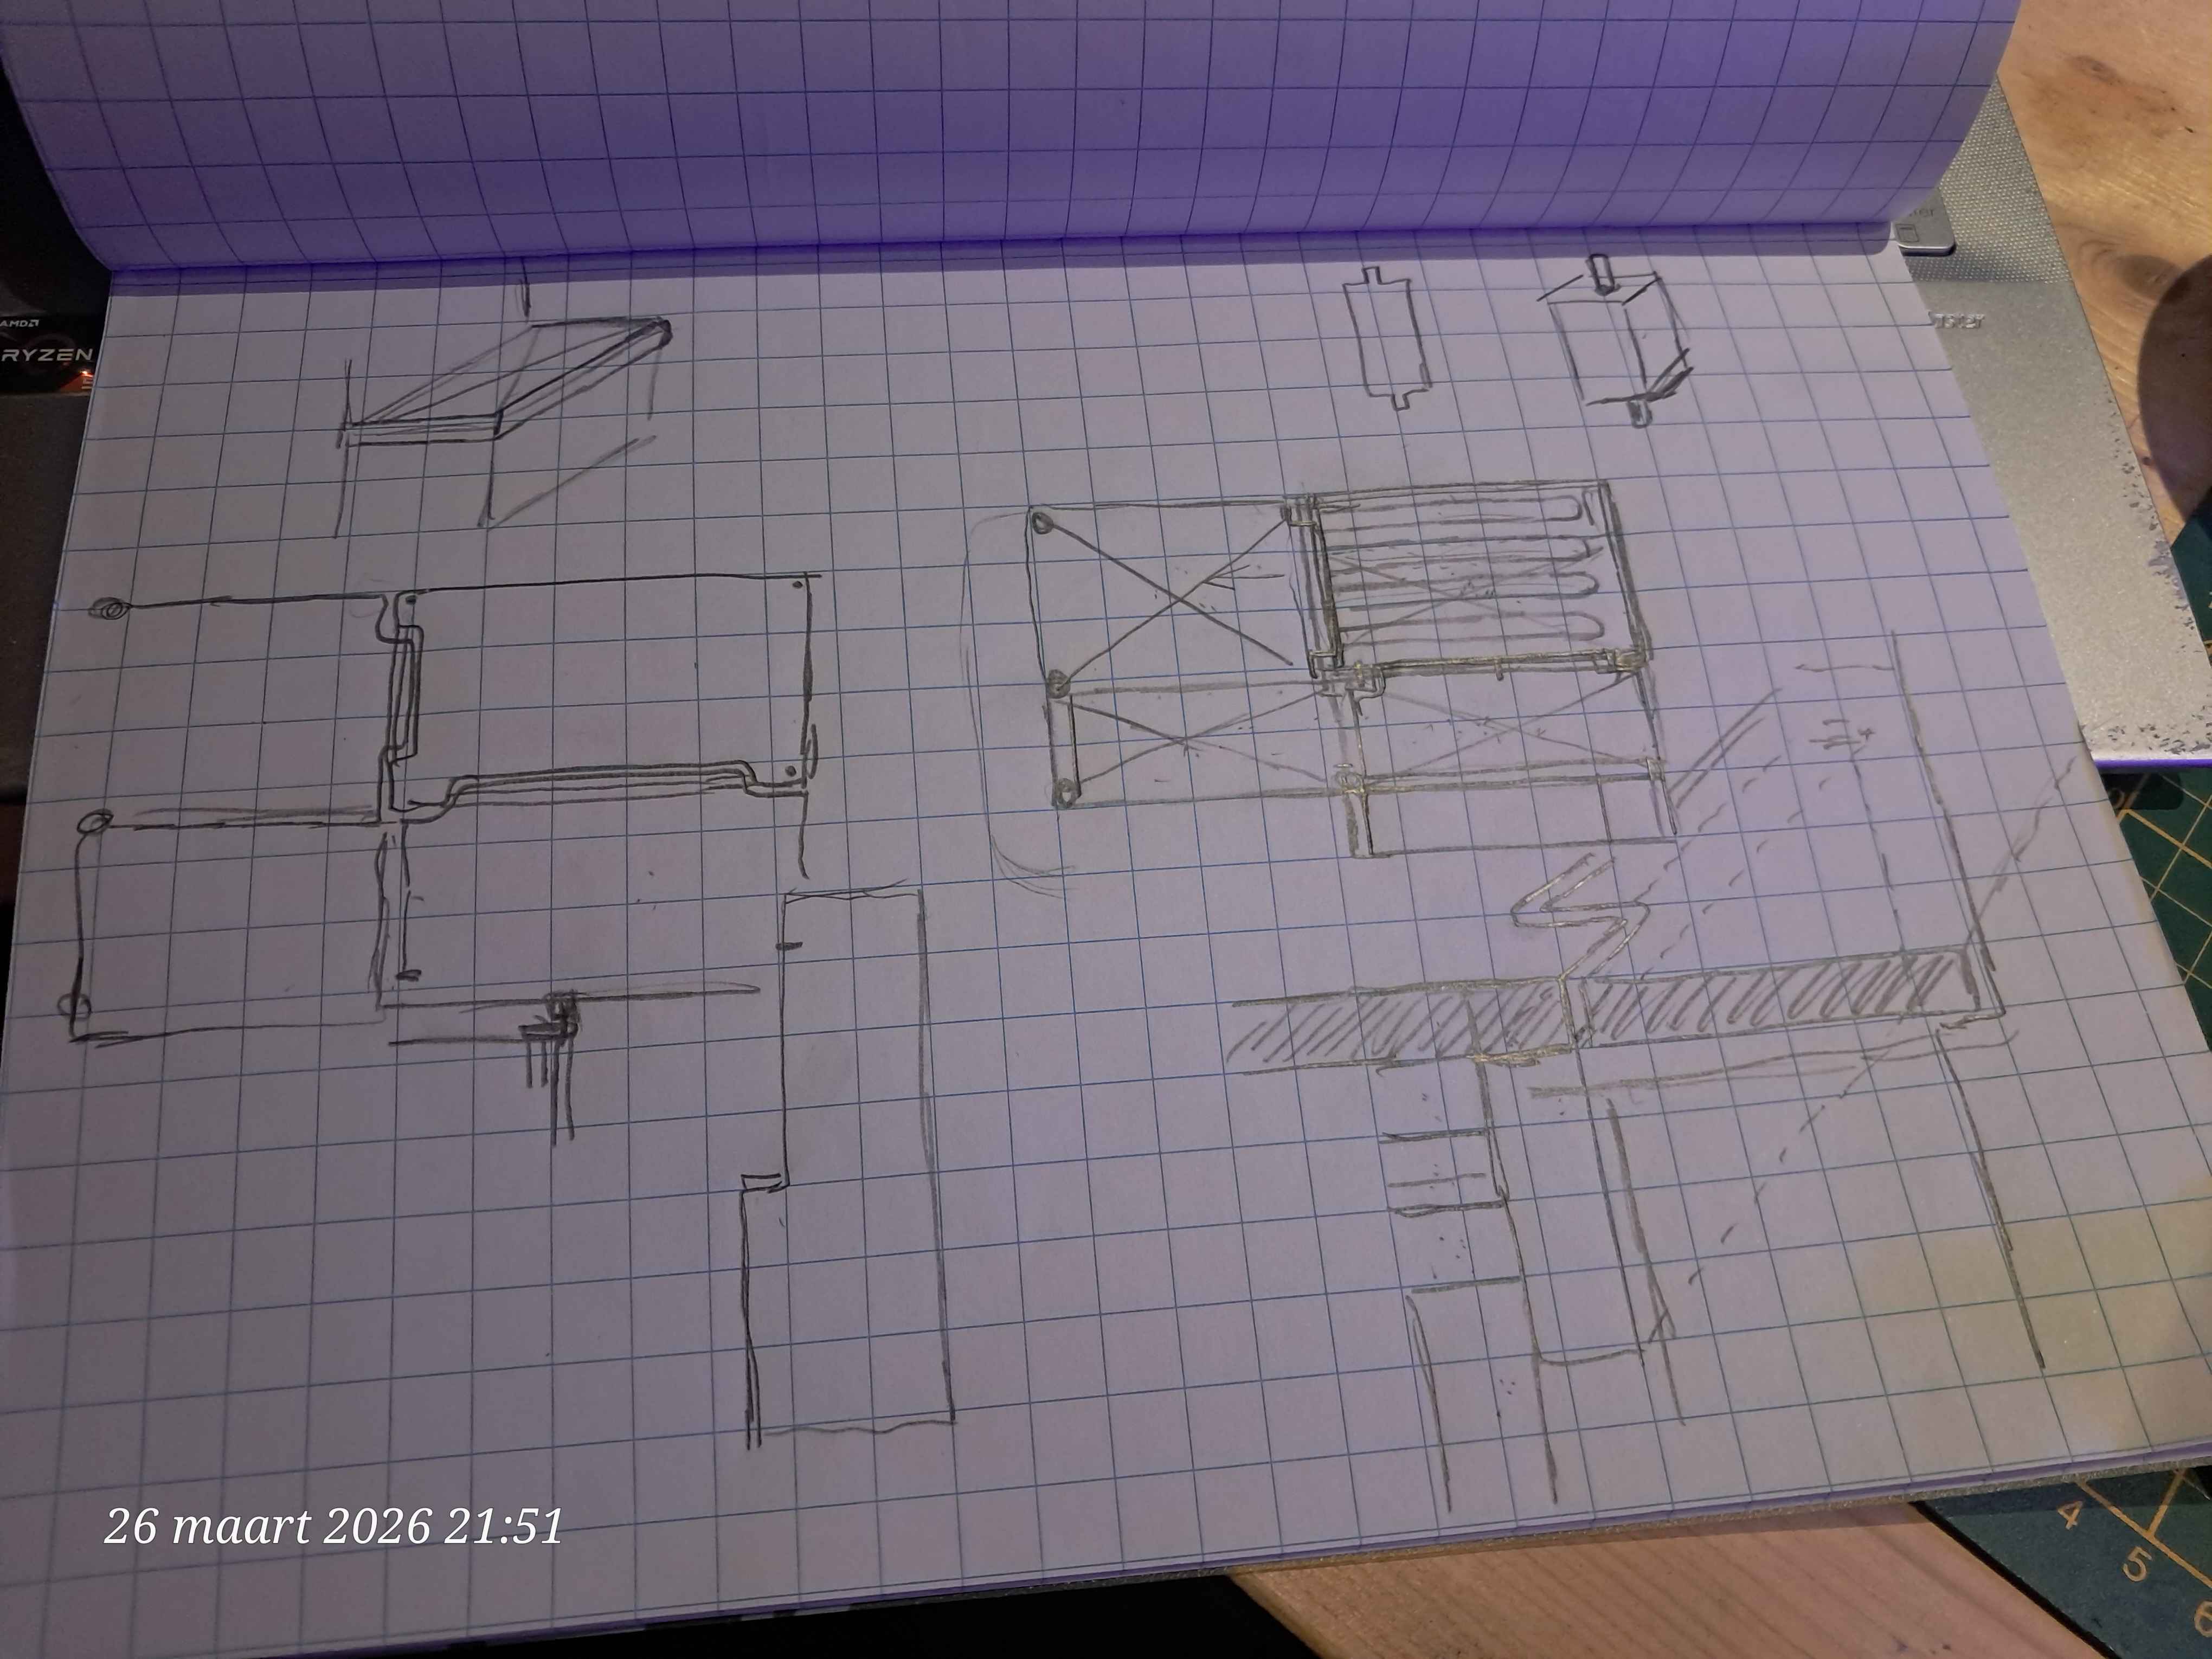
I hope this sketch makes sense at all, but if it doesn't, thats no problem. Soon I'll have it worked out in wood and I can show you more of my van! I hope you enjoyed this page so far, if you do, come back soon to see how I progressed! I hope to set up an email-list system in the future so you can get notified whenever I have another update!
01-04-2026 Update!
Changes happened. First of all, the sketch I have above this update is not going to be fully used. Decyphering the sketch shows that we planned to store my various bed planks into the main bedframe. This would make the frame too chunky and with the addition of bed and couch cushions basically impossible to sit comfortably due to the low ceiling. So that idea is scrapped. The plan to make the planks out of irregular puzzle like shapes still stands for easier installation, but they will be stored visably right behind the chairs.
Before I show you any progress pictures and updates, I want to confess something. I lied earlier about concluding all the progress. I did do more things on the bus that I hadn't shared.
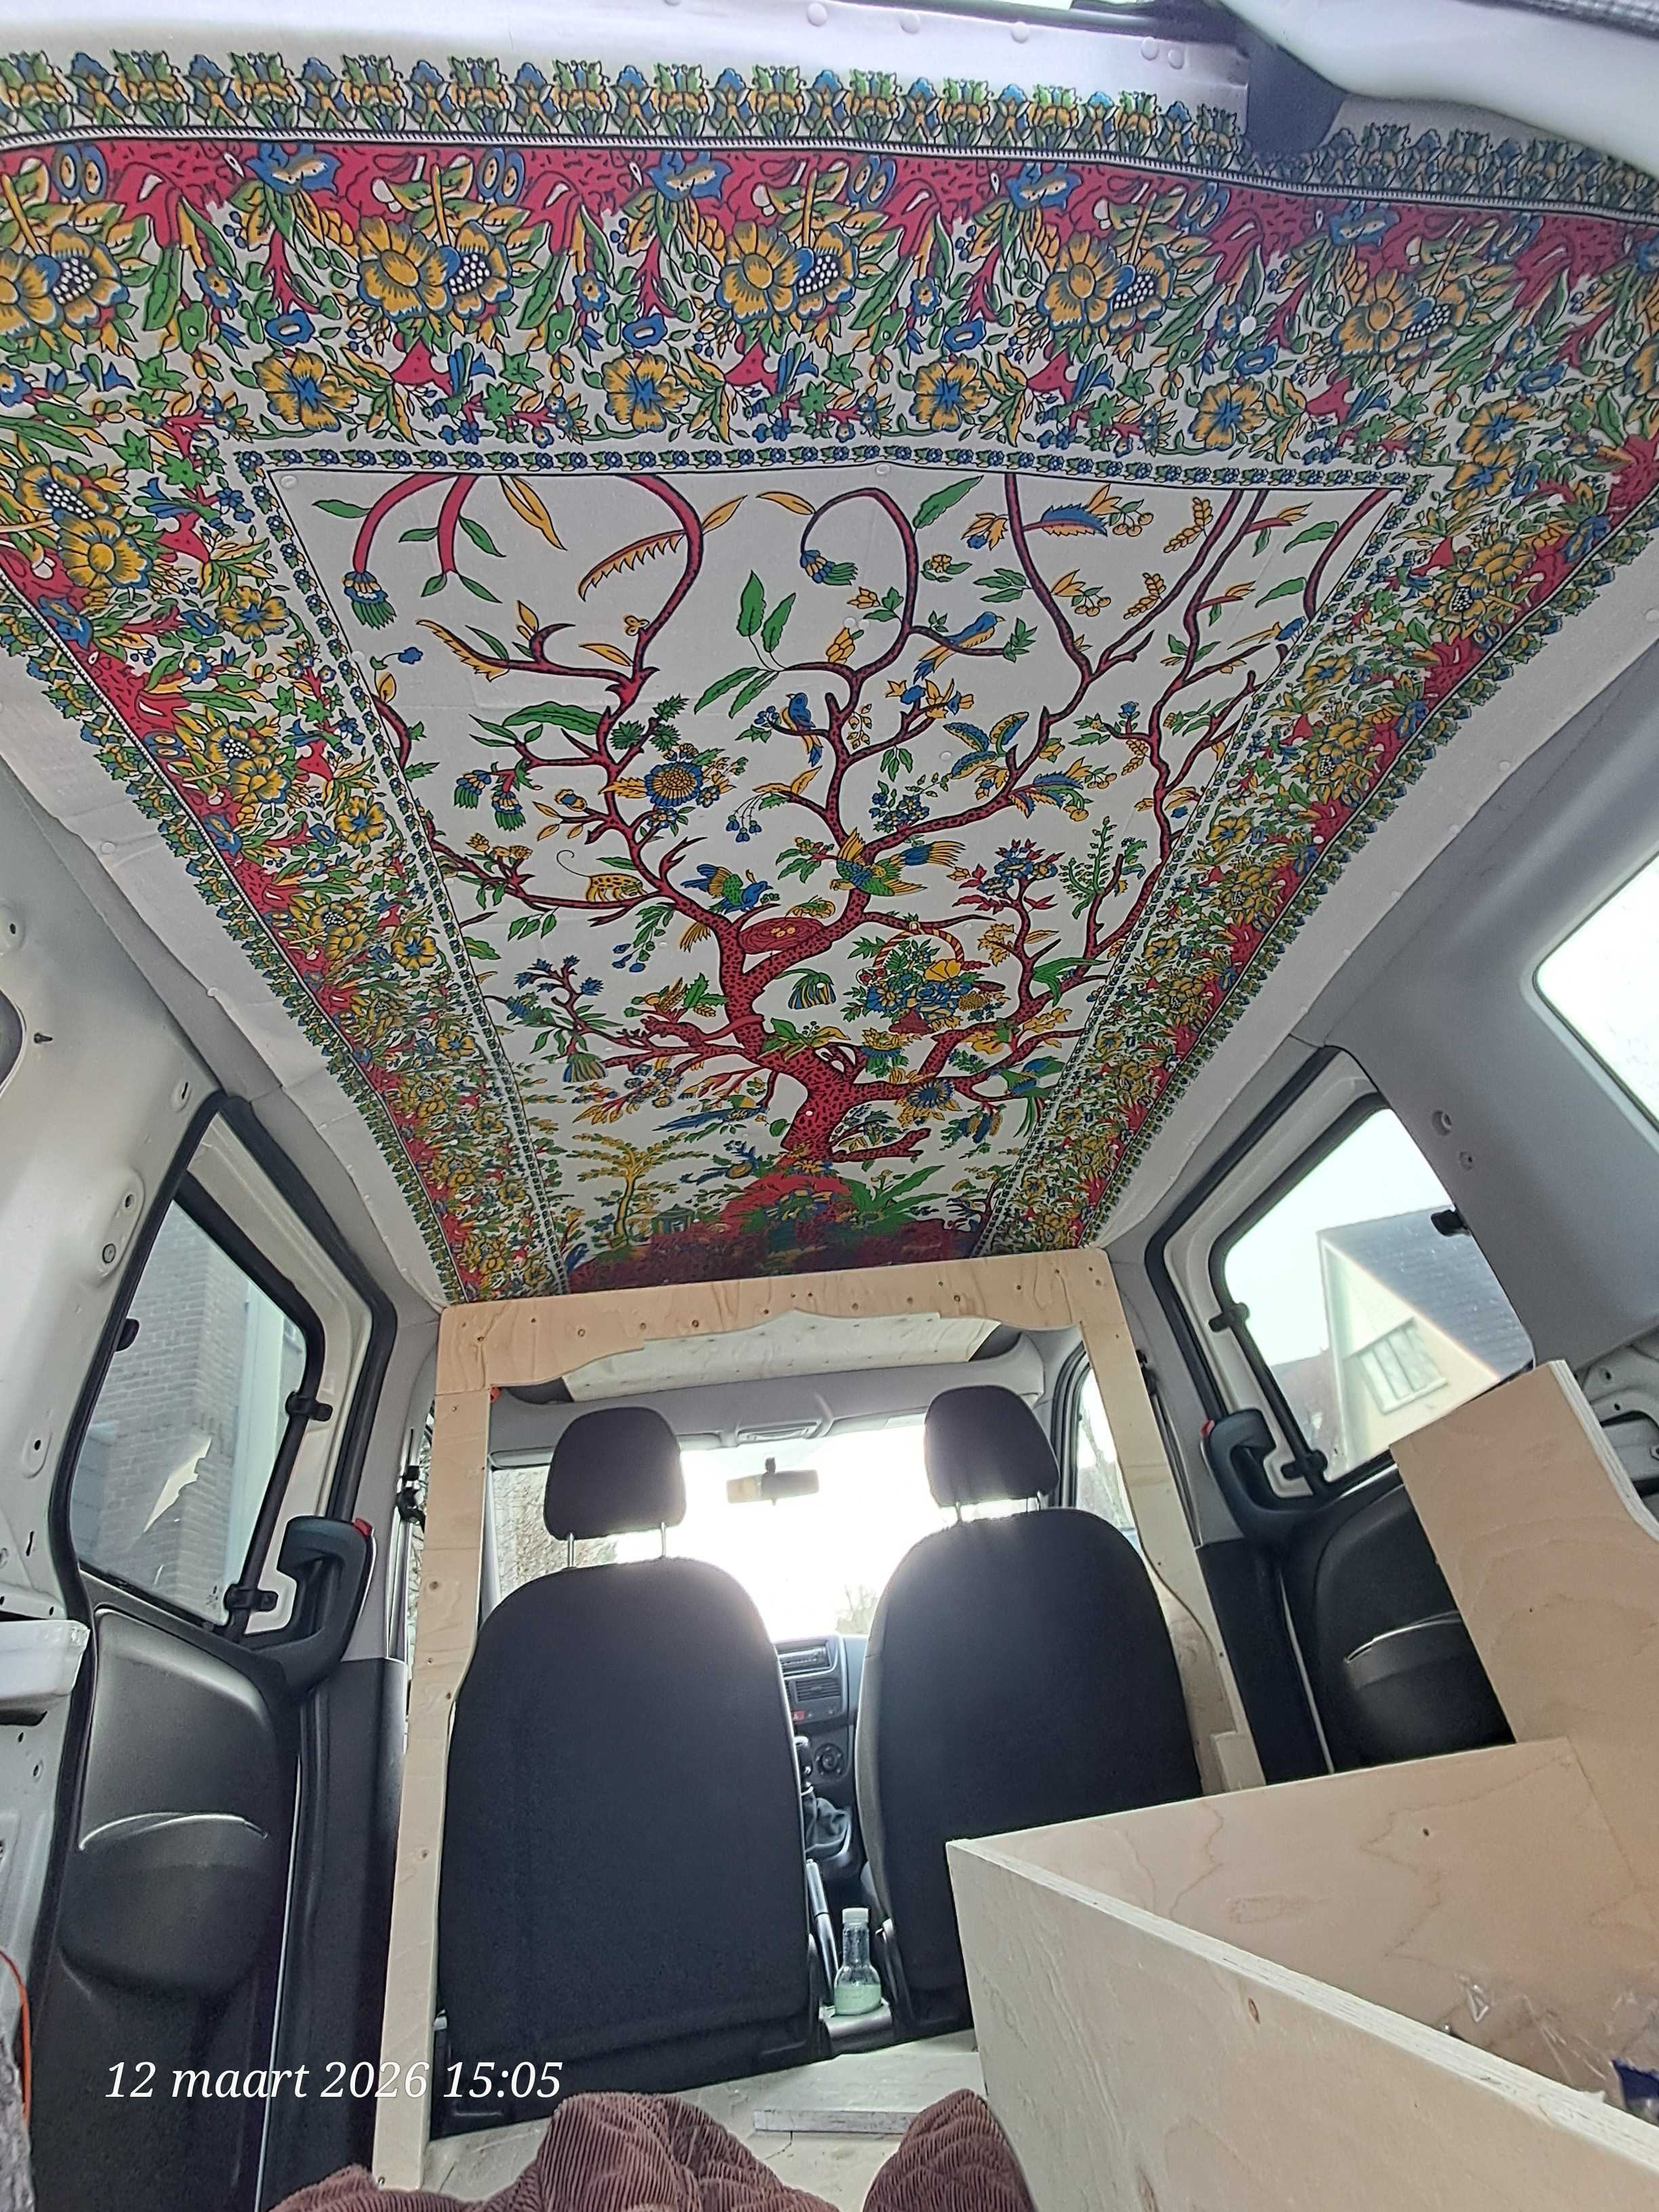
I added a thin cotton painted walltapestry with a beautiful red tree on my ceiling to get rid of the boring gray ceiling, and I added a blanket in my overhead storage space that my mom crochetted for me this last winter.

I also purchased a battery and an alpicool electrical coolbox [insert model name here]. I went for a simple bluetti power station system [insert model name here]. I debated doing my own DC 12v electrical wiring, but decided that the risk of electrical issues wasn't worth the little money I would safe. I still have to invest in a good solar panel.
I did get a roof rack installed today! I found a guy on facebook marketplace that could install it for me the next day. Power to random guys with vans, because this man installed the roof fixture within 20 minutes on the parking lot in front of his friend's workshop. He had to improvise a little bit so I didn't have to make such a long journey.
The day after my last update, me and my dad worked hard to get some progress going. I have had some stagnant progress so I was very happy to have his help!
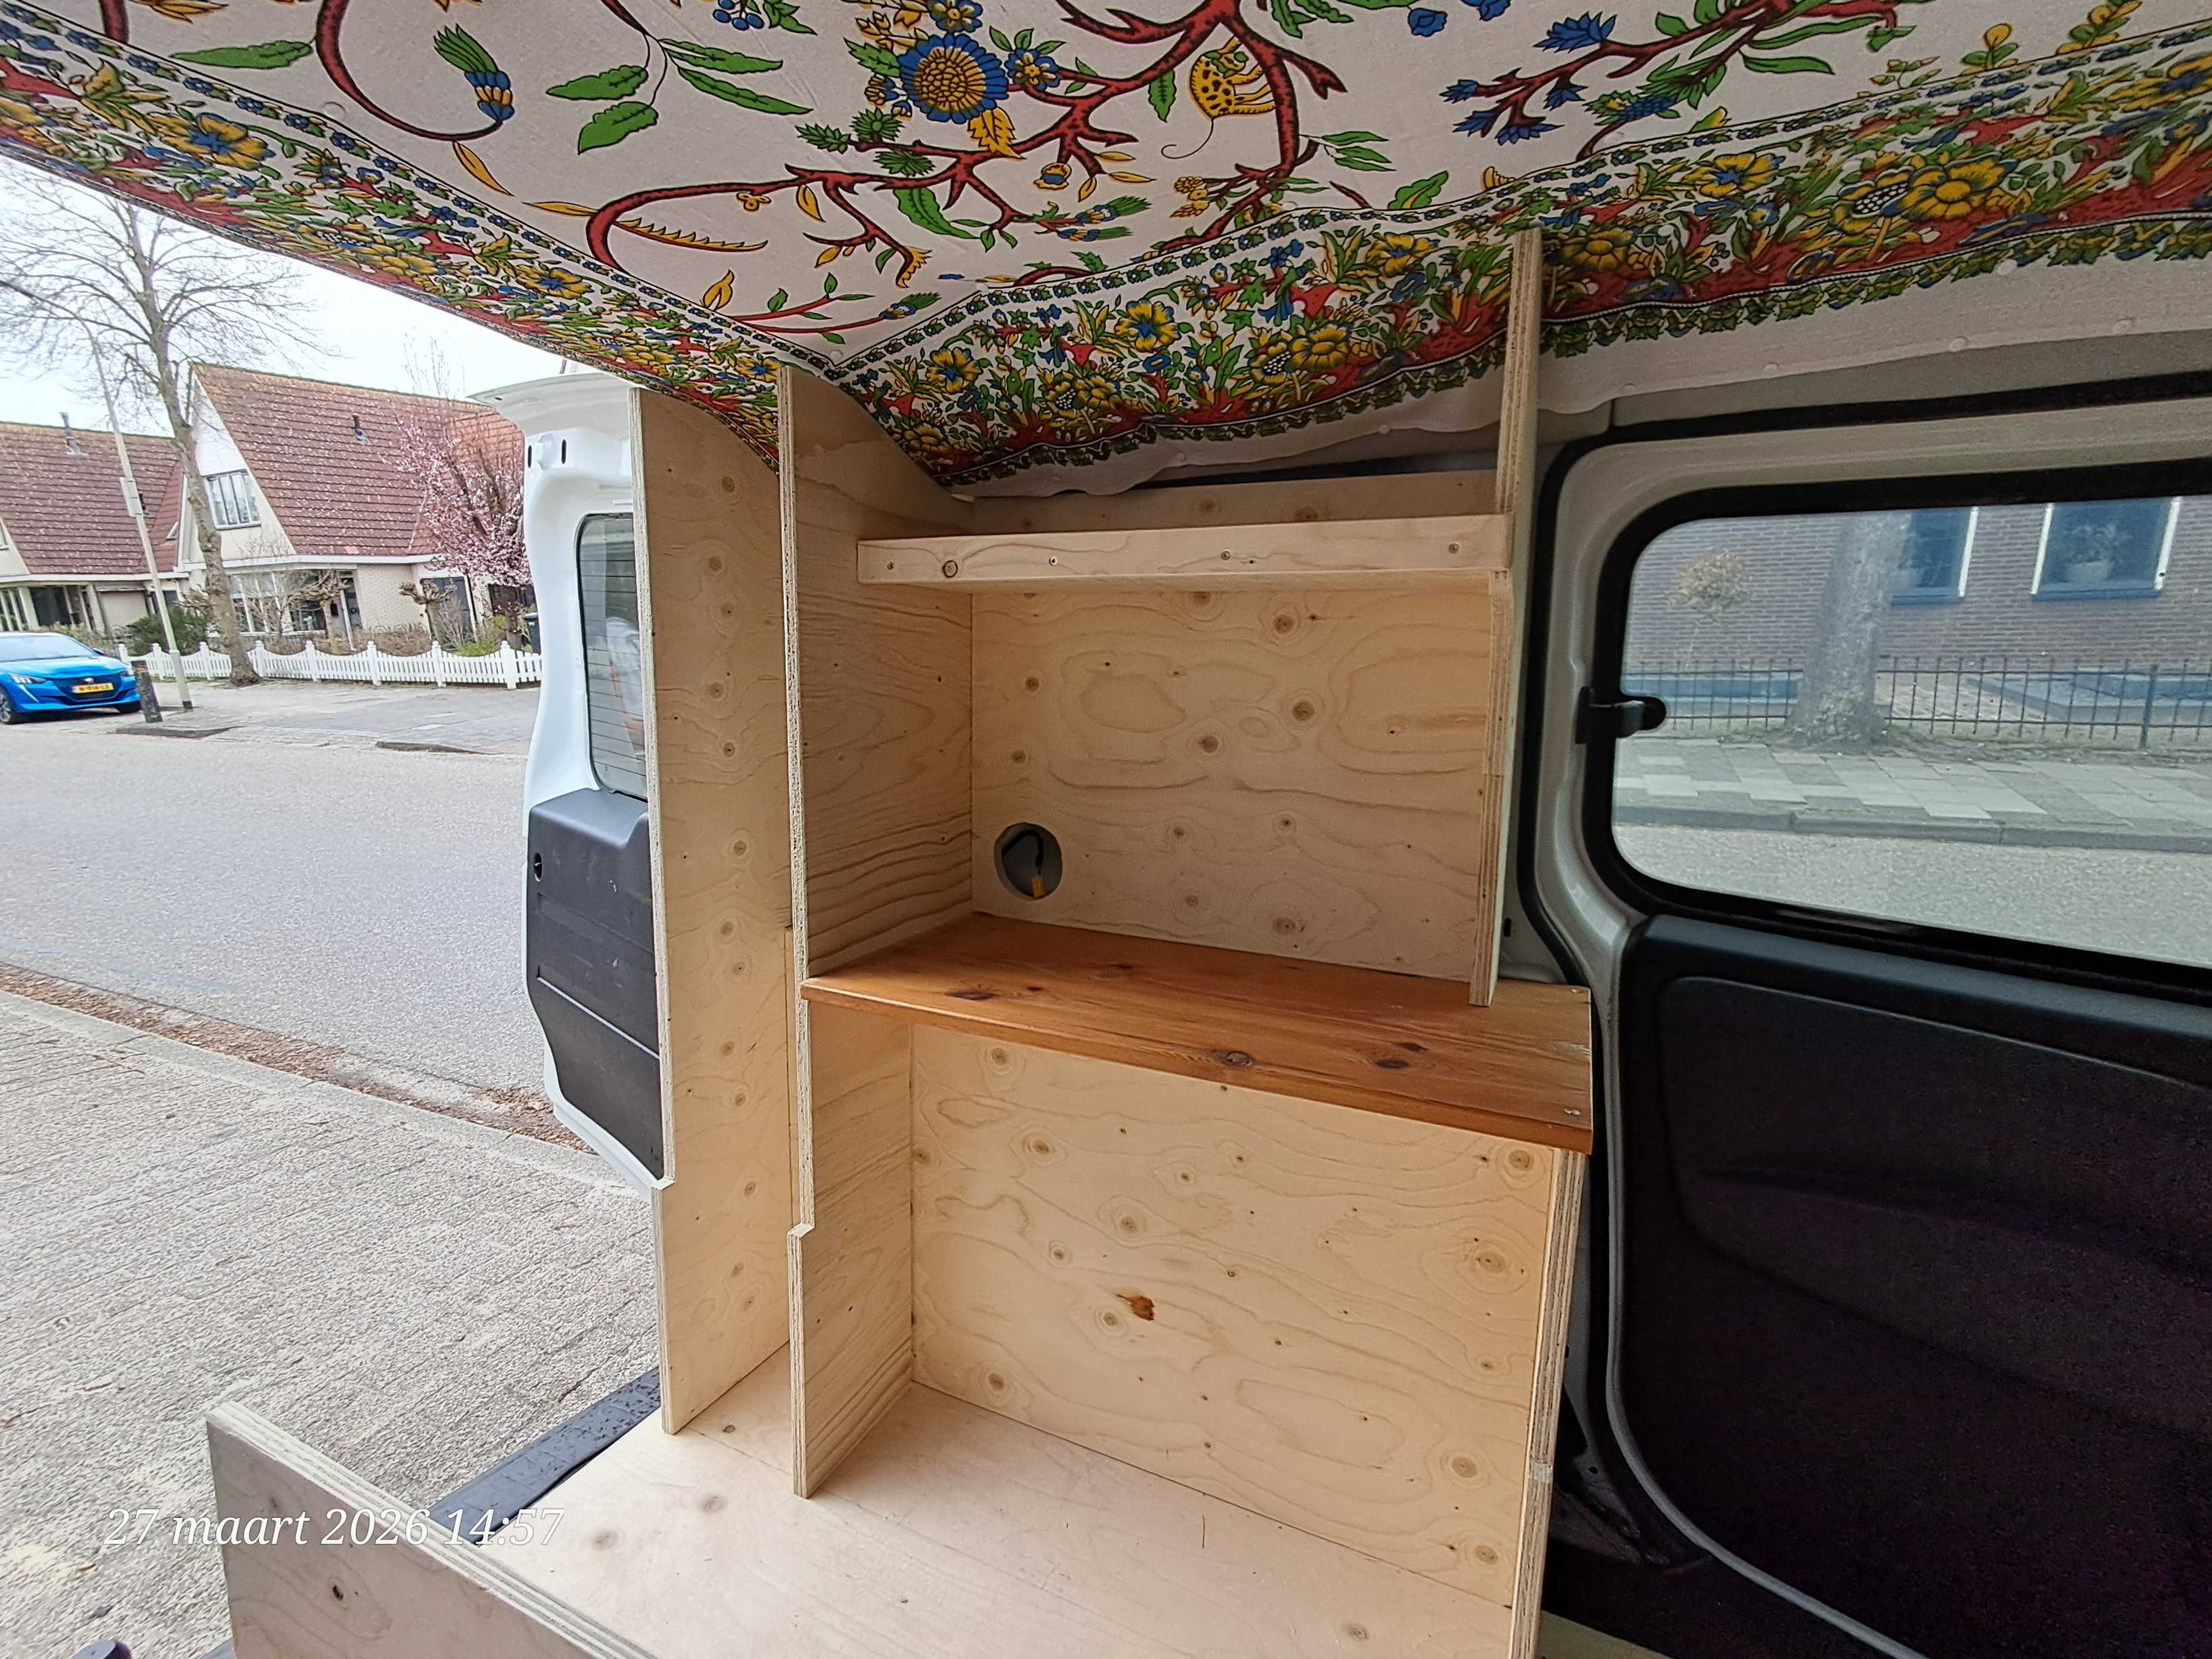
We put our focus on the kitchen cabinet first. To know how broad I could make the bed, I first needed to know where it would lay against. In the pictures below you will see that before sealing off the window, I covered it with the same black fabric I used for my other window covers. I did this for concistancy. After that we did a lot of measuring and re-measuring to get everything in the exact right shape. I was gifted the brown plank by my in-laws, who had some old wood lying around and I deemed it perfect for my counter top!

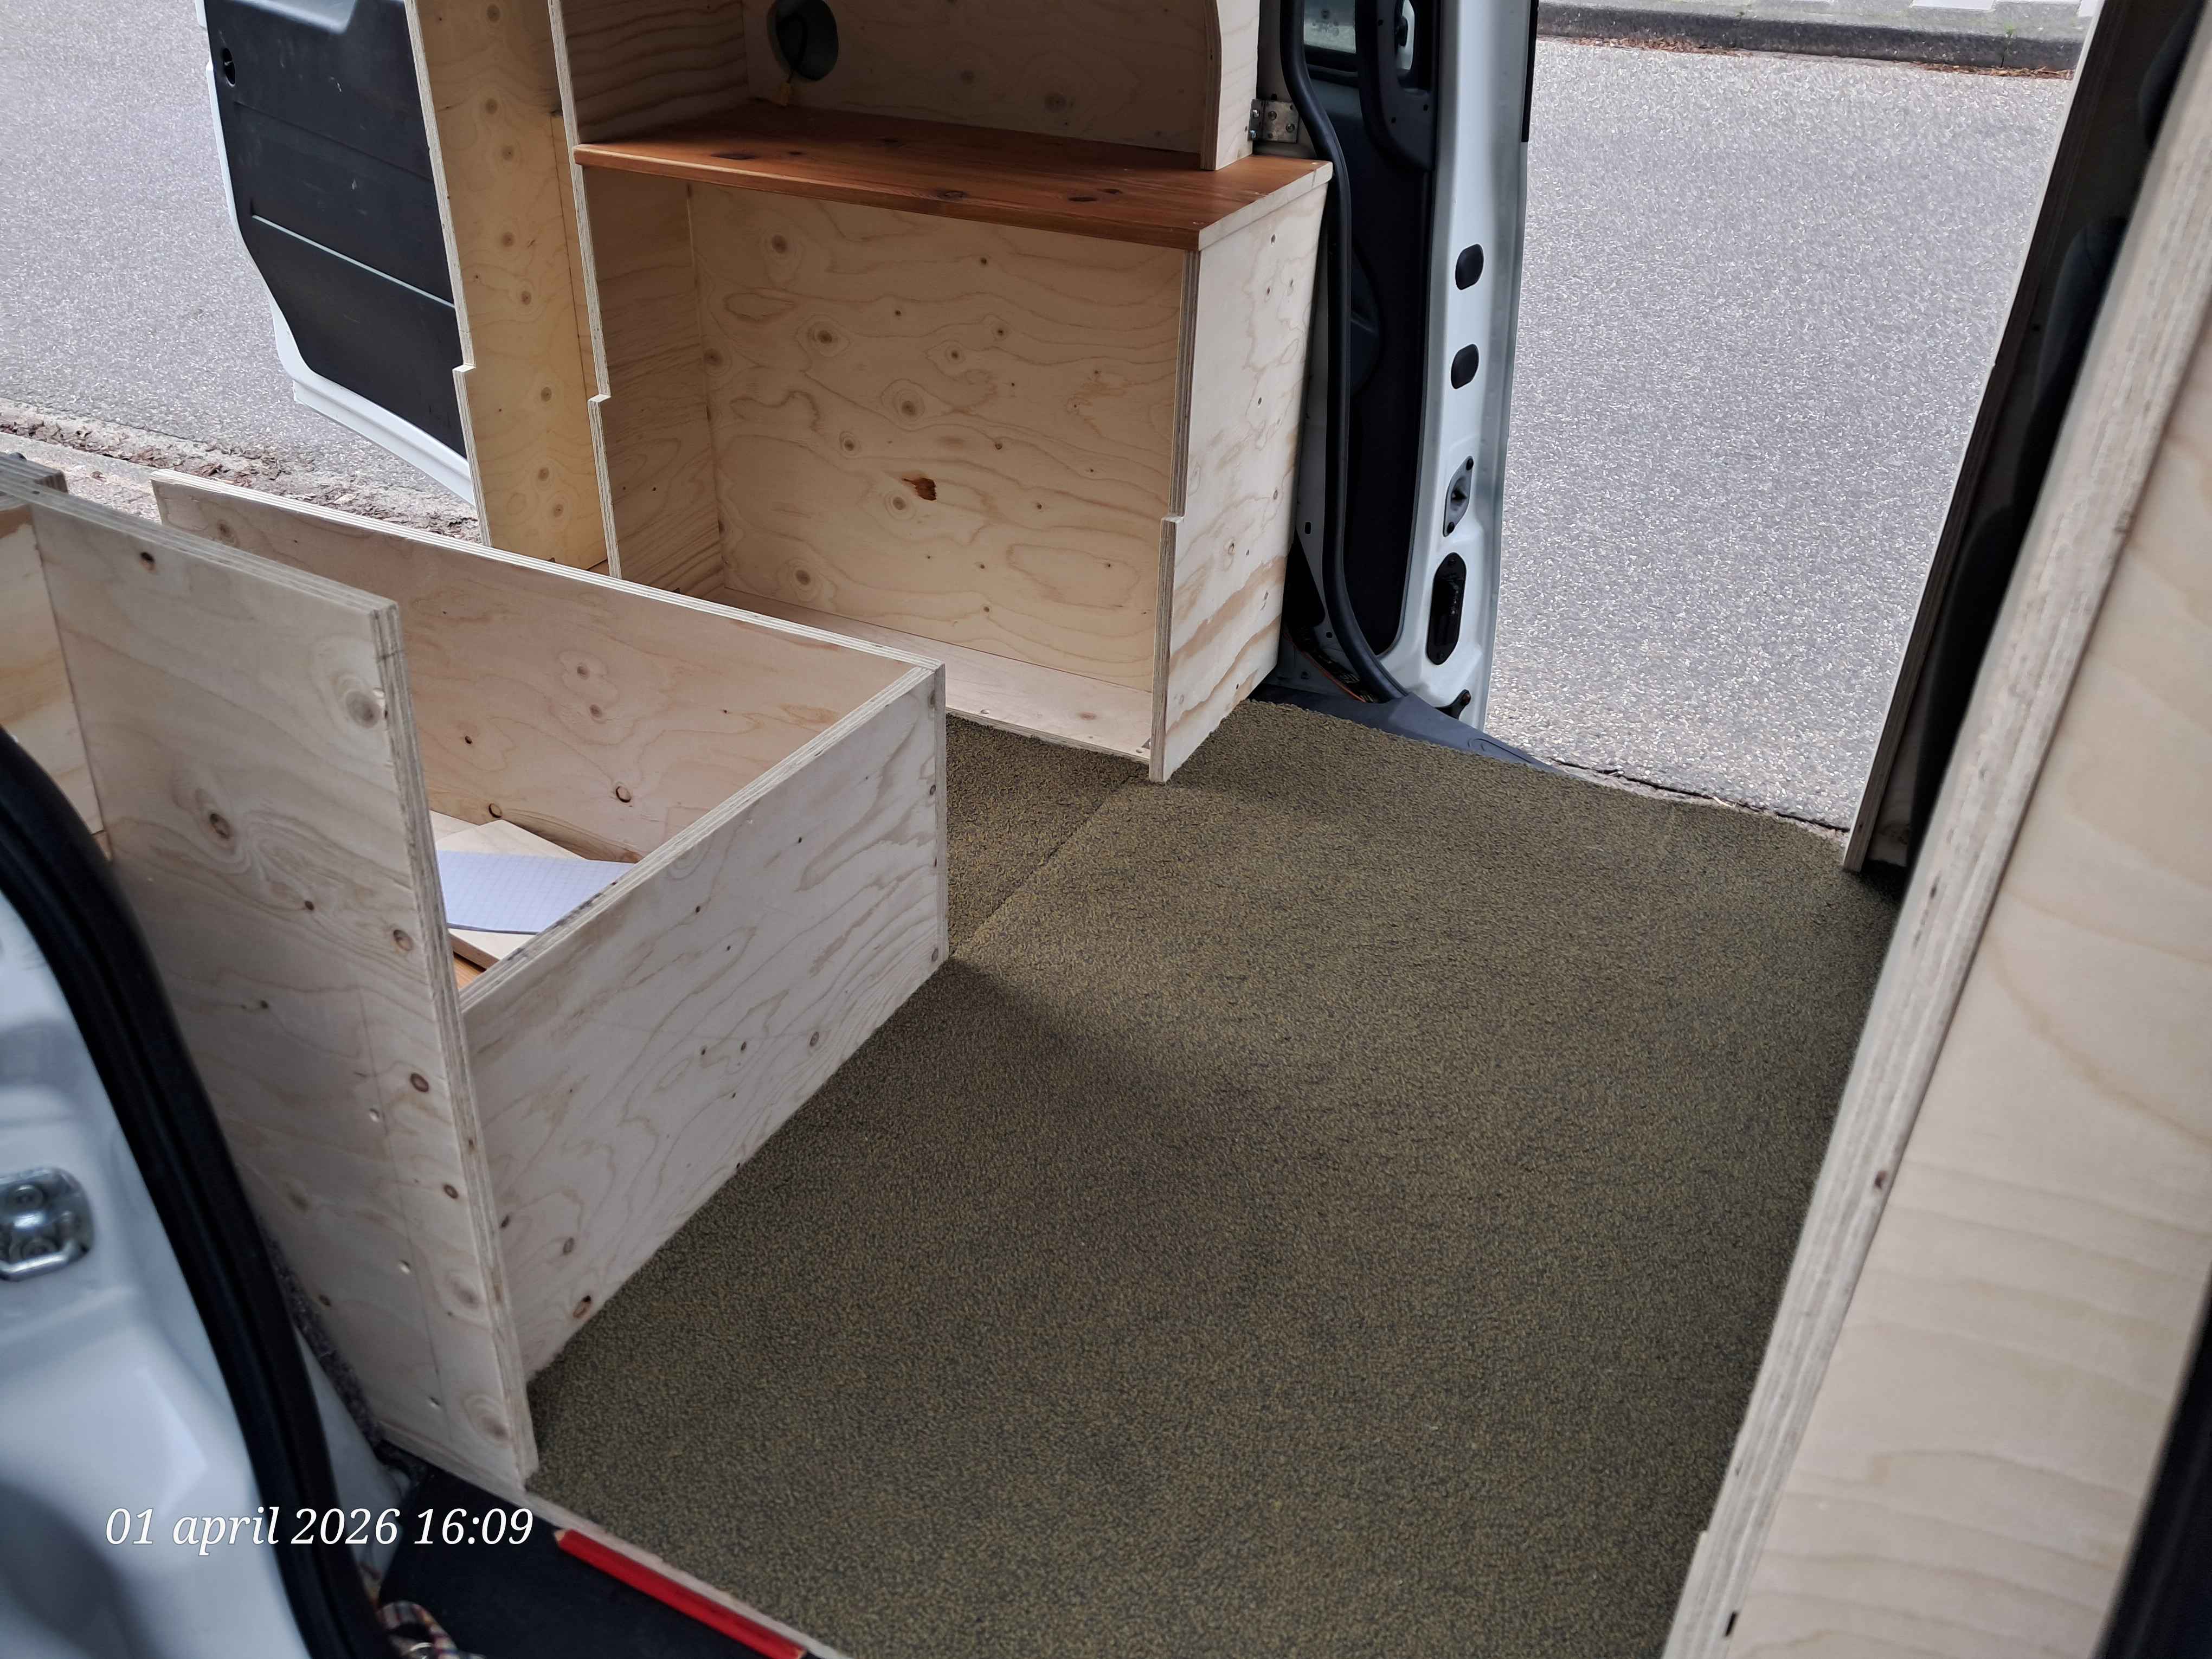
The doors still need to be put in place, but before we do that, I want to have the carpet installed. I bought this carpet only weeks after buying my car and have been very excited and patient about opening it up. It barely shows in the pictures, but the carpet is a mix of forest and a moss green. Making my floor look a bit like natural undergrowth! I got it for cheap at my local thriftstore, where they had had a bulk sale of left over carpets from some company

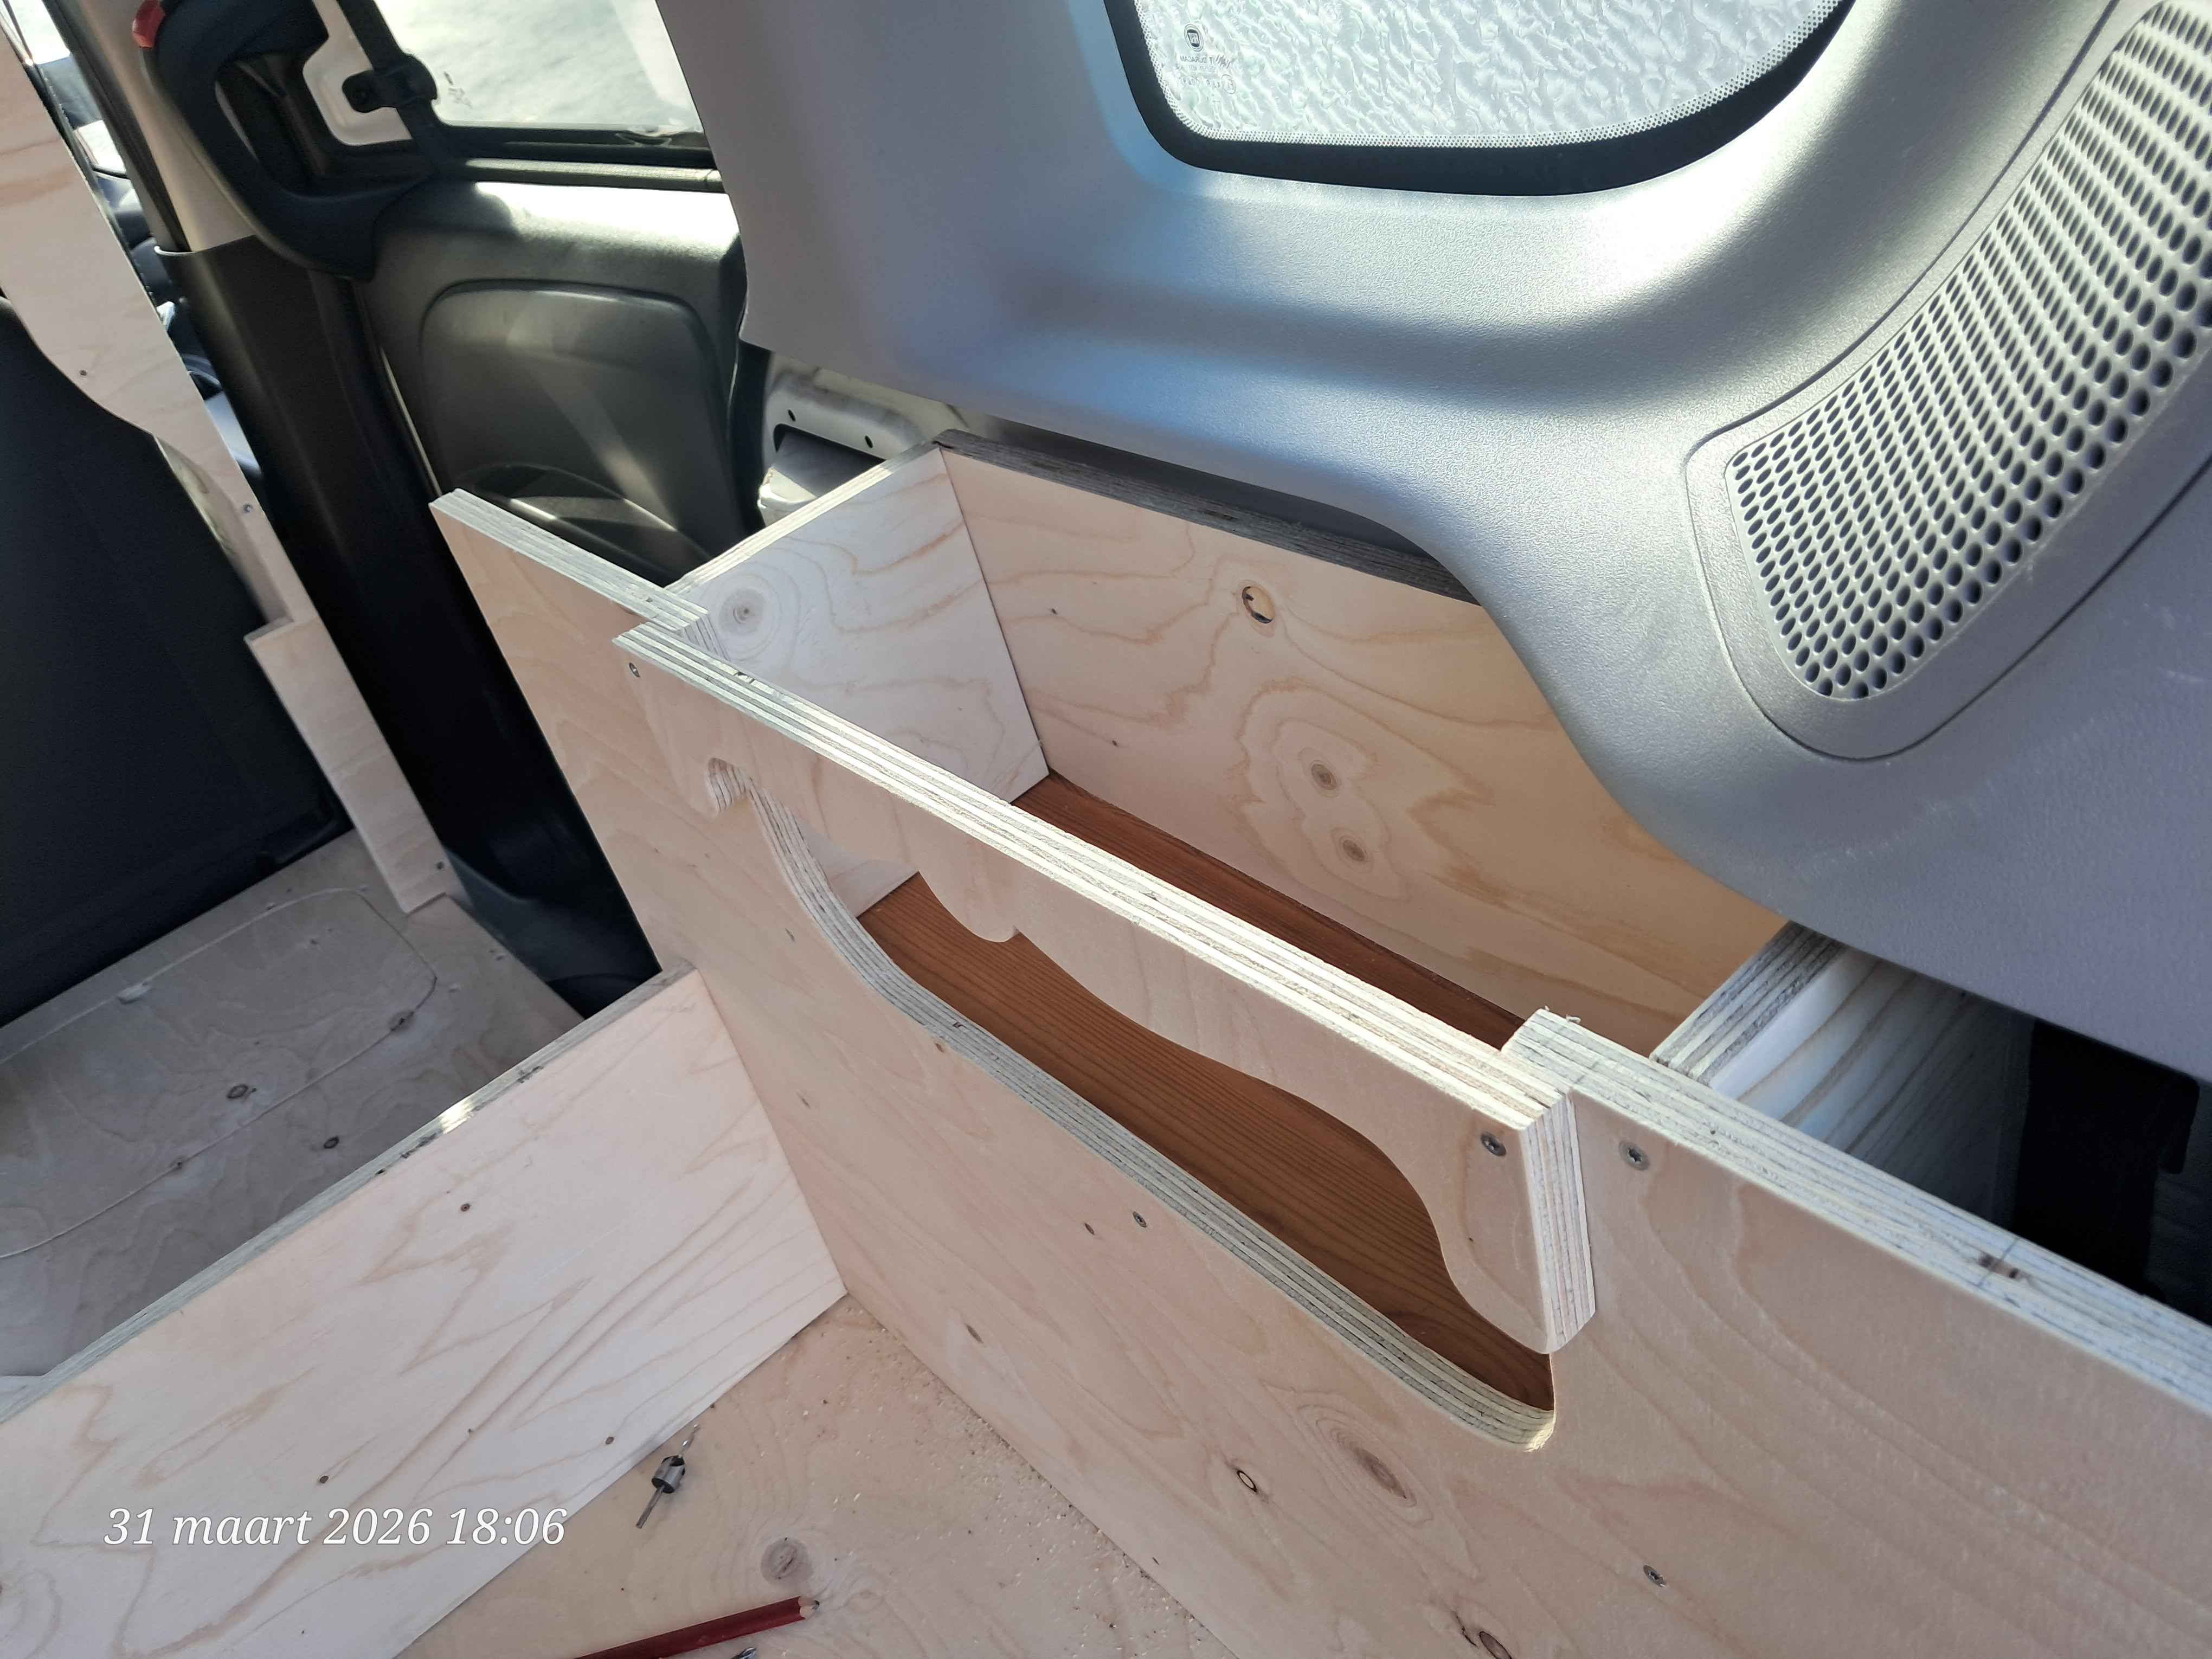
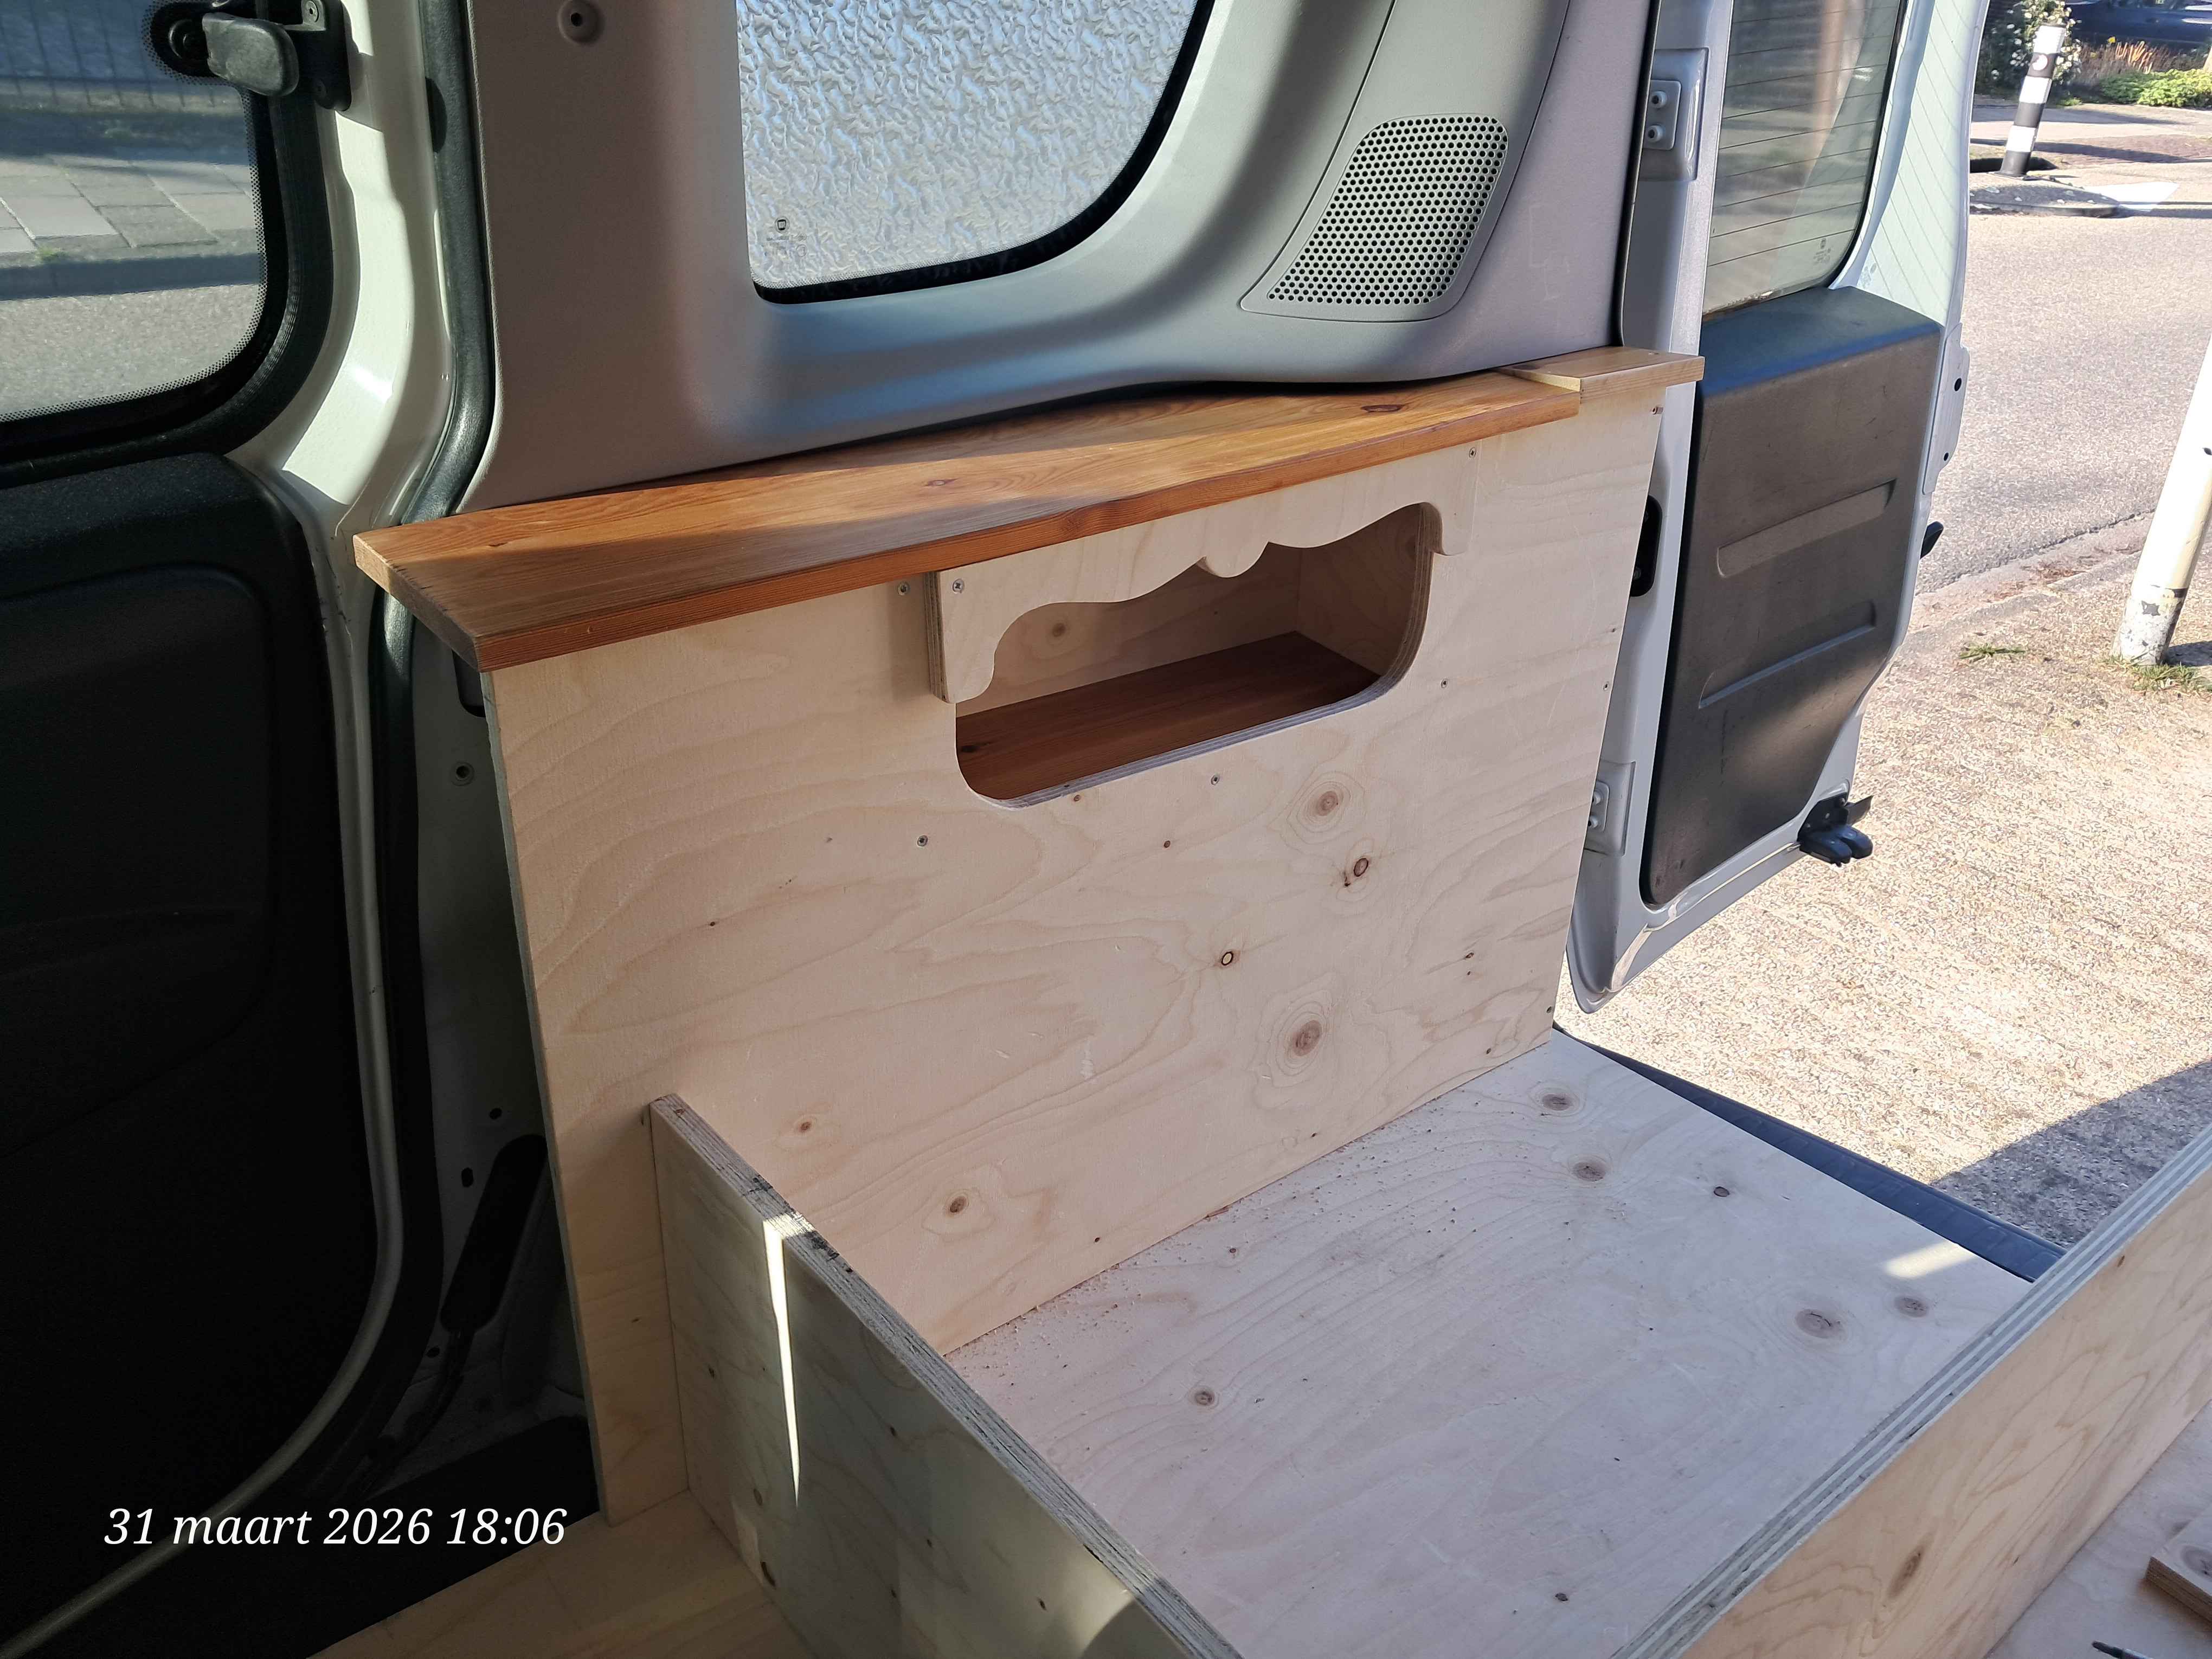
I have also started on the cabinet on the passenger side. I made a little box that goes on the inside of the cabinet, and I fixed the decorative boarder to the top. I didn't have enough length of the same countertop plank as I had used before, but I thought the little cut off that I put in the end would be less obstructive to the eye than an entirely different coloured plank. These have not been fixed to the cabinet yet however, since I still need to cut out the specific shape I need for one of the sides!
22-04-2026
The bus is finished! Sort of.. I was able to test it out for the first time last weekend, and I am very proud of the results! Let's take a look at the things I had to do to make this camping trip so successfull!

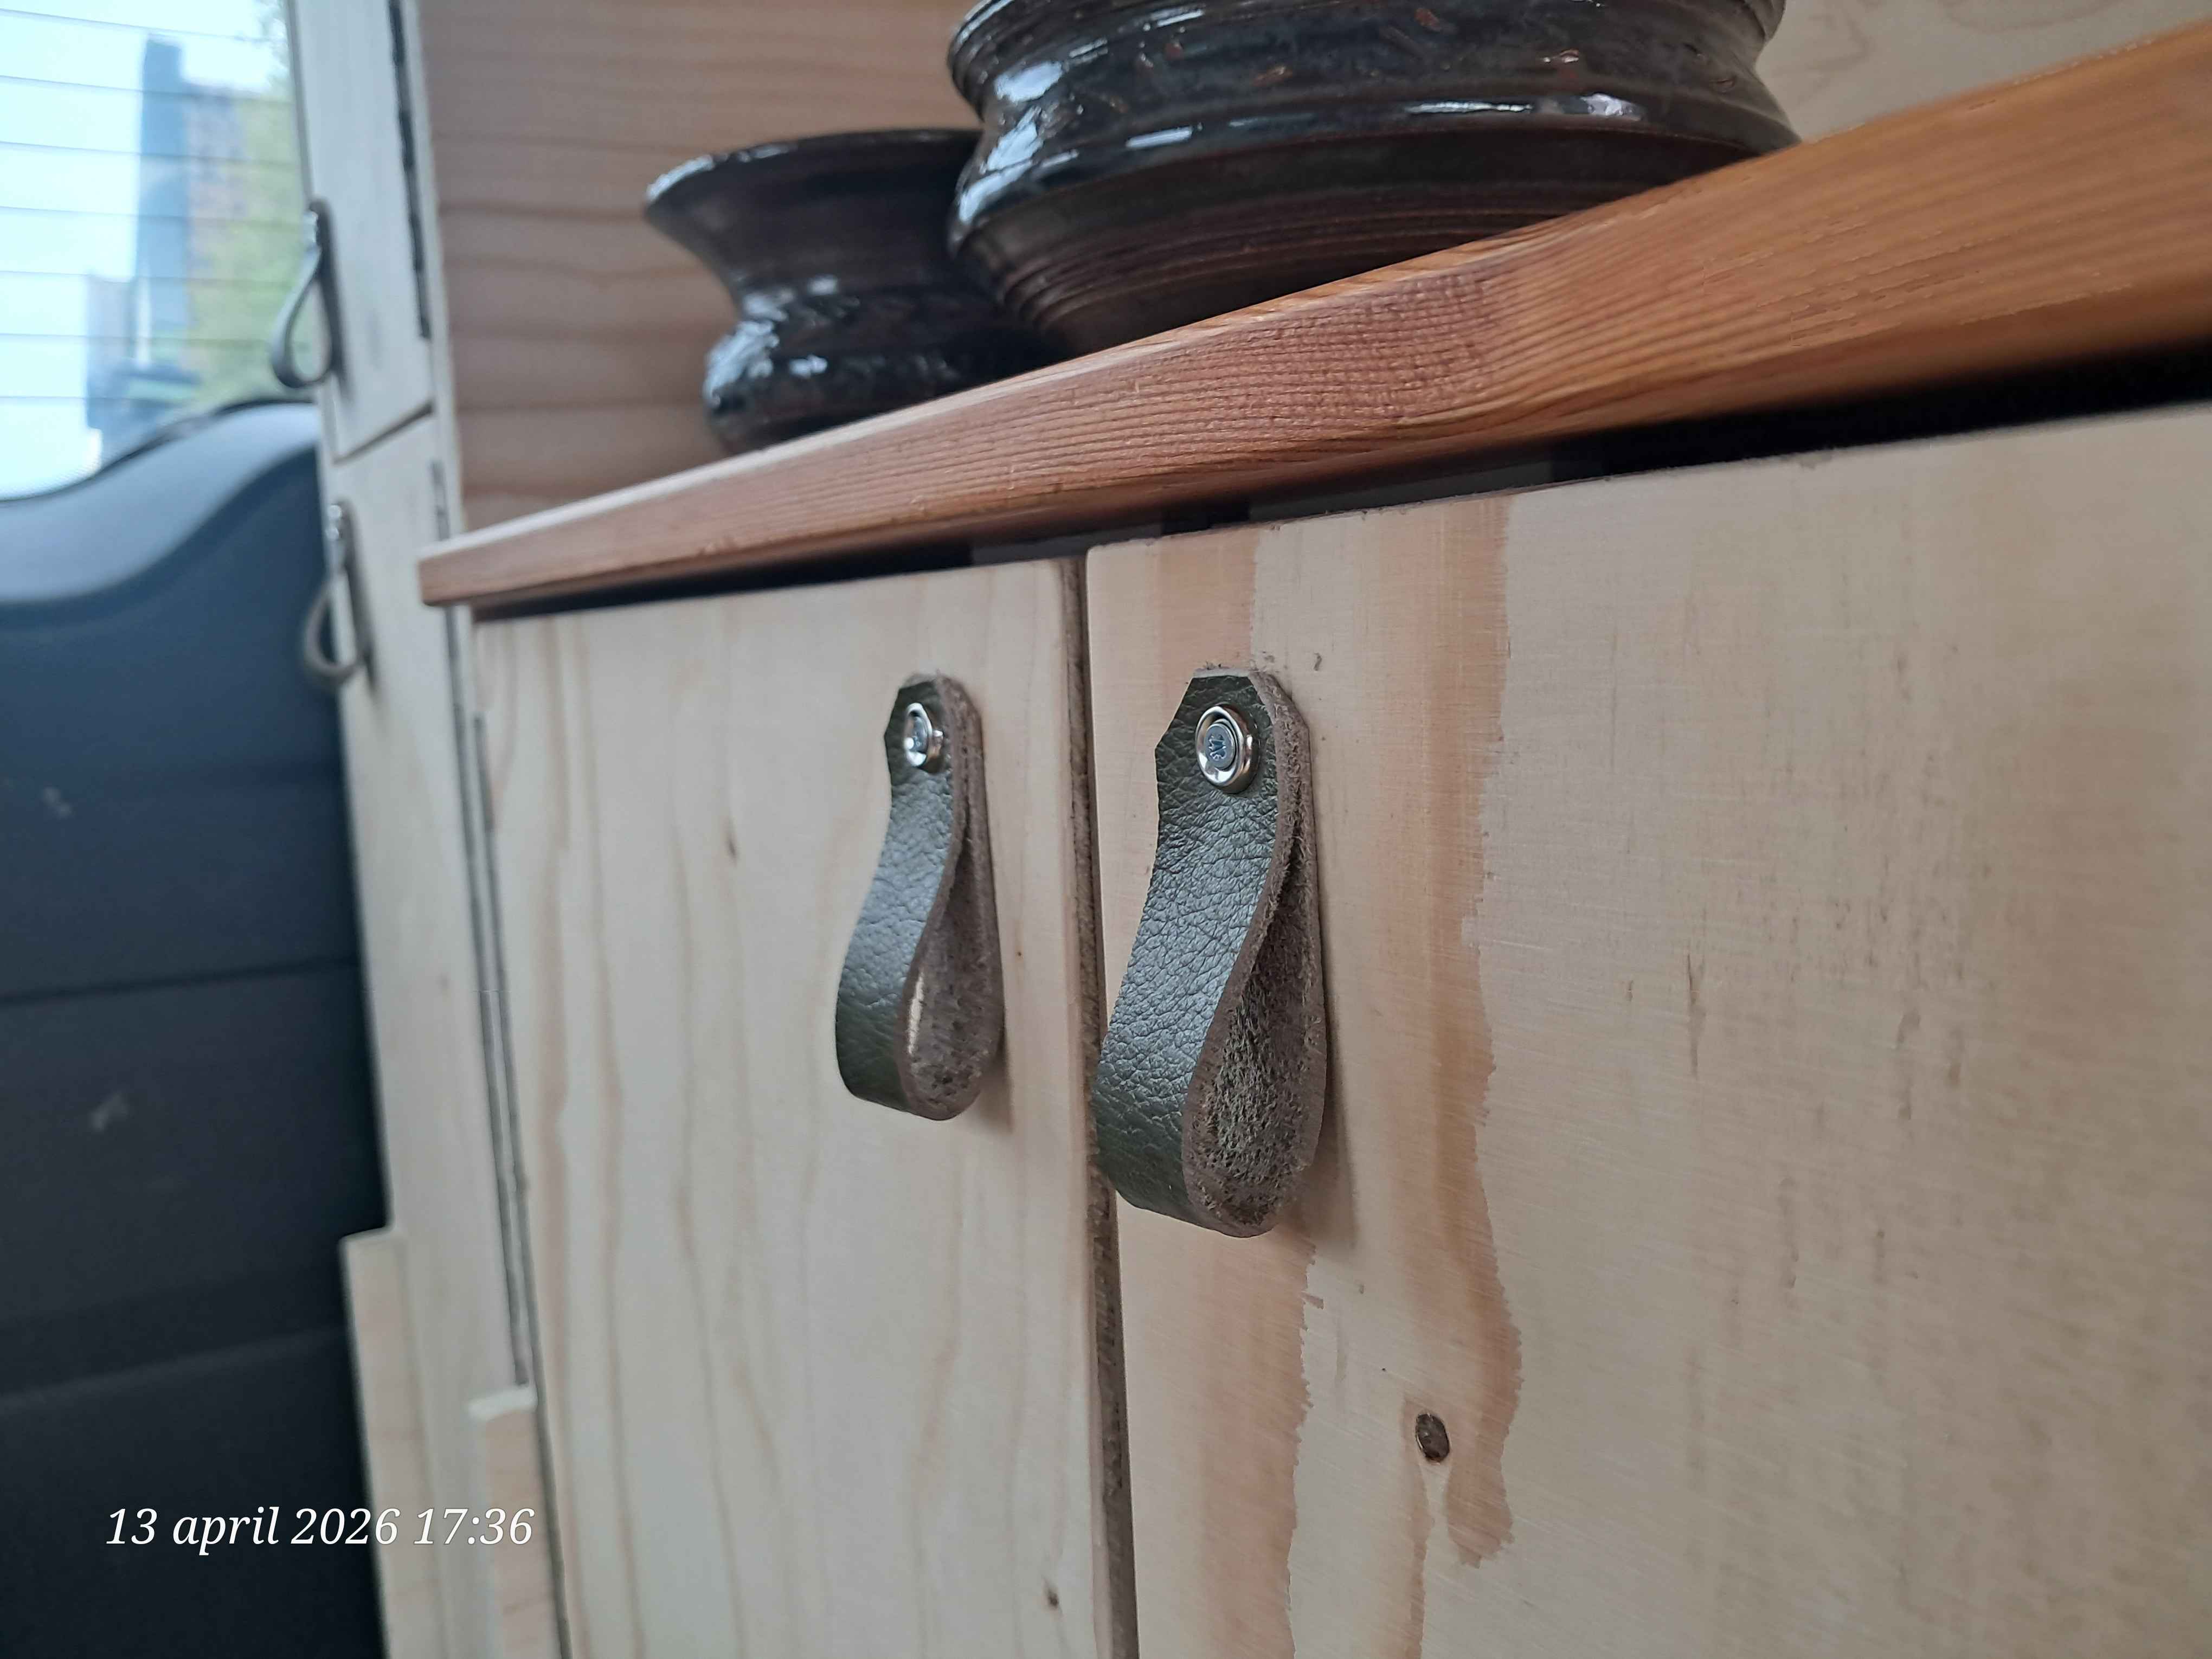
I finish the kitchenette! The doors close with magnetic closures so they wont keep flying open during driving. With some scrap leather I had laying around I was able to make some cute handles! I also added some battery powered lights on magnetic strips. I still plan to add little jars under the overhang for extra storage, and some handmade tiles on the now barren wood backsplash. But that will be done some other time!


My birthday was this month! I got a camping stove from my parents that I was able to test out right away last weekend! This stove in particular is very nice because it is foldable! Nicely compact for my limited storage space!
Something that really cant be missing from a campervan is a bed!
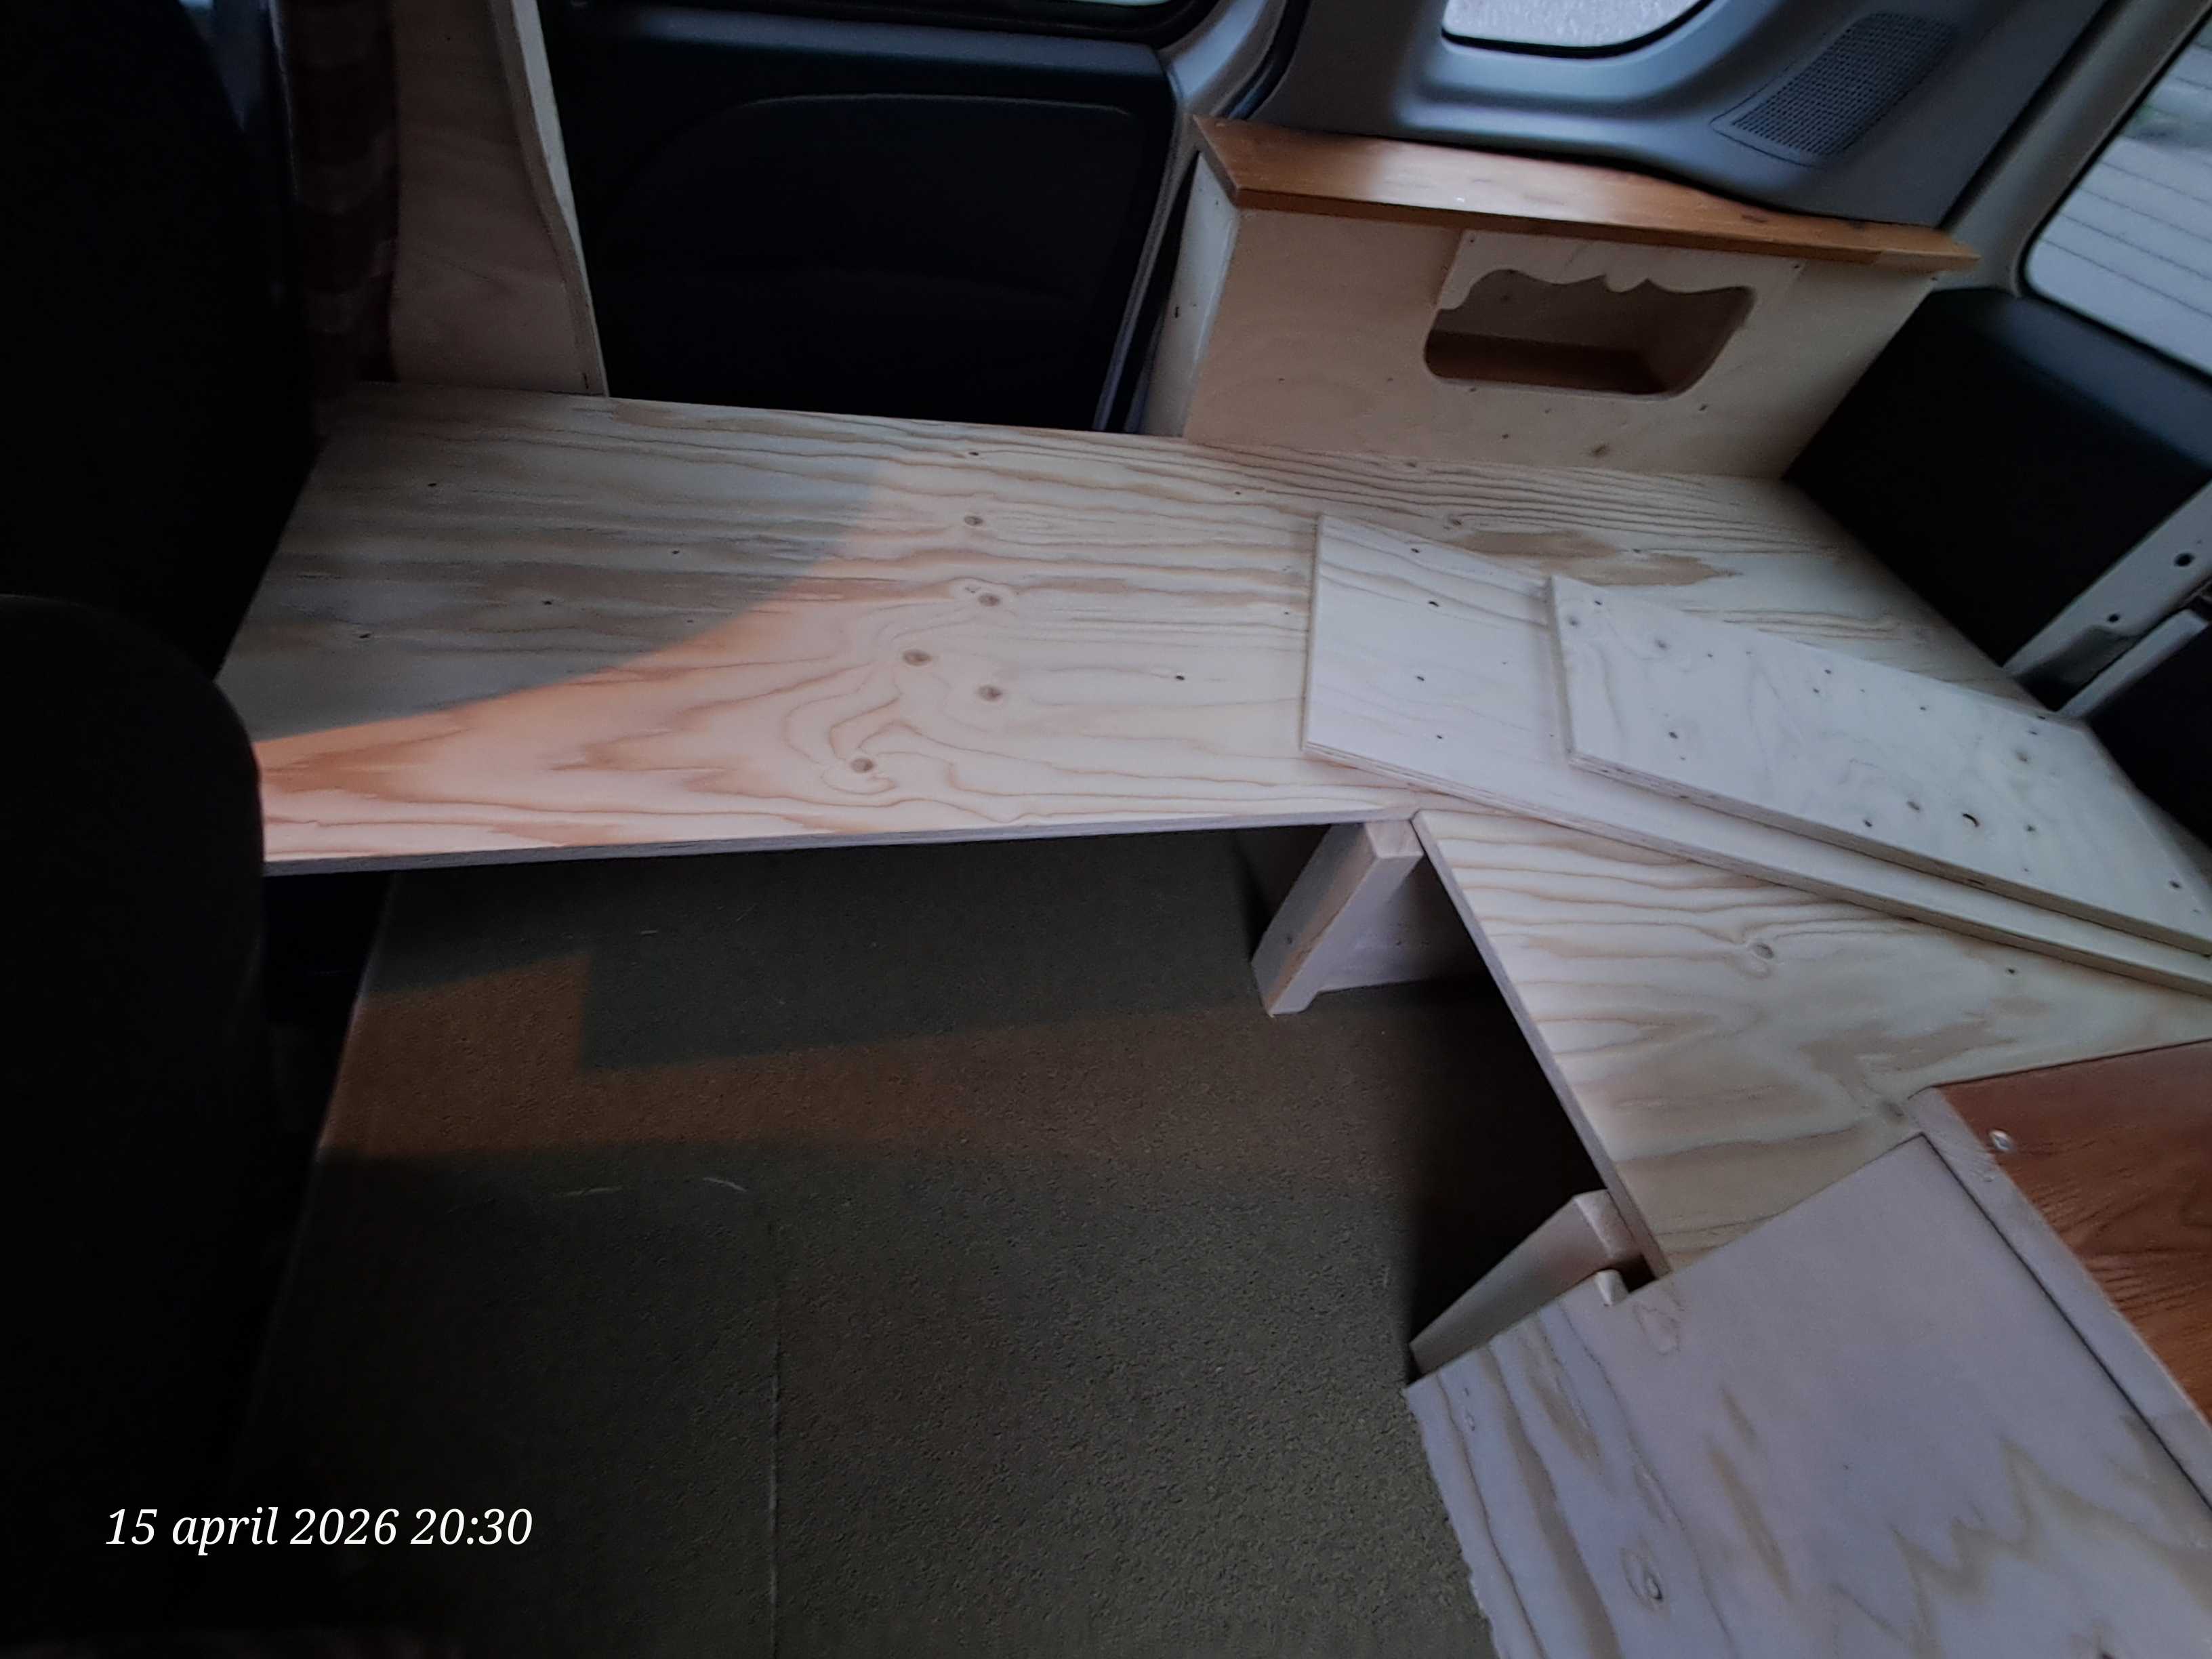
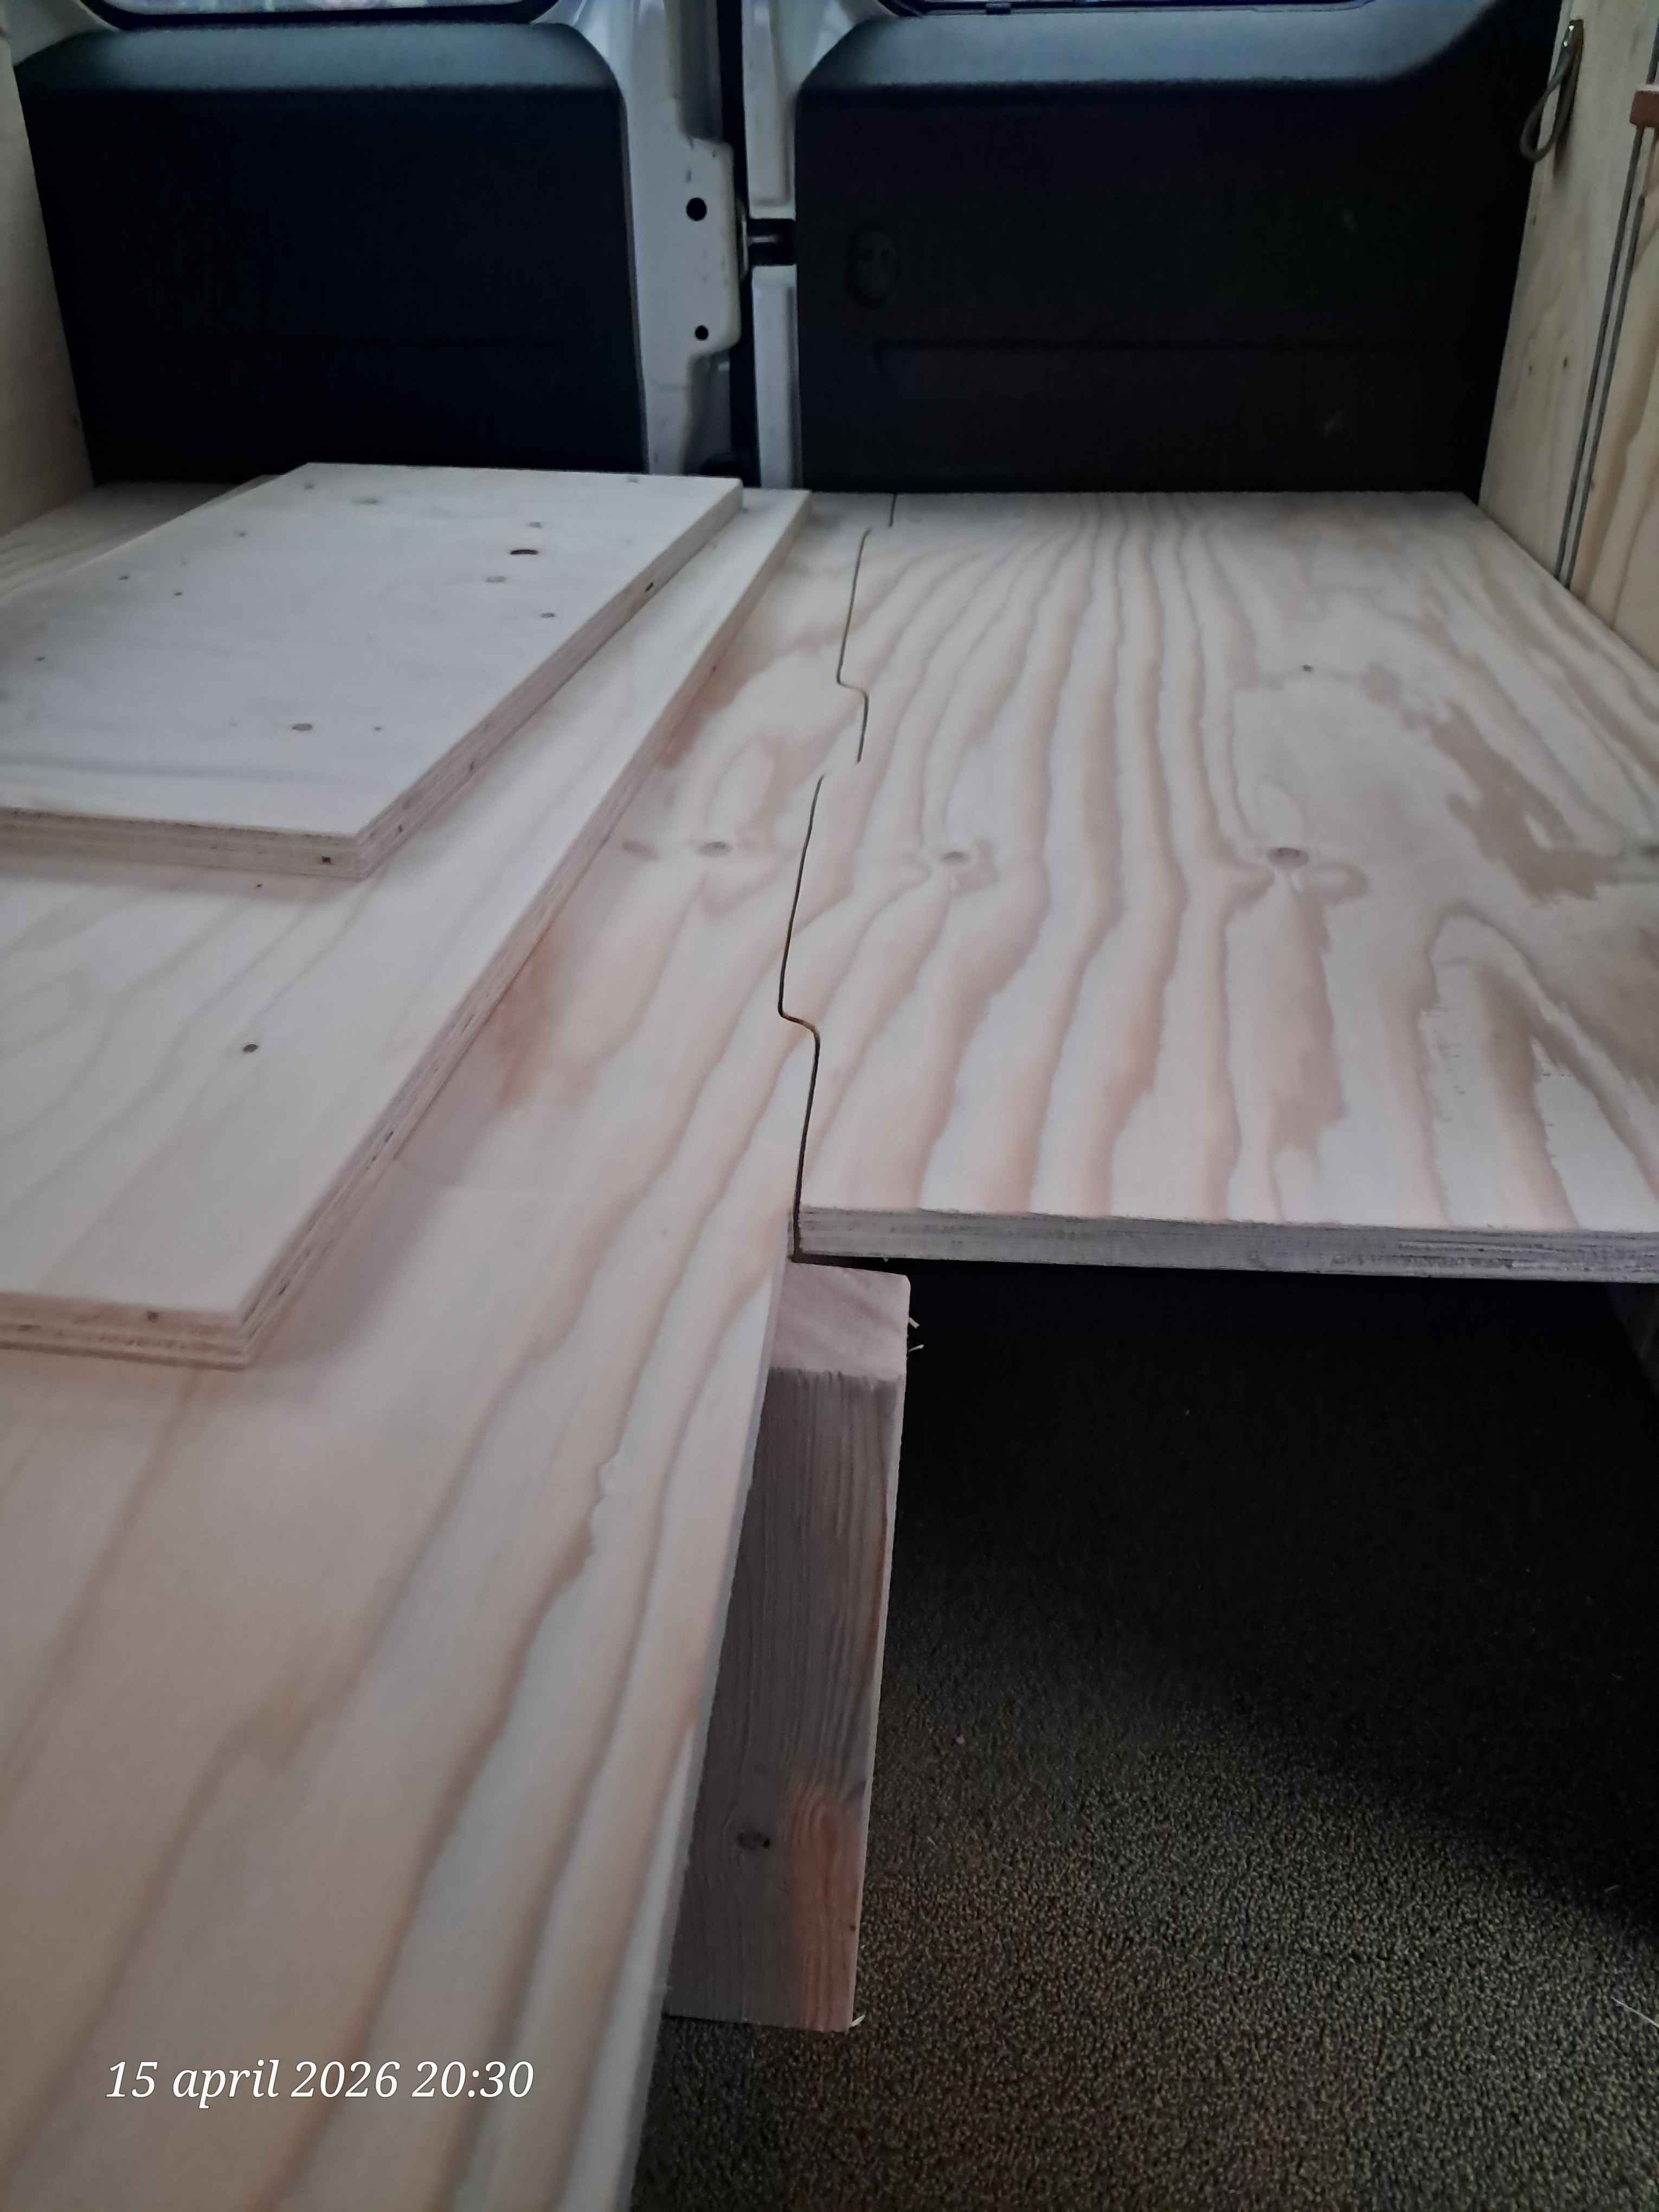
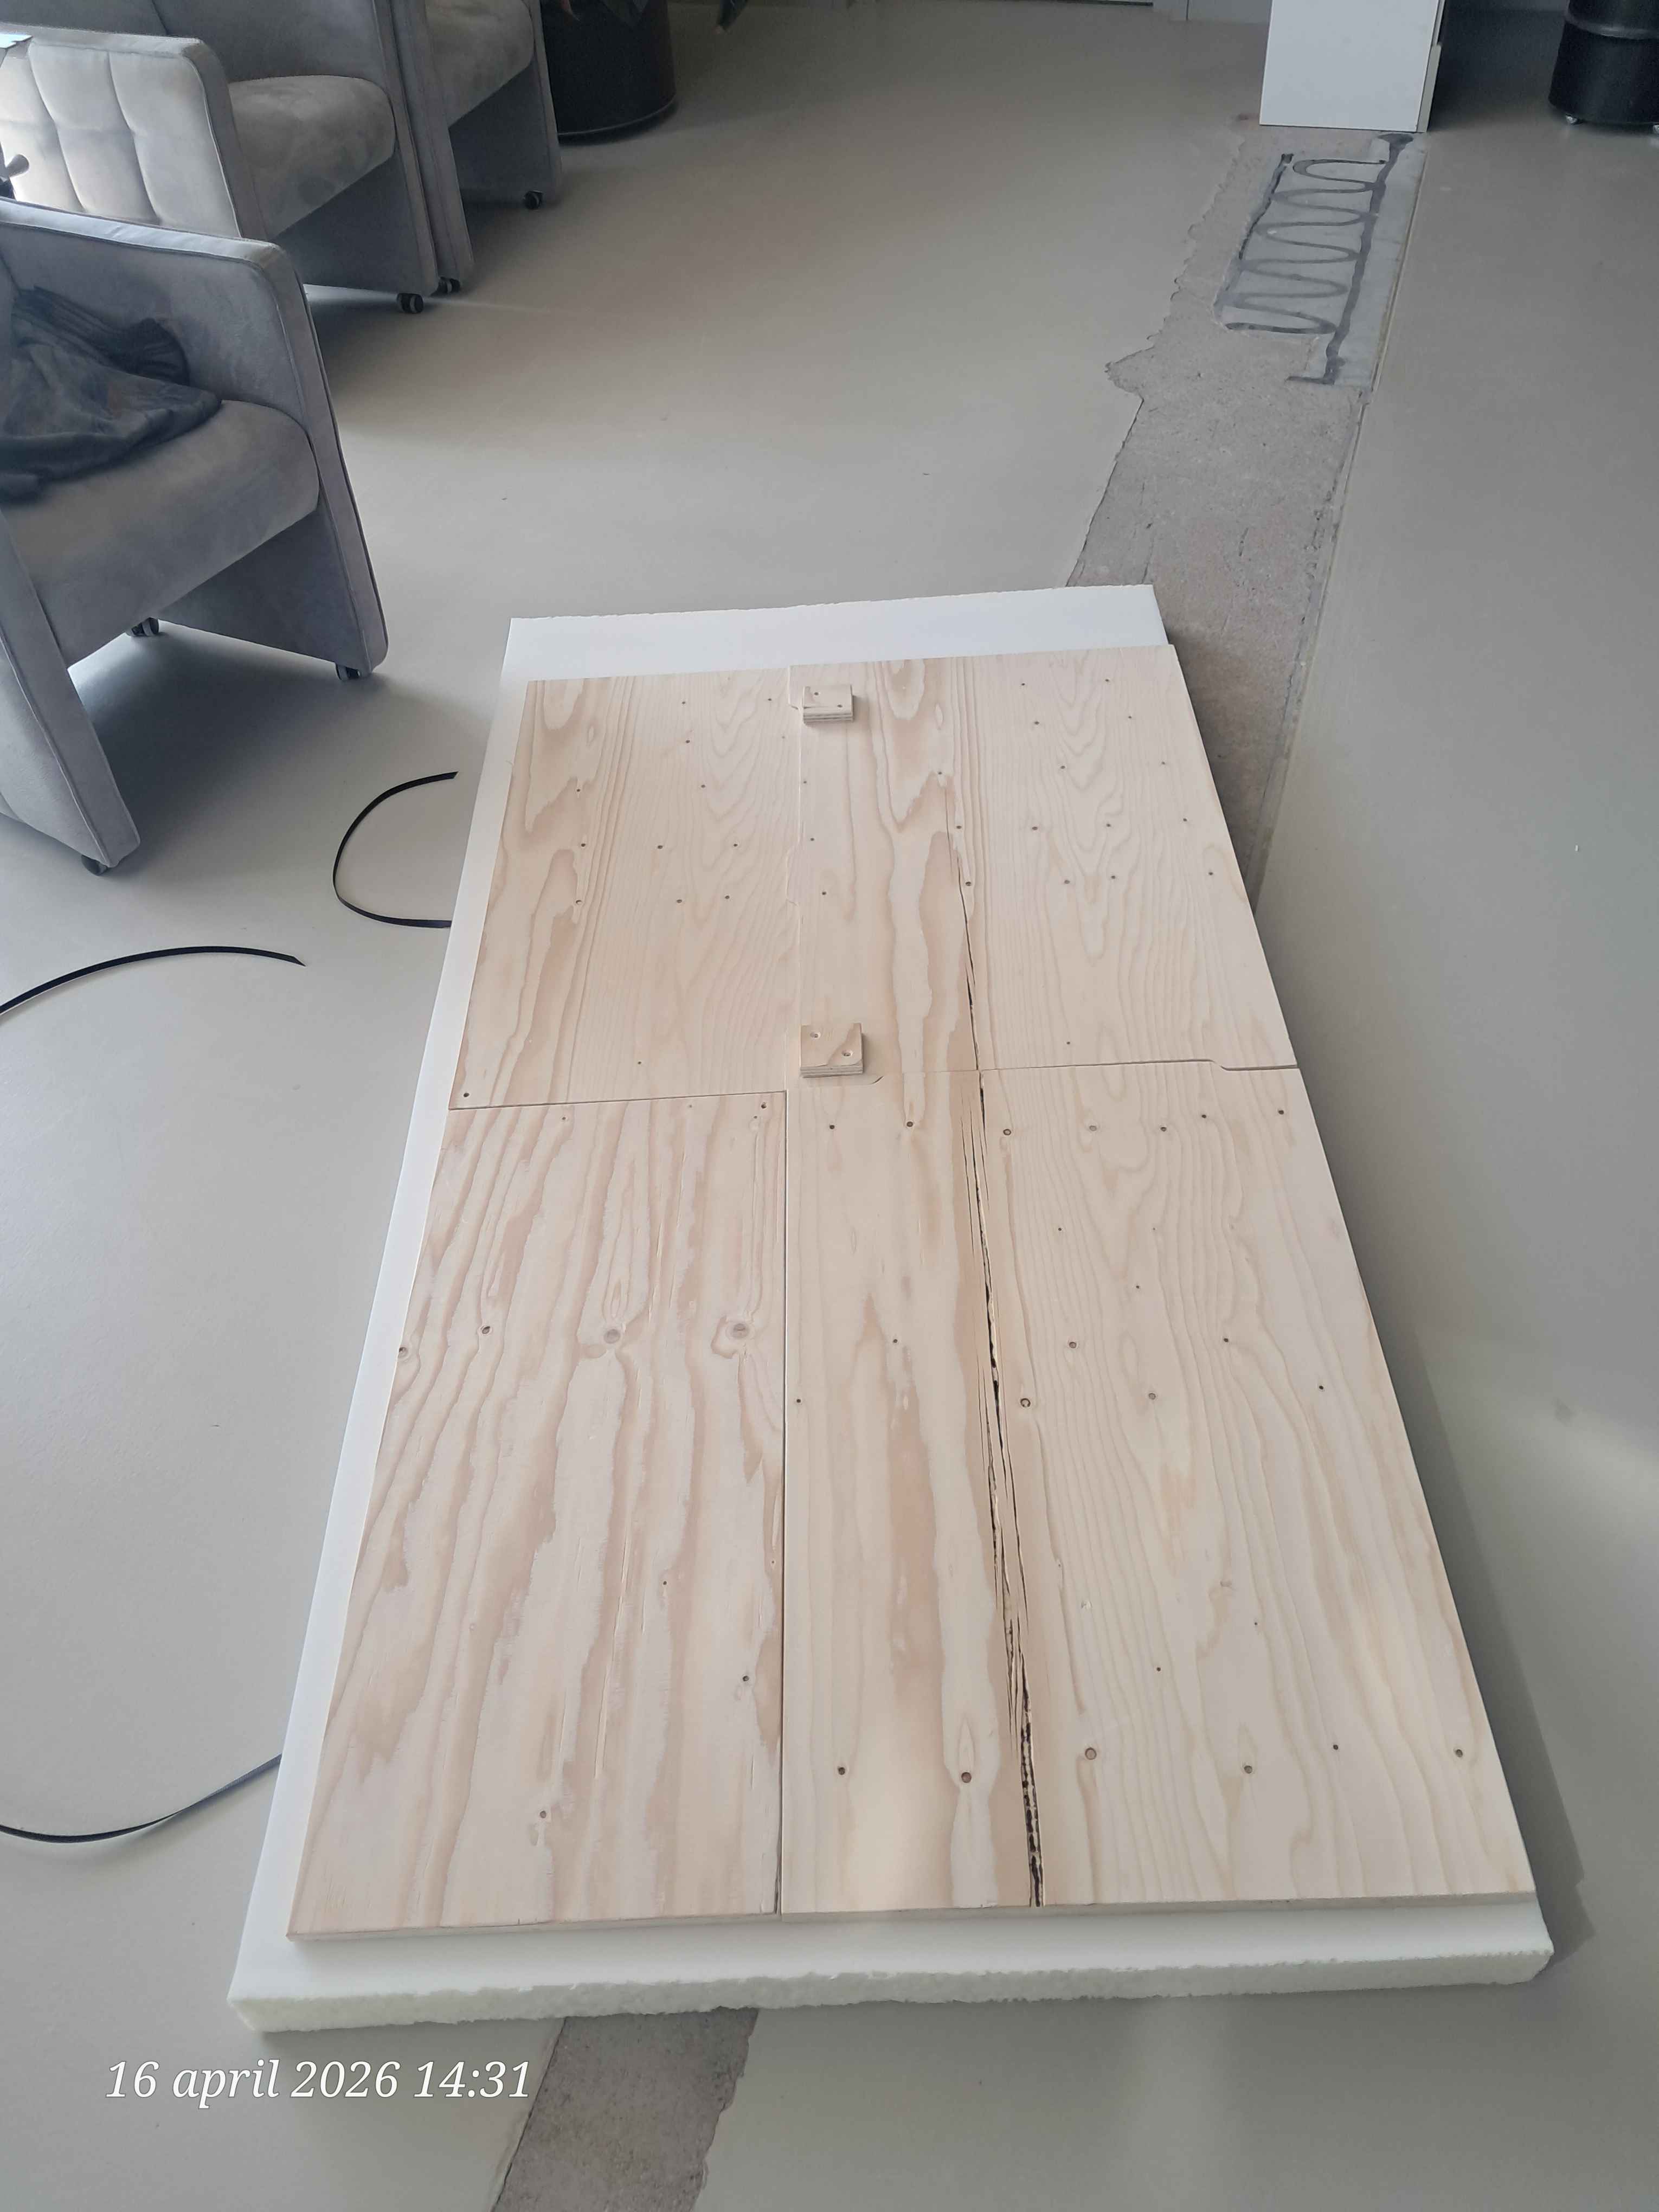
For the bed I first cut out a big sheet of 180cm by 97cm. From that I was able to cut 4 more planks that all got a little bit of a different shape. This was done so they could be put back together like puzzle pieces. Doing this prevents any sliding during the night, and like this they will all have a little bit of space to rest on. For the last plank I needed removable blocks. A hole has been drilled into them so a long screw can be inserted to prevent any more sliding.
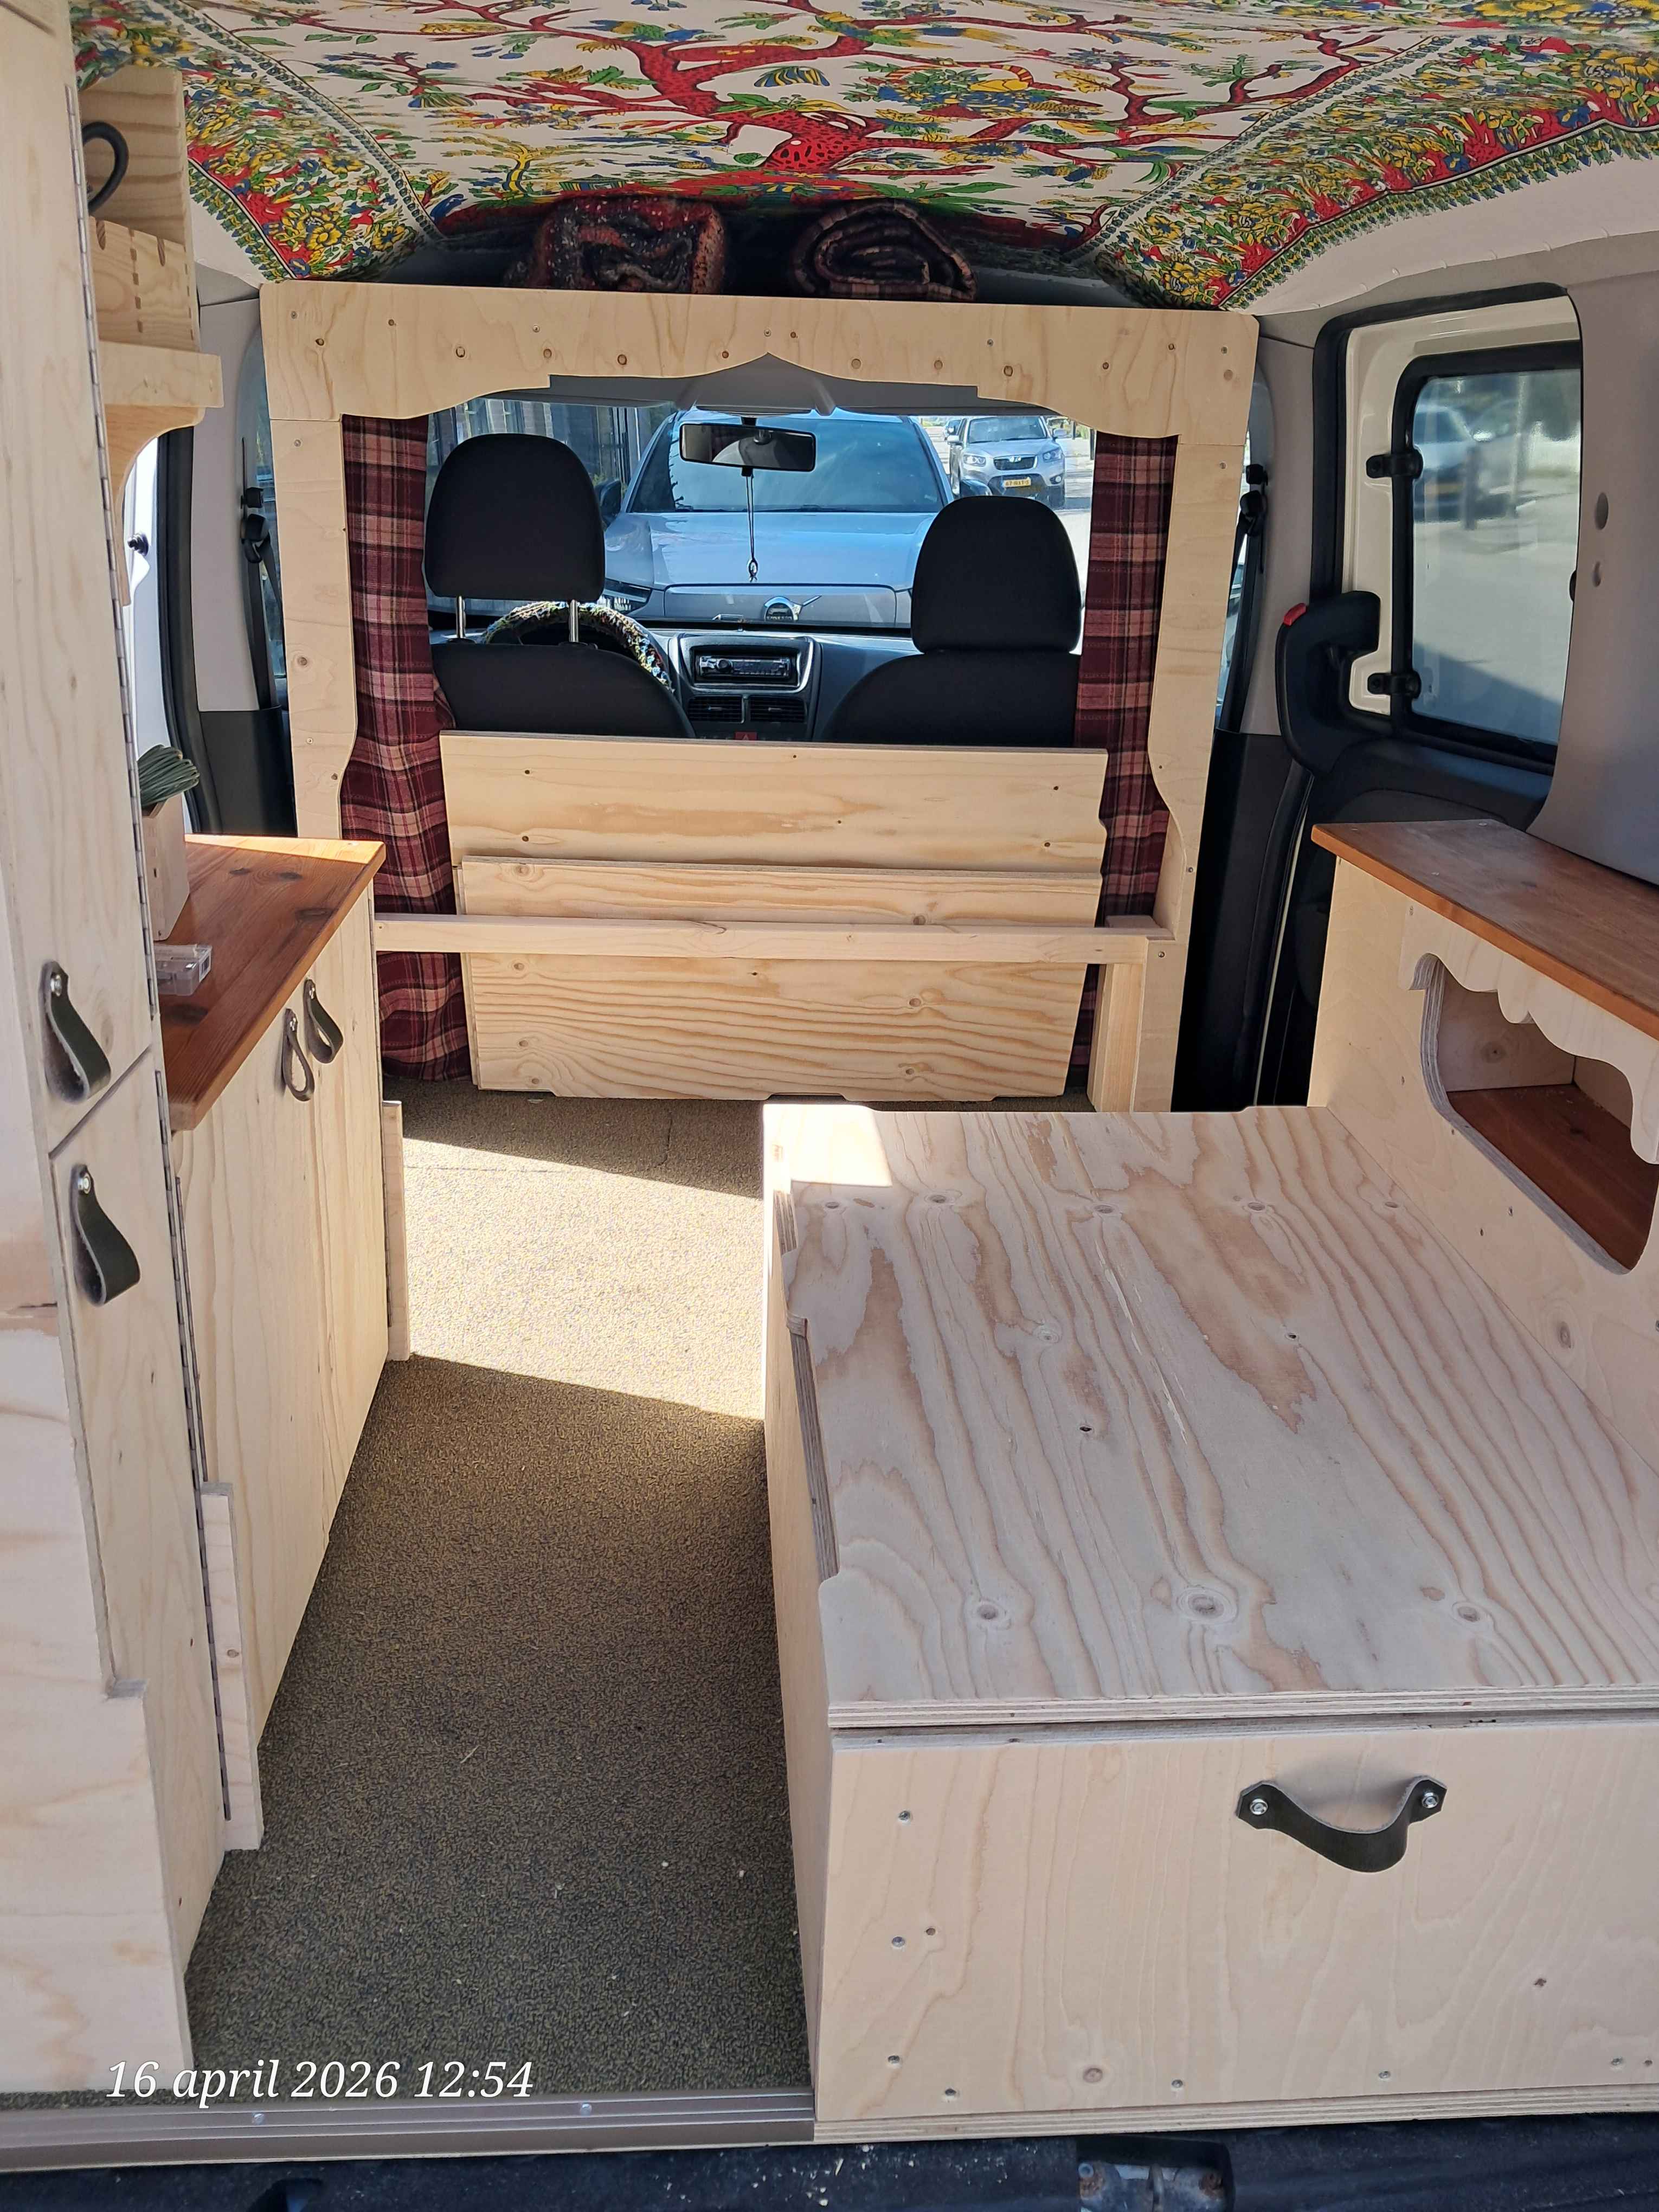
On the pictures down below you will be able to see where the planks will be placed rusing sleep and driving mode! You can also see that the big drawer has been installed! We chose for heavy duty (120kg) rails so I can multipurpouse the drawer as a cooking surface with the help of one of the puzzle planks!

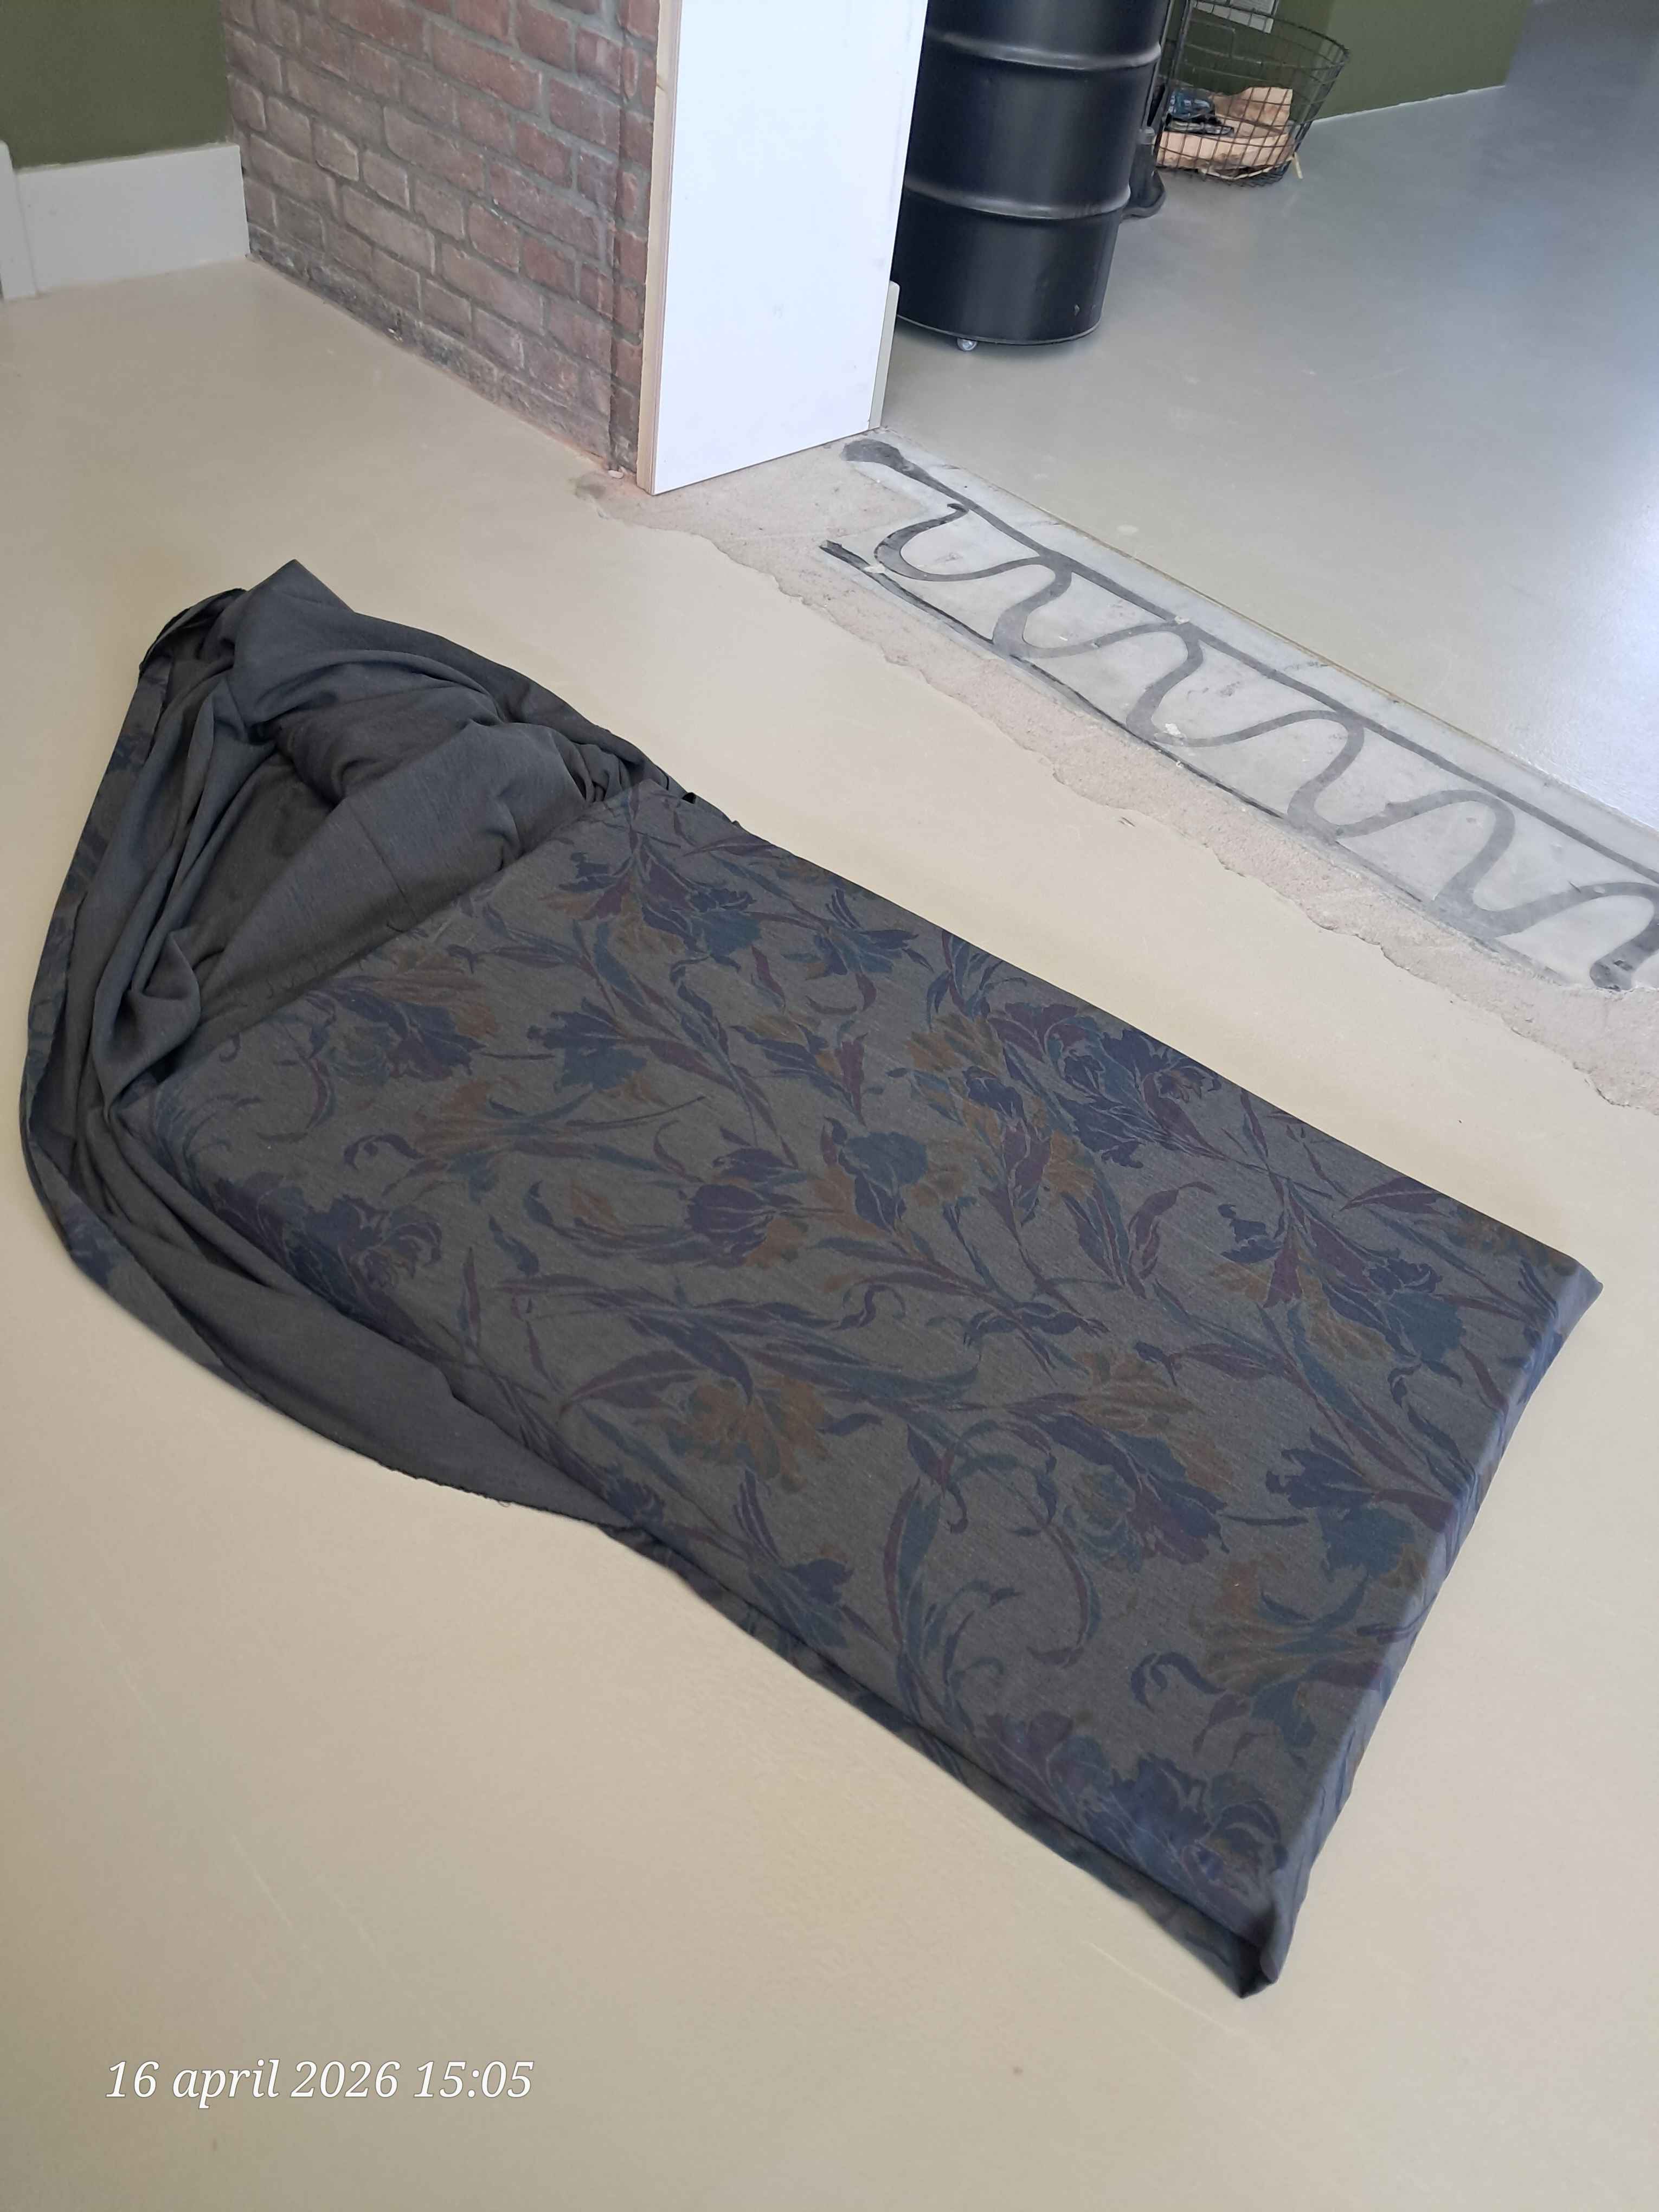
For the cuchions I ordered foam from a dutch foamsupply store. Supposedly perfect for matrasses. (and I agree) It measures at 200cm by 100cm and it's 7cm thick. From the foam sheet i used a boxcutter to cut out 40cm by 90cm twice and then 60cm by 90cm twice again. I used my planks as a guide. For the cuchion covers I used just under 4 meters of fabric, not sure about what that is in yards. I simply sewn the foam into the fabric. To keep them atleast a little pristine I will cover them with a typical matrass cover in the evenings.

The only thing I still miss is a solarpanel! Next wednesday I will be officially starting my travels, so I still have some time to attatch it on the roof. I am really proud of how the bus turned out. The vision really came through and I hope I can make it even more my own with a couple of upgrades. I shall update you later on the solar panel, untill then; Thank you for taking your time to read all of this! I had a lot of fun creating my own little home on wheels. Do keep your eyes on my blog! I shall be updating it now that I will finally start my journey! I'm sure I will have a lot to share! :D
